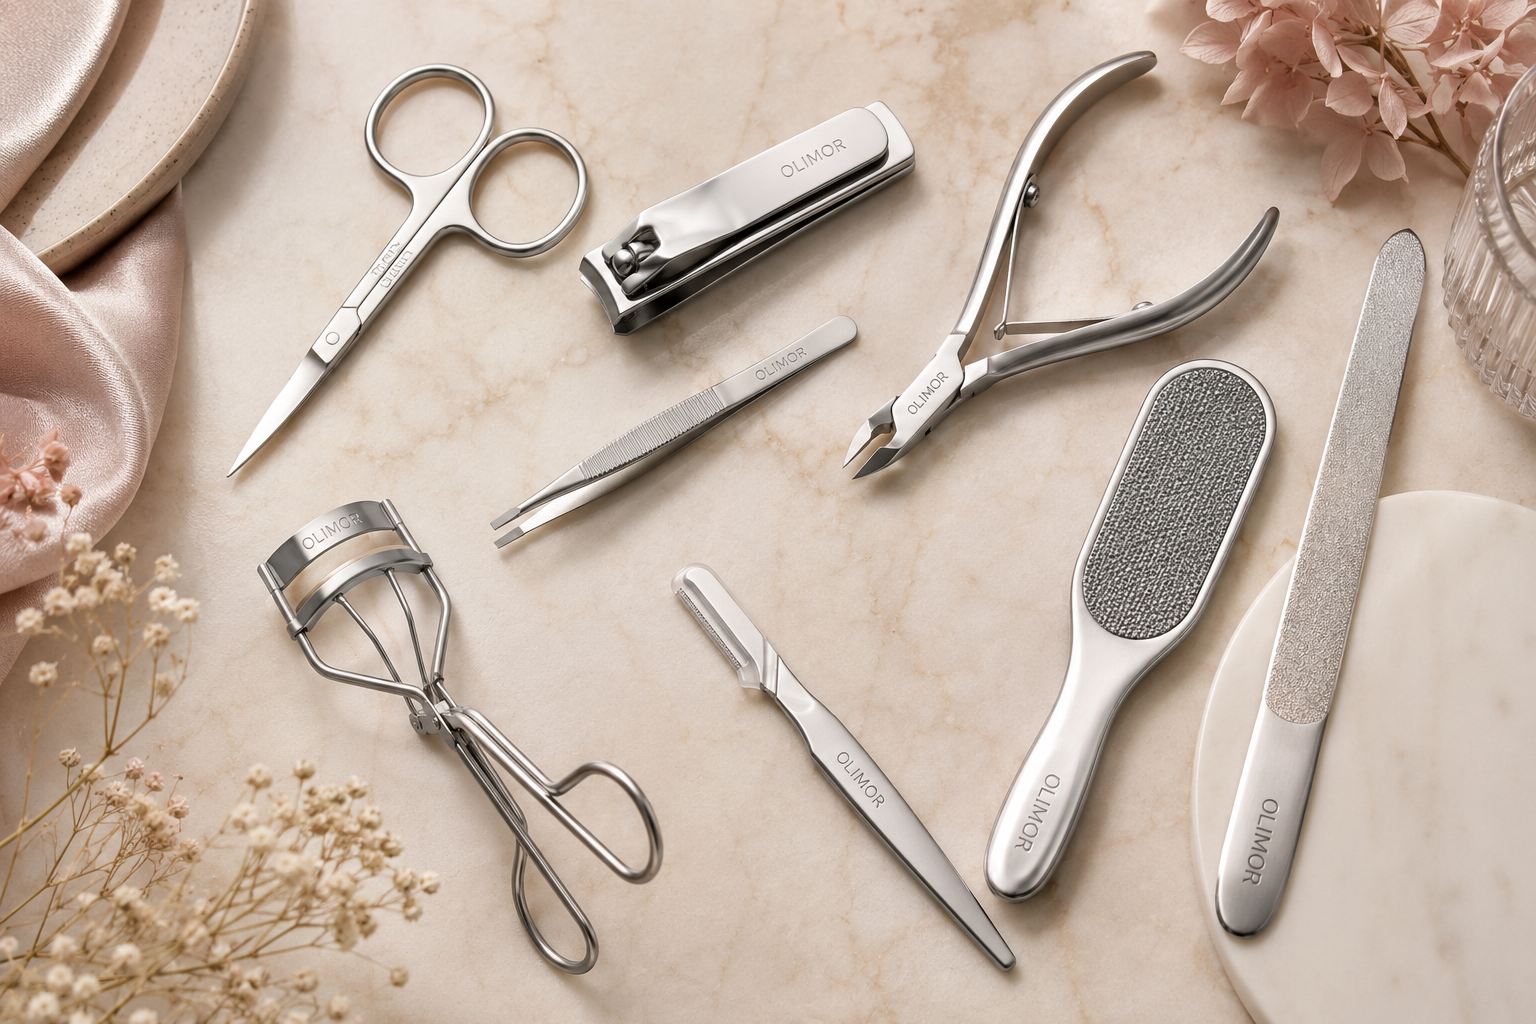











An eyelash curler looks simple, but its performance depends on geometry. The arc of the clamp, the width of the opening, the firmness of the pad, and the way the tool reaches the lash base all influence whether lashes lift into a smooth C-curve or bend into an awkward angle. For beauty buyers, makeup users, and sourcing teams comparing eyelash curler options, radius is one of the most important details to evaluate because it determines how naturally the curler sits against different eye shapes.
The goal is not to find one curler that magically fits every face. The better approach is to understand the relationship between the eye’s lash-line curve and the tool’s clamp curve. When those two curves align, the curler can lift lashes from the root with less pinching, fewer missed corners, and more consistent results across the lash line.
What the C-Curve Means in Lash Curling
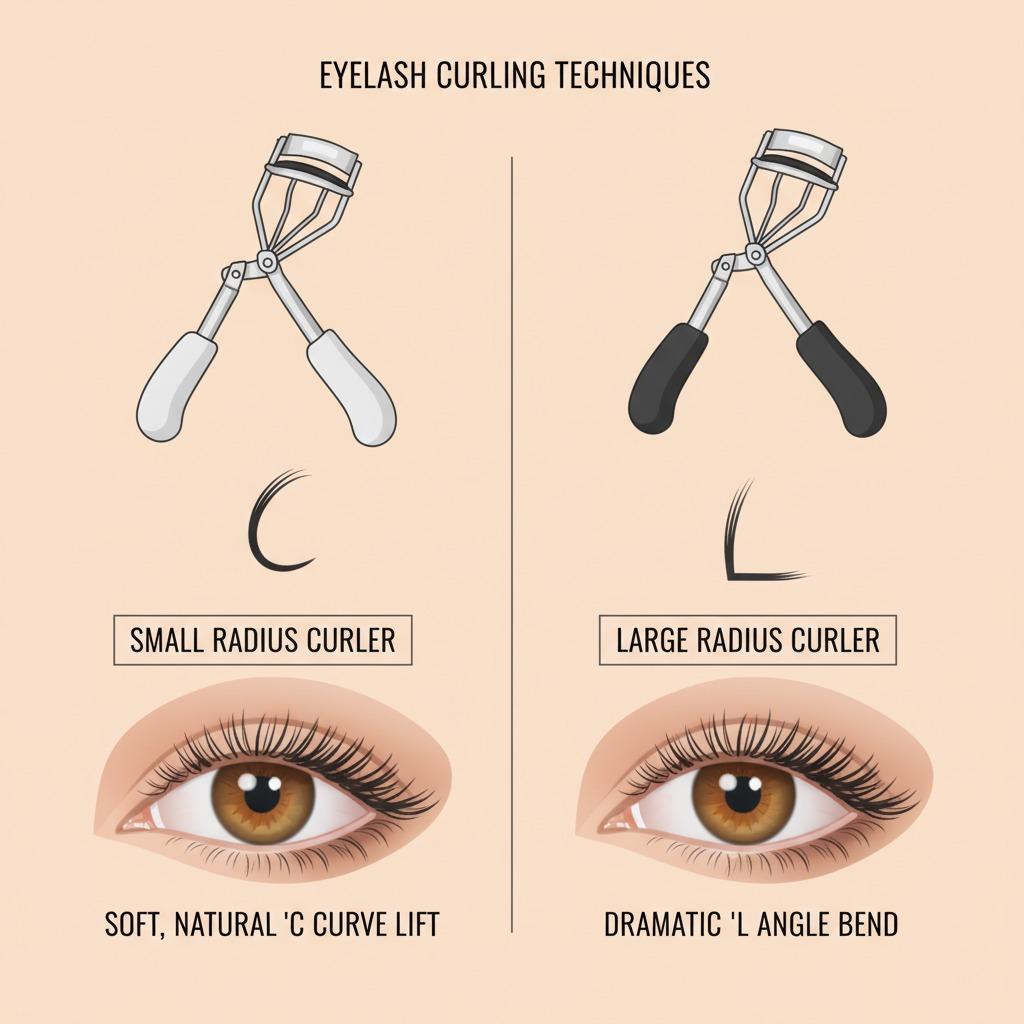
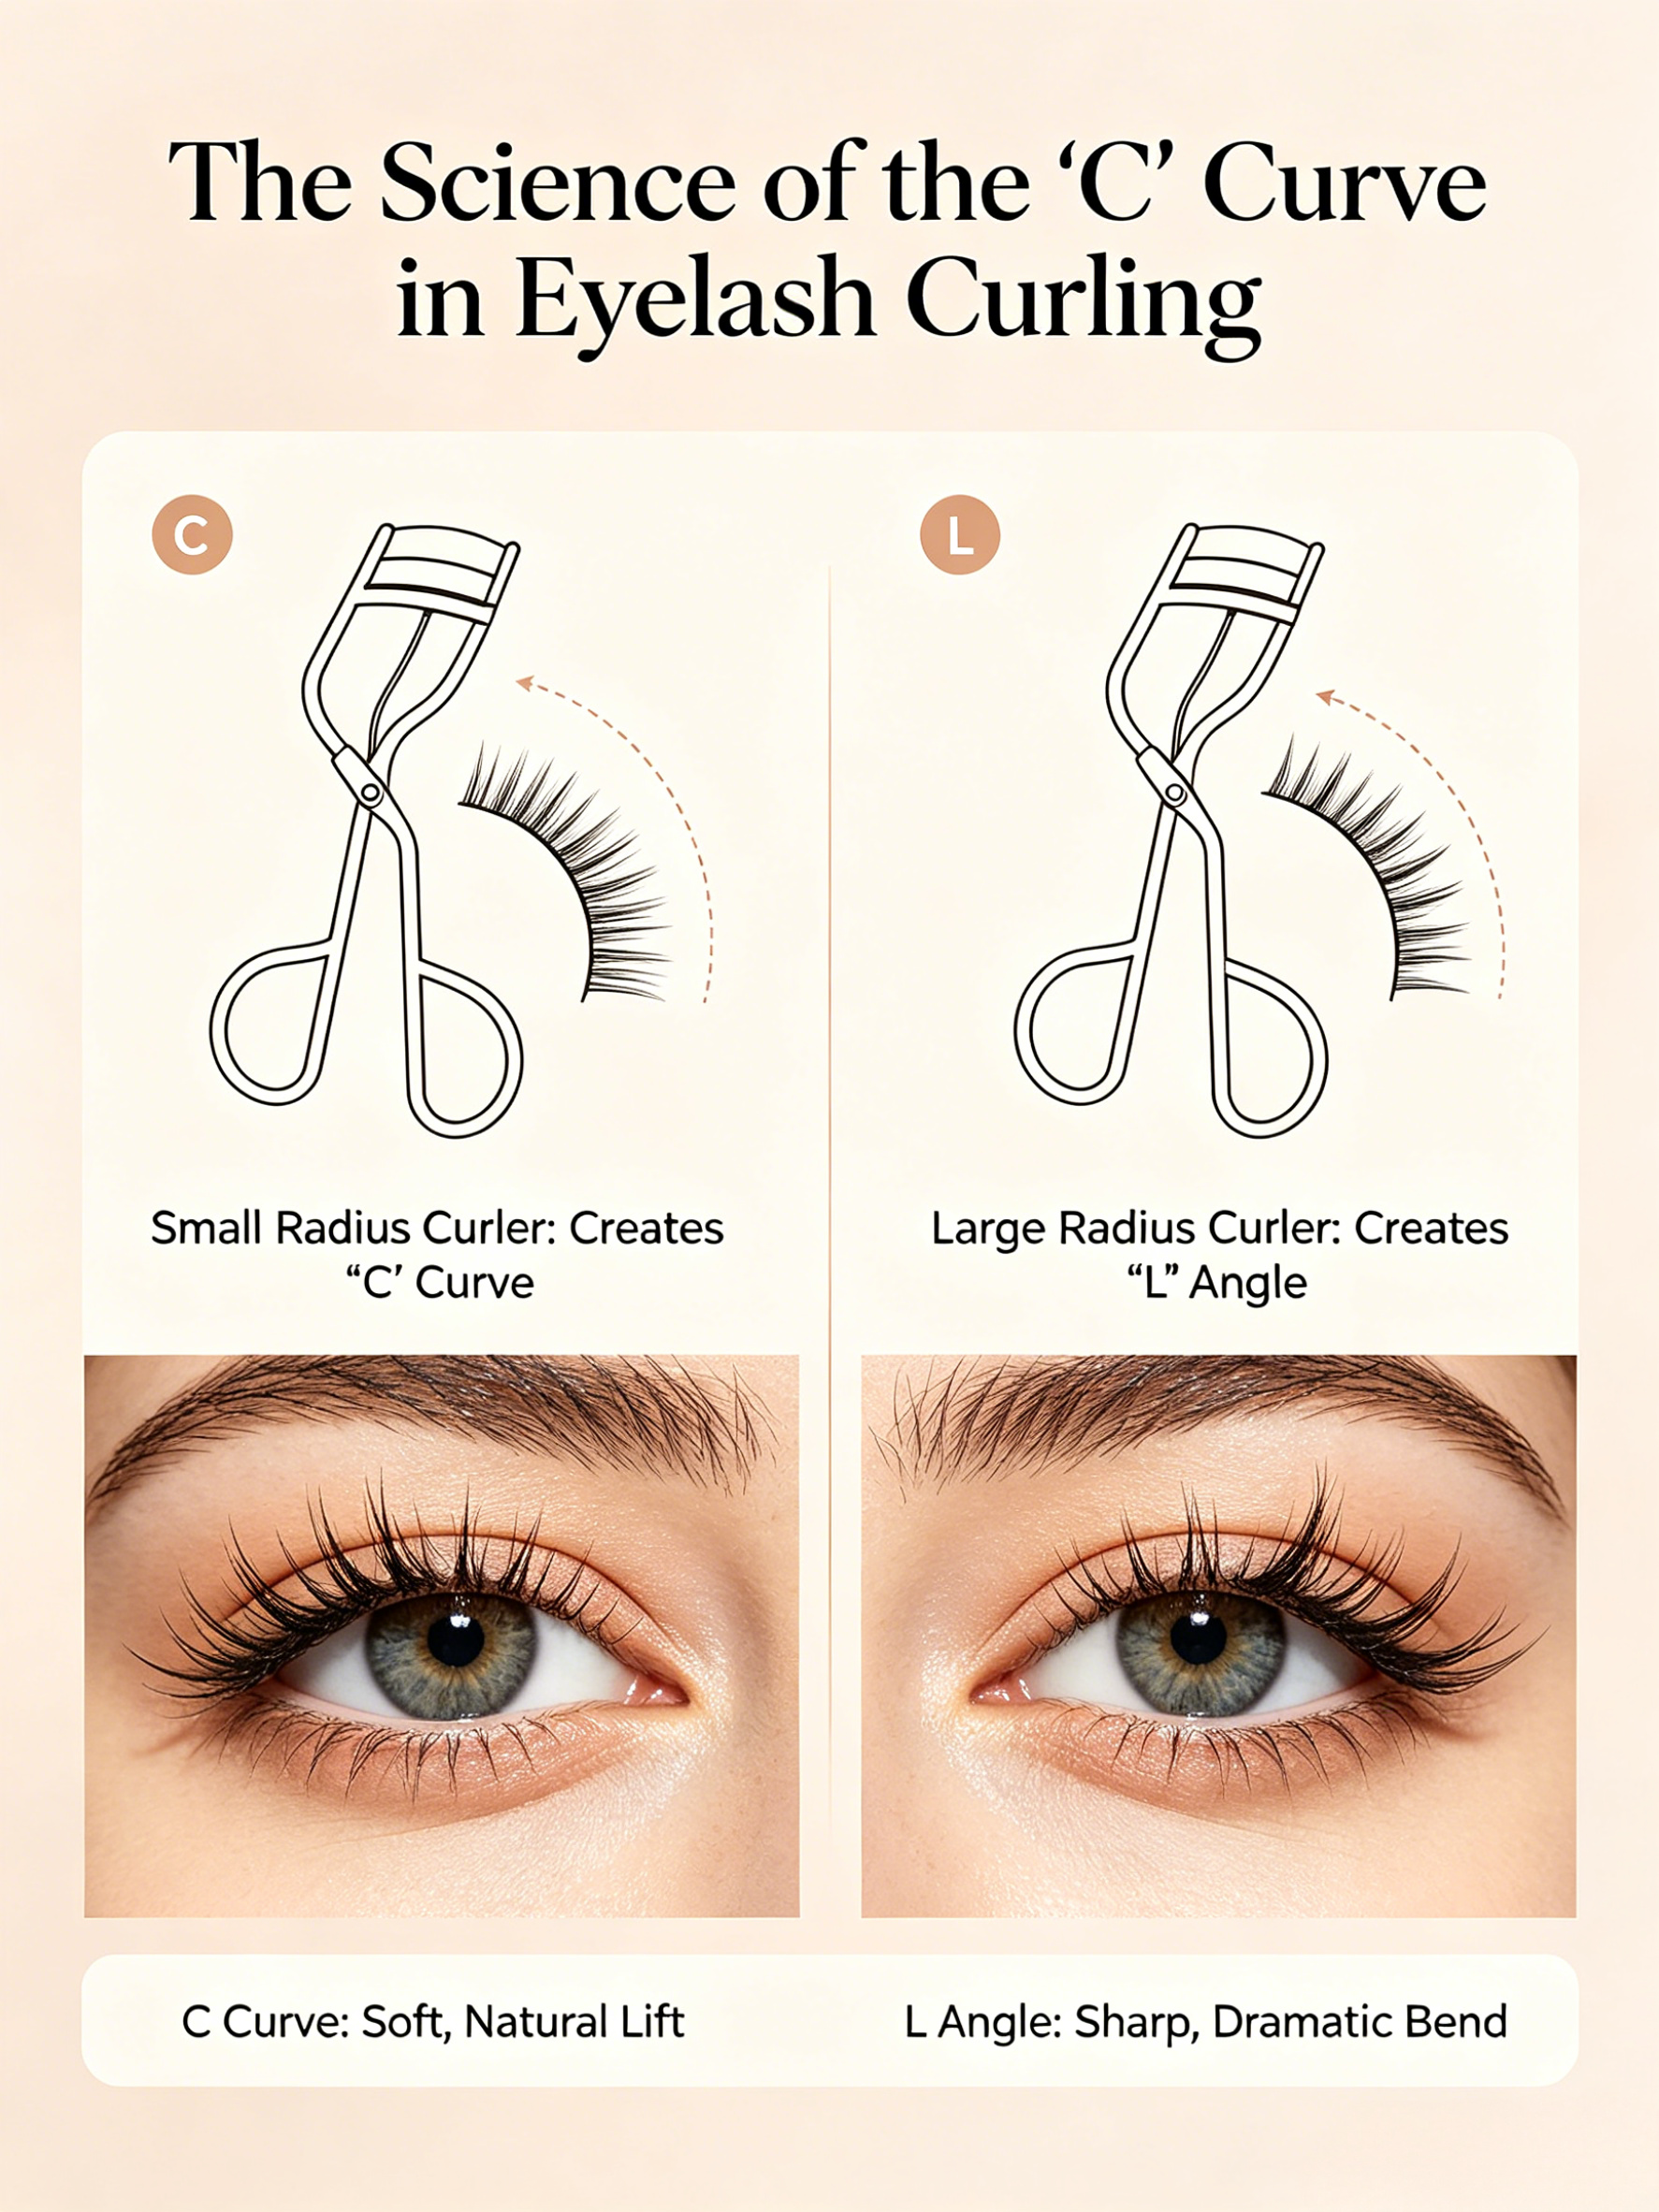
A desirable lash curl is usually described as a C-curve: a gradual lift that starts near the base and continues through the lash length. It is different from a sharp L-shaped bend, where the lash is kinked upward in one point, and it is also different from a weak curl that only lifts the tips. The C-curve makes lashes appear longer because the entire lash line is redirected upward while still looking smooth.
That shape is created by temporary pressure on the lash fibers. Lashes are made largely of keratin, and mechanical pressure can reshape their direction until moisture, product, or time relaxes the curl. The curler’s pad cushions the pressure, while the metal or plastic clamp sets the line of force. If the clamp curve is too flat for the eye, the center may curl while the inner and outer corners are left behind. If the clamp is too rounded for a flatter eye, the tool may pinch at the center or fail to sit close enough to the base.
This is why two curlers that look similar in a photo can feel very different in use. A small difference in radius can change the way the tool meets the eyelid, especially for deep-set eyes, hooded lids, or monolid shapes.
How Radius, Width, and Opening Work Together
Radius refers to the curvature of the curler’s clamp. A smaller radius creates a deeper, more rounded curve. A larger radius creates a shallower, flatter curve. However, radius should not be evaluated alone. The total fit also depends on width, opening angle, and pad contact.
- Radius or curvature: Determines whether the clamp matches a rounded or flatter lash line.
- Clamp width: Determines how much of the lash line can be curled in one placement.
- Opening height: Affects how easily the lashes enter the clamp, especially on hooded or deep-set eyes.
- Pad shape and firmness: Influences whether pressure is cushioned or concentrated into a crease.
- Handle control: Helps the user apply gradual, even pressure instead of a sudden squeeze.
For consumer selection, comfort is a strong signal. A well-matched curler should sit close to the lash base without forcing the eyelid into the frame. For brand buyers reviewing beauty tool products, it is useful to compare sample curlers on different eye shapes instead of judging only by material finish or packaging.
Matching Eyelash Curler Radius to Common Eye Shapes
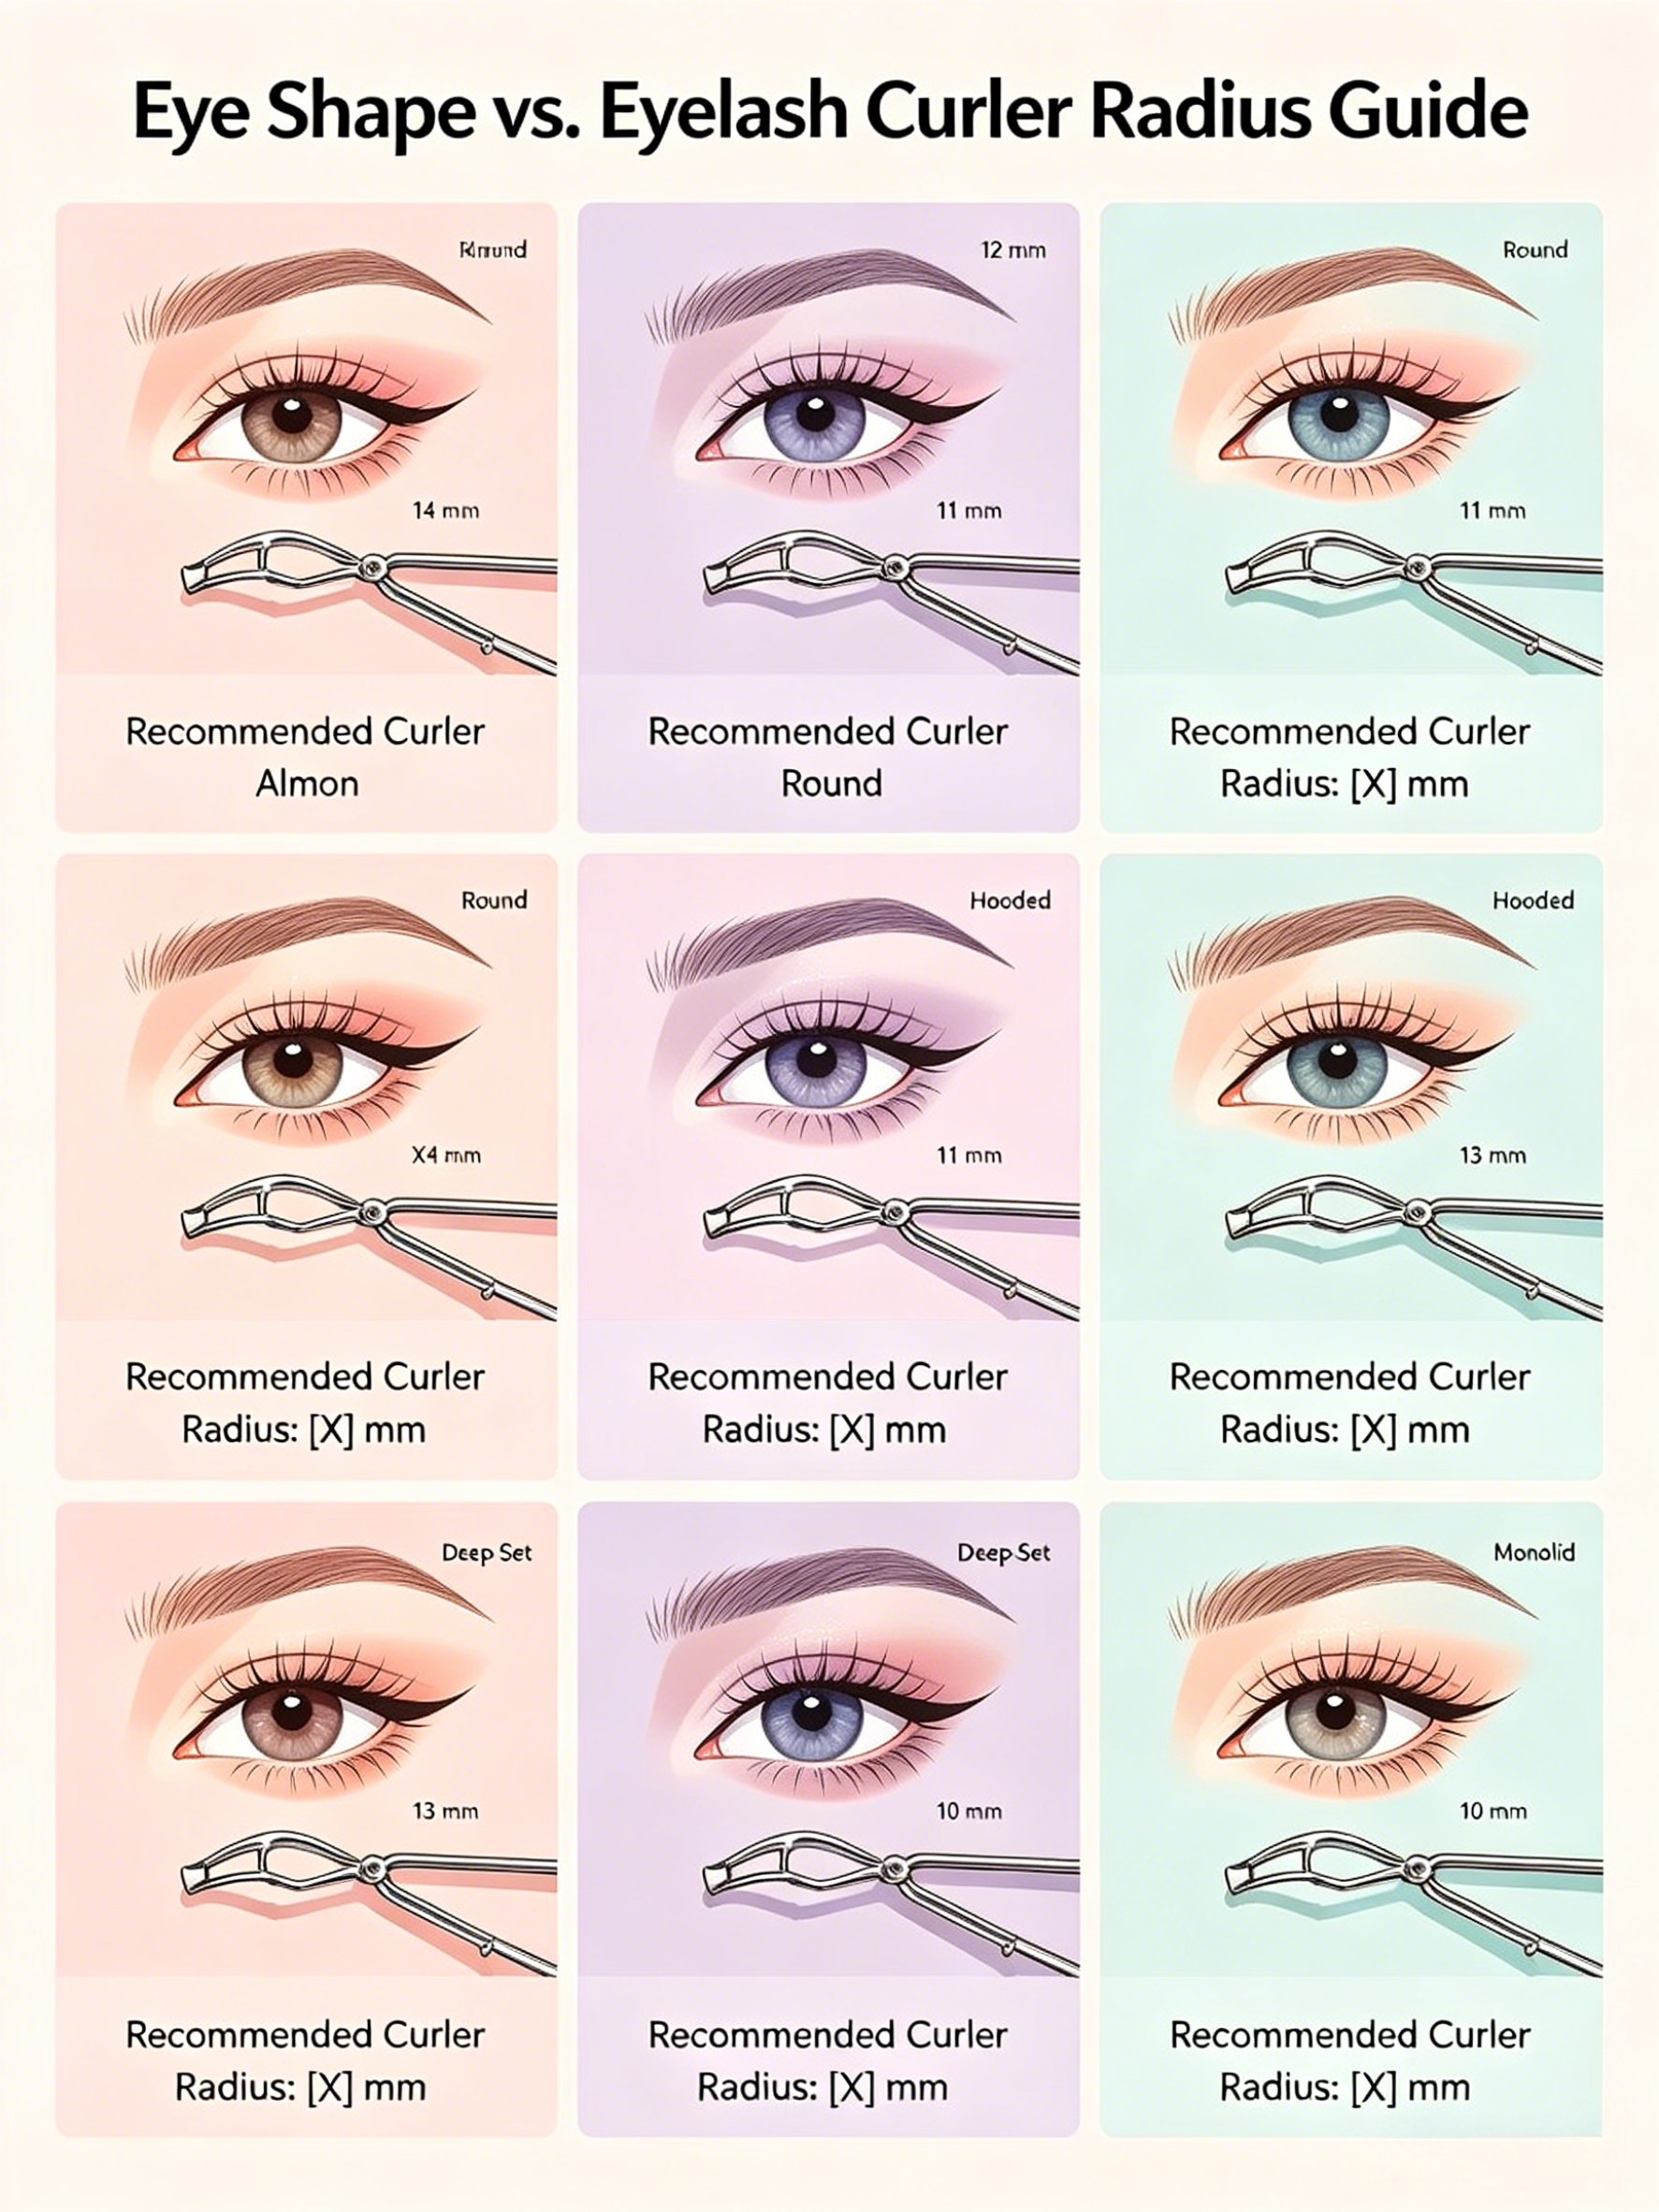
The table below is a practical fit guide. It does not replace hands-on testing, but it helps identify which curvature is more likely to work for each eye shape.
| Eye shape | Typical fit challenge | Curler curve to consider | Why it helps |
|---|---|---|---|
| Almond eyes | Balanced shape with a moderate lash-line curve | Medium to shallower curve | Can reach most lashes evenly without over-rounding the center. |
| Round eyes | More pronounced curve and visible lid space | Deeper, more rounded curve | Cradles the rounded lash line and reduces missed corner lashes. |
| Hooded eyes | Lid skin may cover the crease and limit access to the base | Curve depends on lash line; opening and reach are critical | A suitable opening helps the clamp get close without pressing the hood. |
| Deep-set eyes | Brow bone can block the tool from sitting flat | Shallow to medium curve with comfortable opening | Allows placement near the base while reducing contact with the brow area. |
| Monolid eyes | Flatter lid surface and less visible crease | Shallower, wider curve | Helps the clamp align with a flatter lash line and lowers pinching risk. |
A Simple Fit Test Before Curling
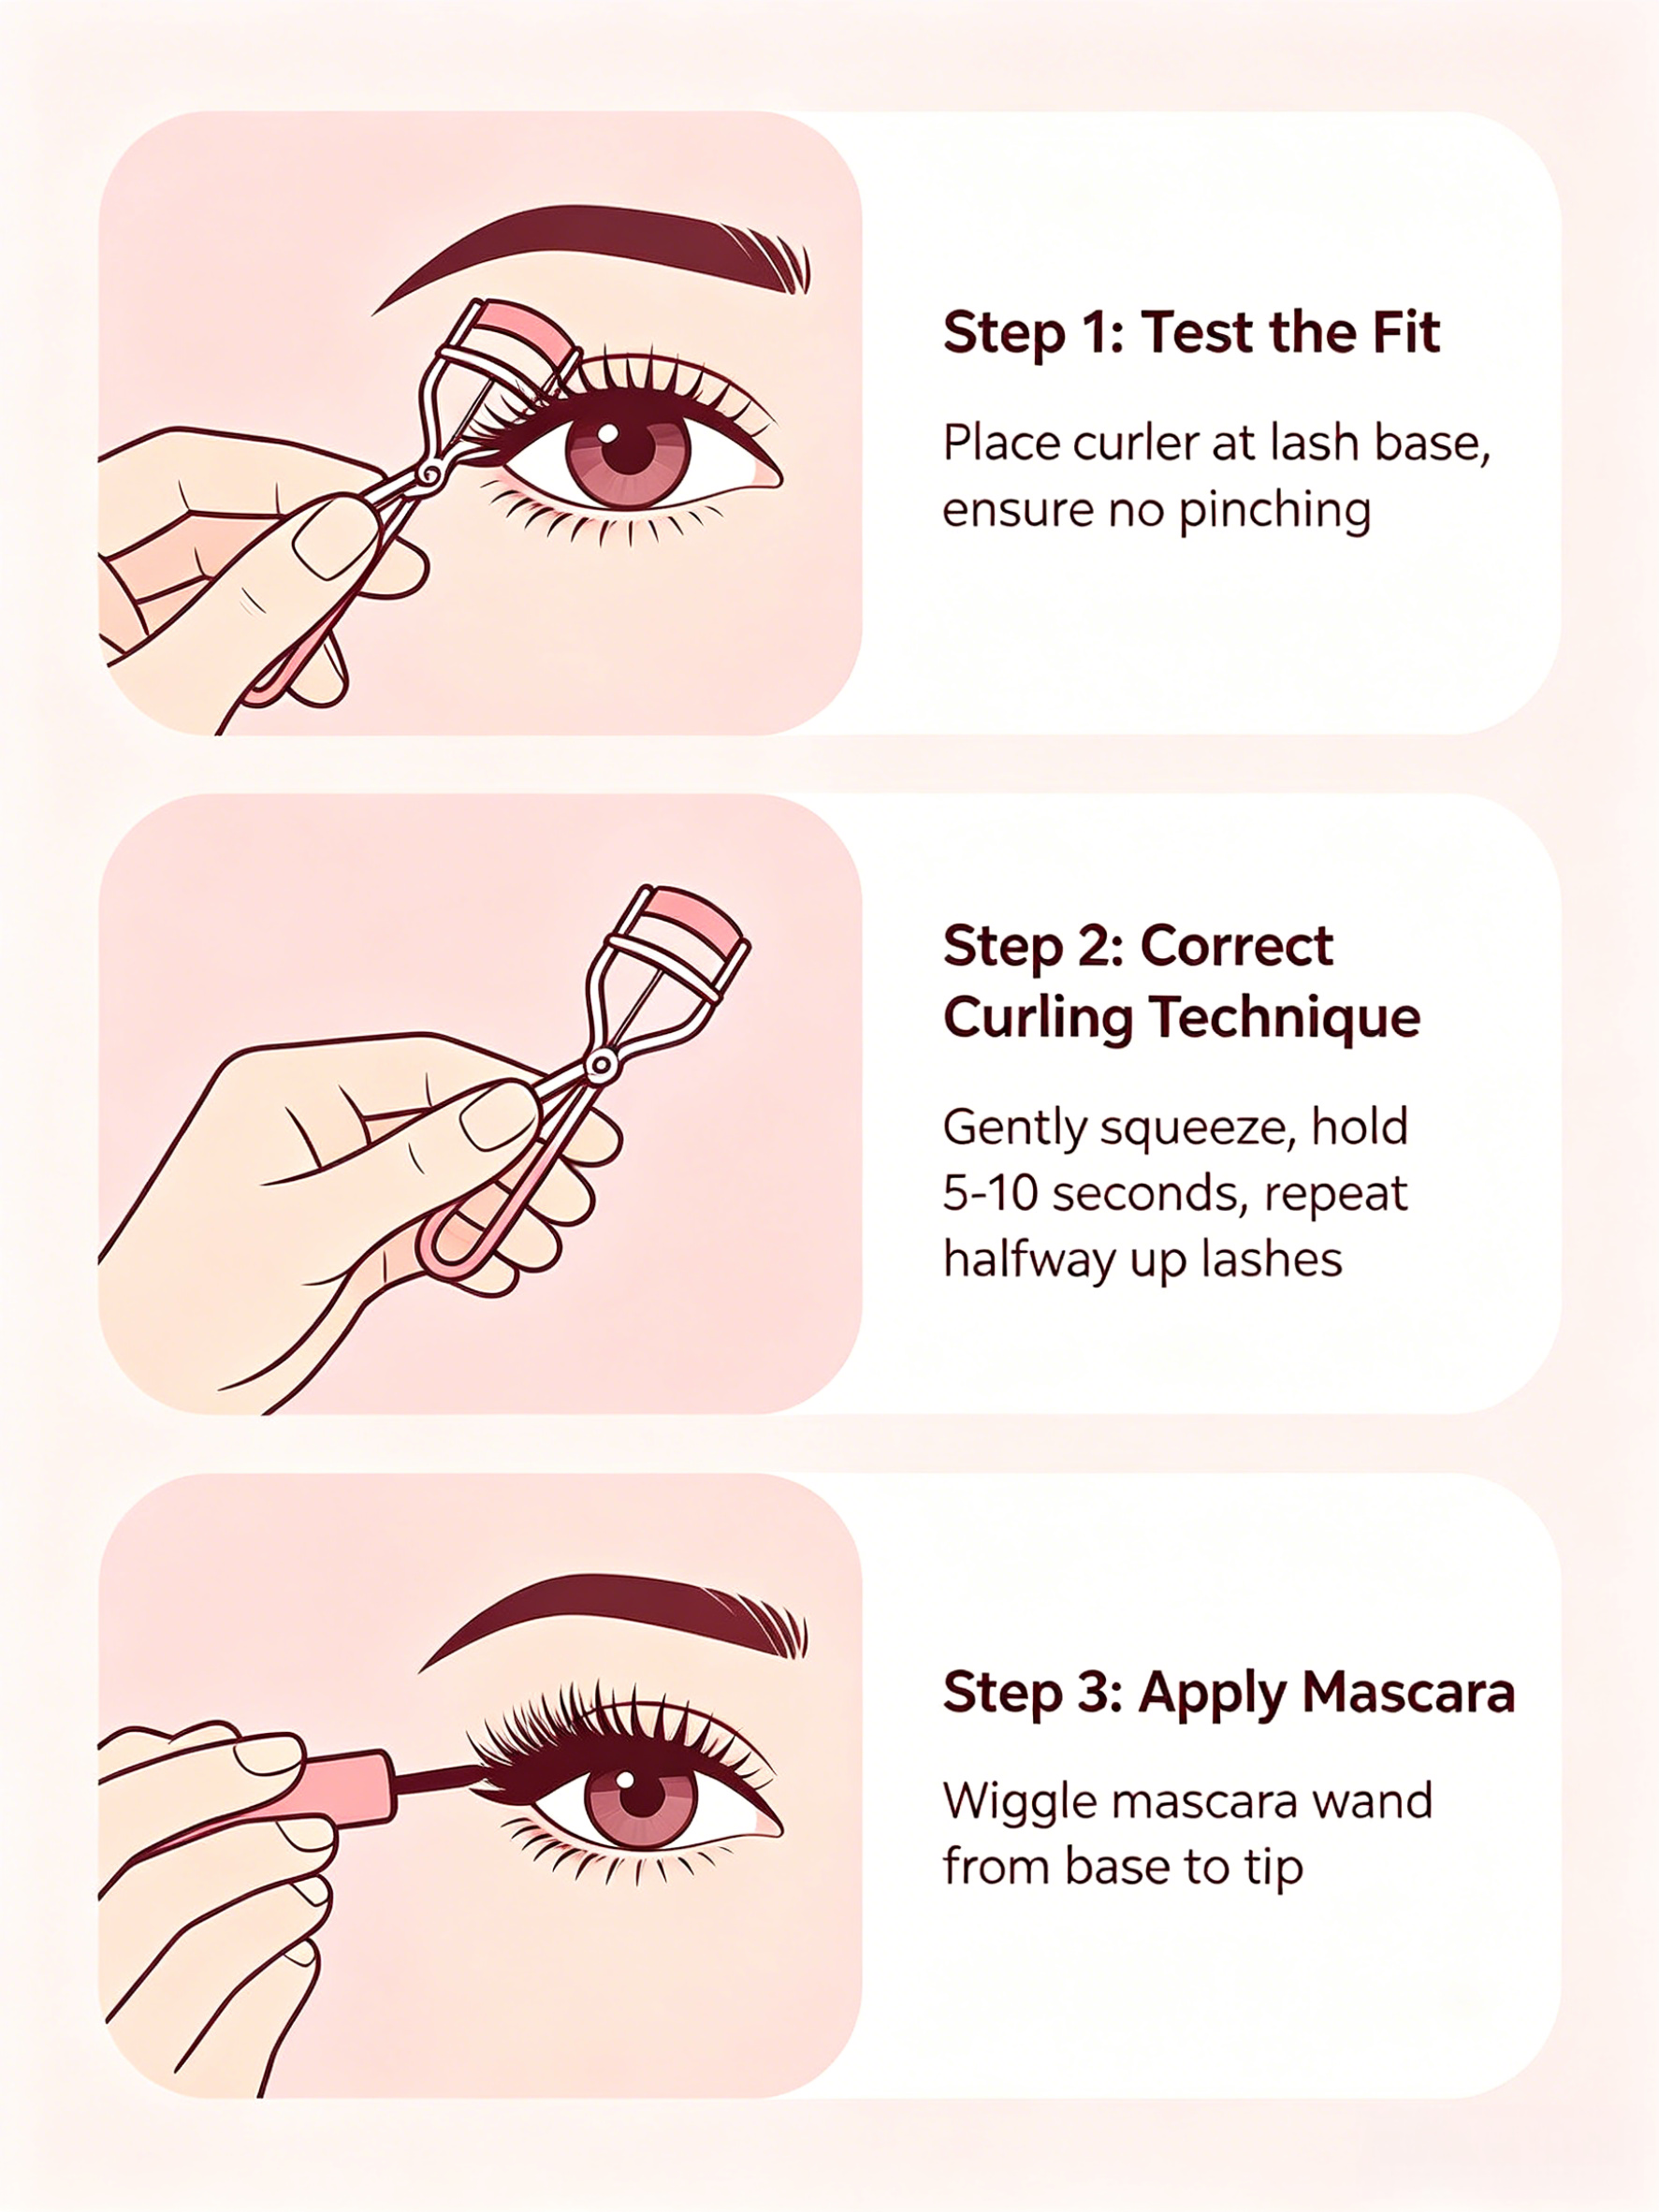
Before squeezing the handles, test the fit with the curler open. Stand in front of a mirror, look slightly downward, and bring the tool toward the lash line without clamping. The arc should visually follow the root of the lashes. If the frame touches the eyelid uncomfortably before the lashes enter the clamp, the opening or curve may not suit the eye. If the center lashes enter but the corners sit outside the pad, the width or curvature may be wrong.
- Check the center first: The center of the clamp should align with the center of the lash line.
- Look at both corners: Inner and outer lashes should sit on the pad, not outside the frame.
- Notice pressure points: Any pinching before squeezing suggests a poor match or awkward angle.
- Try a half squeeze: Apply very light pressure to confirm that lashes are caught evenly.
- Compare both eyes: Many people have slight asymmetry, so fit should be comfortable on both sides.
This test is useful for individual shoppers and also for product development teams building a curler range. A single universal design may serve many users, but a collection can also include different curvature options when the target audience has varied eye shapes.
Technique: Creating Lift Without a Sharp Bend
Even a well-matched curler can create a poor result if it is used with one hard squeeze at the base. For a smoother C-curve, use controlled pressure in two or three positions along the lash. Start near the base, hold briefly, then move slightly outward and press again with less force. This staged motion creates a rounded lift instead of a hinge-like kink.
A common question is whether to curl before or after mascara. For most users, curling clean lashes first is the safer choice because mascara can make lashes stiffer and more prone to sticking to the pad. If a makeup routine requires extra hold, a lightweight mascara after curling can help preserve the shape. Avoid clamping heavily over dried mascara, as this can pull or weaken lashes.
Some users warm the curler slightly, but heat must be handled with care. The tool should never feel hot on the skin. If warmth is used, test it on the inside of the wrist before placing it near the eye. Gentle pressure and good alignment are more important than heat.
Maintenance and Hygiene Matter as Much as Shape
The pad is the part of the curler that contacts the lashes directly, so it changes the feel of the tool over time. A worn pad may develop a groove, which can concentrate pressure and create a sharp bend. Residue from mascara, oil, or skincare can also reduce grip and make the clamp slide instead of lifting cleanly.
- Wipe the pad and frame regularly with a suitable cosmetic tool cleaning method.
- Replace pads when they show deep grooves, cracking, stickiness, or loss of bounce.
- Do not share an eyelash curler without proper cleaning, especially near the eye area.
- Store the tool dry to help protect metal parts and keep the pad clean.
- Stop using any curler that has a loose hinge, misaligned clamp, or damaged pad.
For sourcing teams, pad replacement availability can influence the long-term user experience. When comparing product collections, consider whether the curler design is easy to clean, whether the pad stays securely seated, and whether the hinge action feels smooth throughout repeated use.
Buyer Checklist for Selecting an Eyelash Curler
When choosing an eyelash curler for retail, salon use, gifting, or private label development, move beyond appearance alone. Finish and handle design matter, but fit and repeatable performance matter more. A practical evaluation should include several eye shapes, different lash lengths, and users with different hand sizes.
- Fit range: Does the radius suit the intended audience’s common eye shapes?
- Corner capture: Are inner and outer lashes curled, or does the tool miss them?
- Comfort: Does the frame avoid pinching when placed close to the lash base?
- Curl quality: Does it create a gradual C-curve rather than a sharp crease?
- Pad performance: Is the cushion resilient enough for even pressure?
- Control: Do the handles allow slow, precise squeezing?
- Durability review: Are hinge movement, alignment, and pad seating stable during normal handling?
Choosing the Right Curve for Better Results
The best eyelash curler is the one that matches the user’s lash-line shape, reaches the base comfortably, and applies cushioned pressure across the full width of the lashes. Rounder eyes often benefit from a deeper curve, while flatter or monolid eyes often need a shallower arc. Hooded and deep-set eyes require extra attention to opening height and access, not just radius.
For product selection or sourcing support, review the tool from the user’s point of view: fit first, curl quality second, and appearance after that. To explore current options, visit Olimor Beauty’s beauty tool products. If you are comparing specifications for a project or want to discuss an eyelash curler requirement, you can send an inquiry or contact Olimor for the next step.