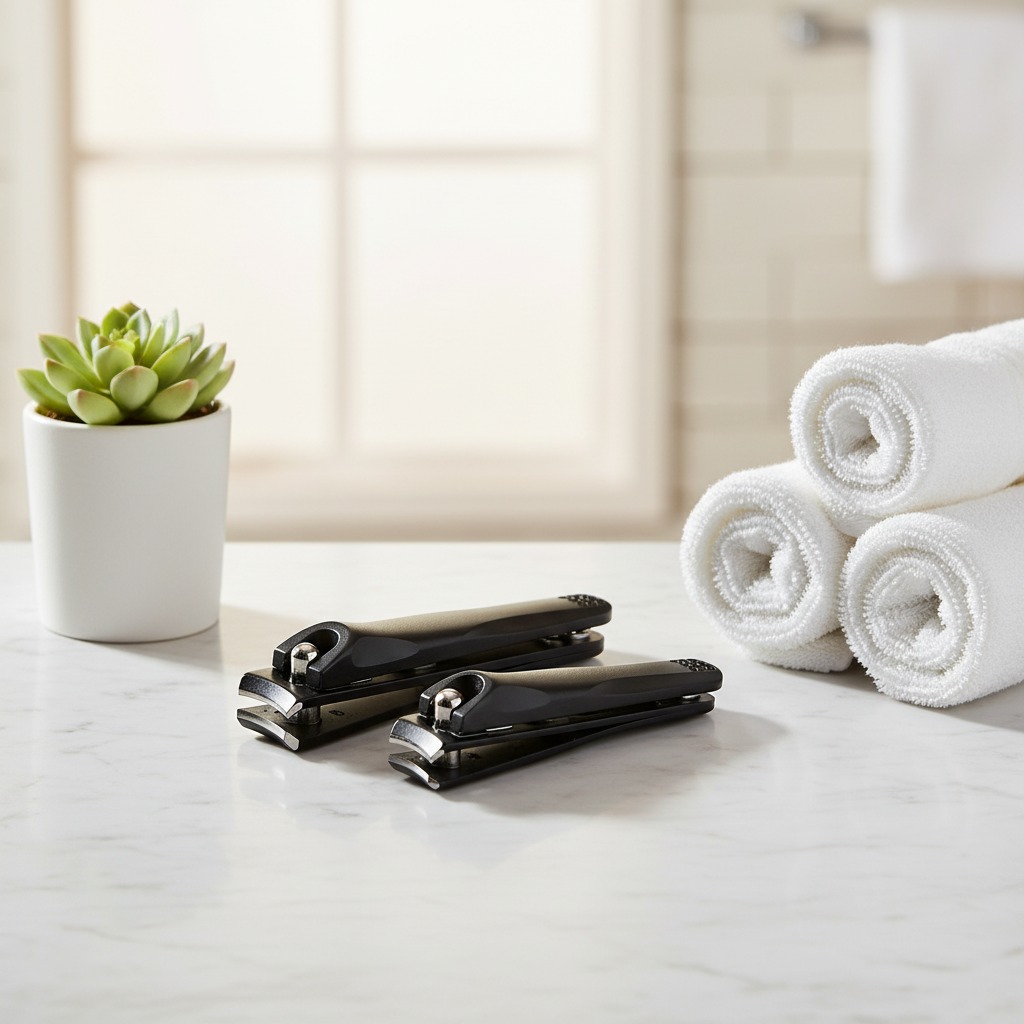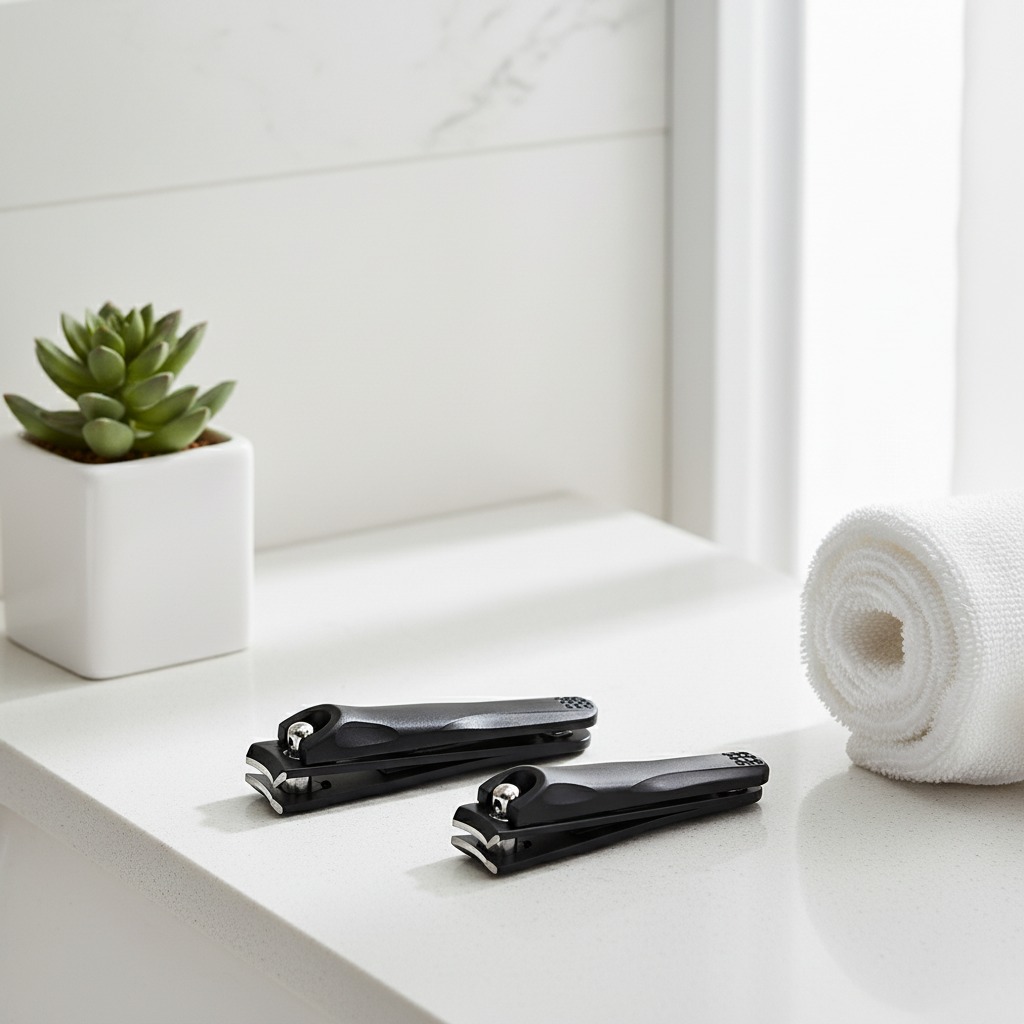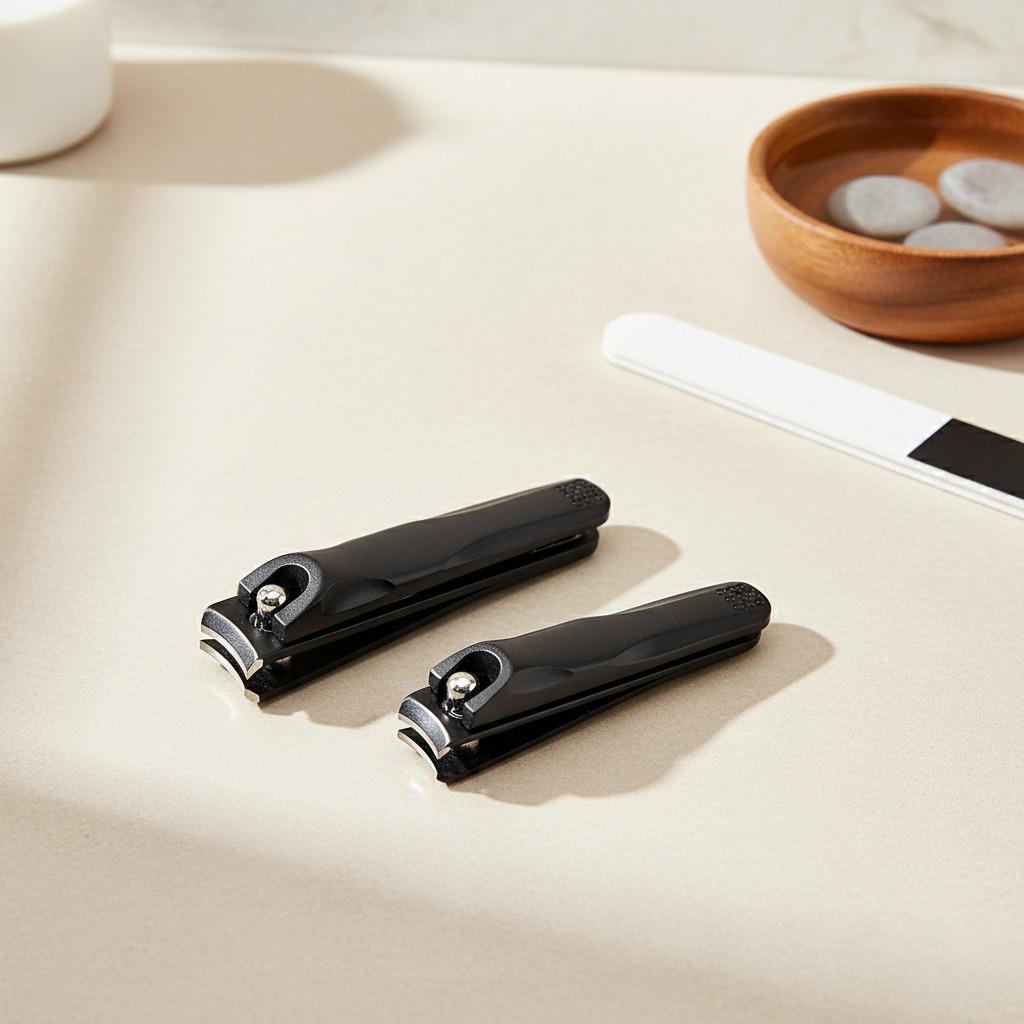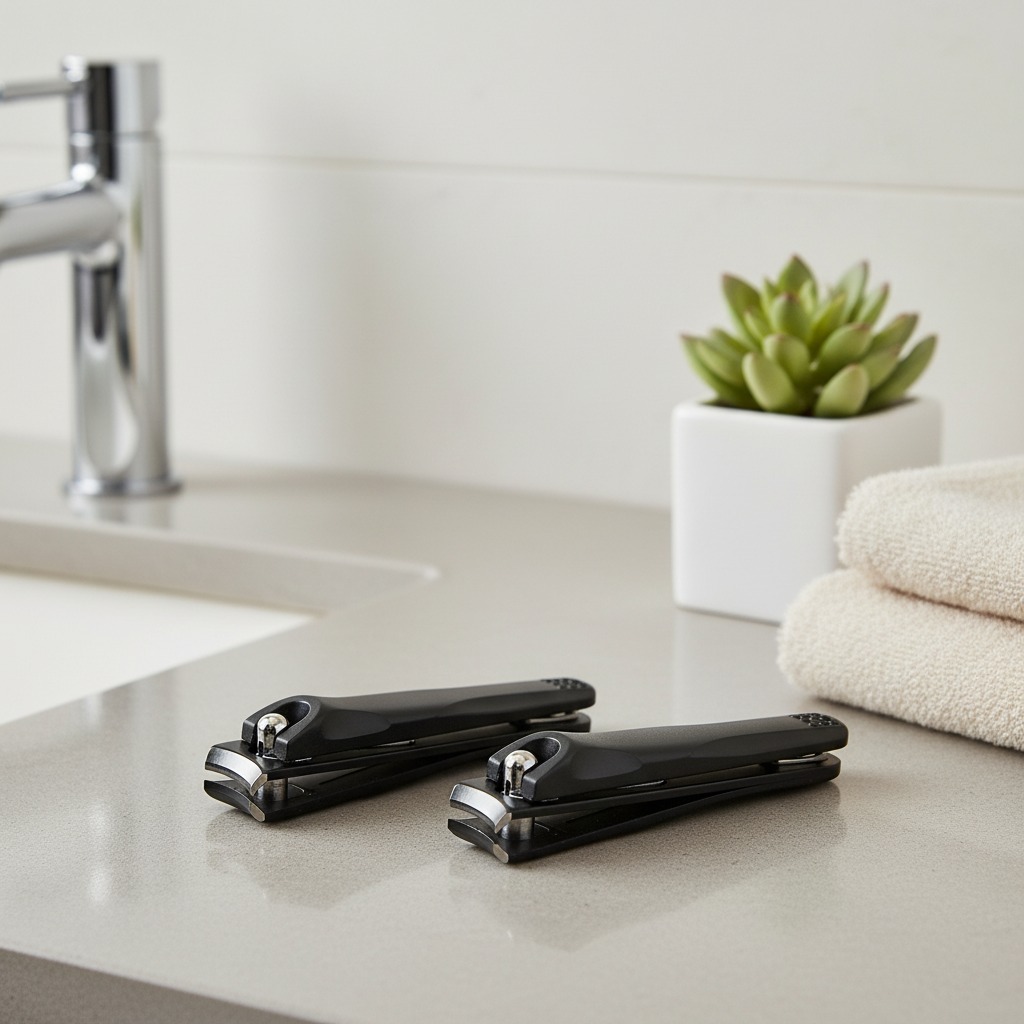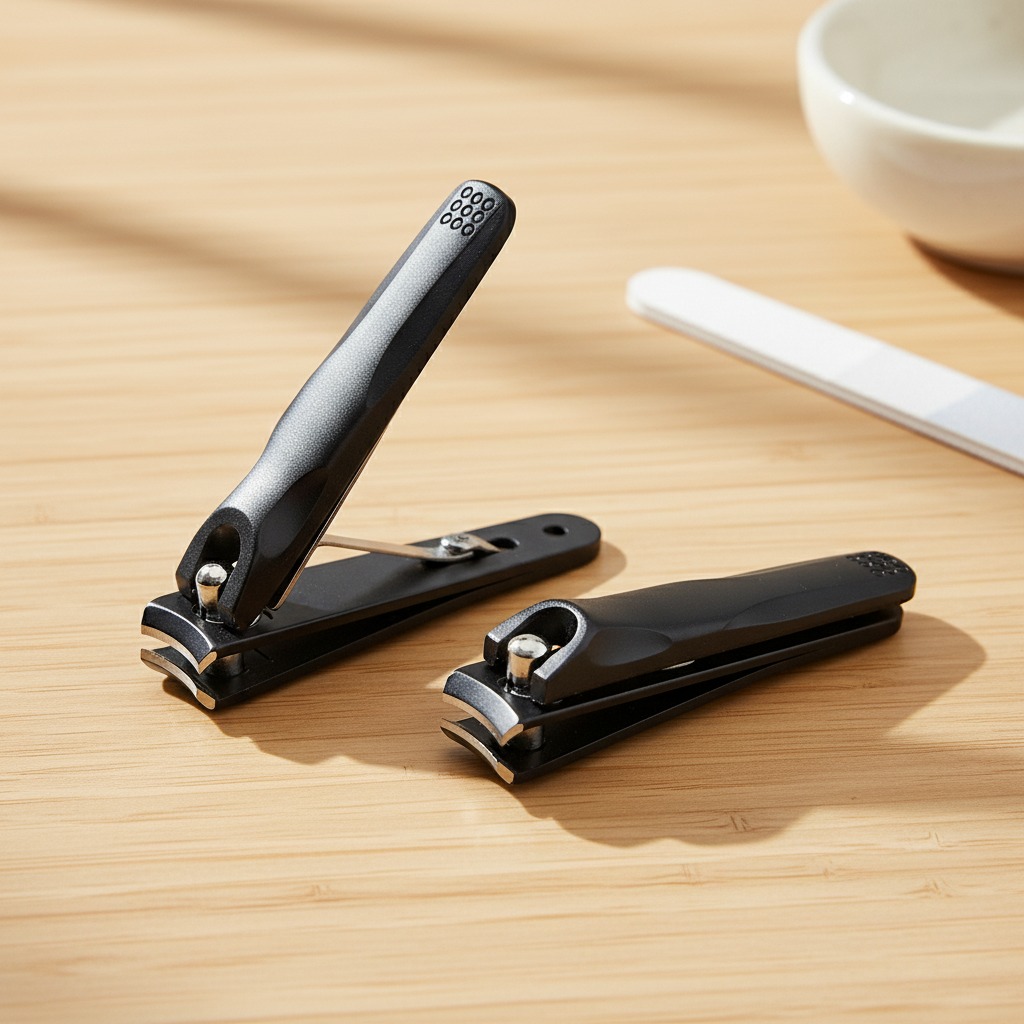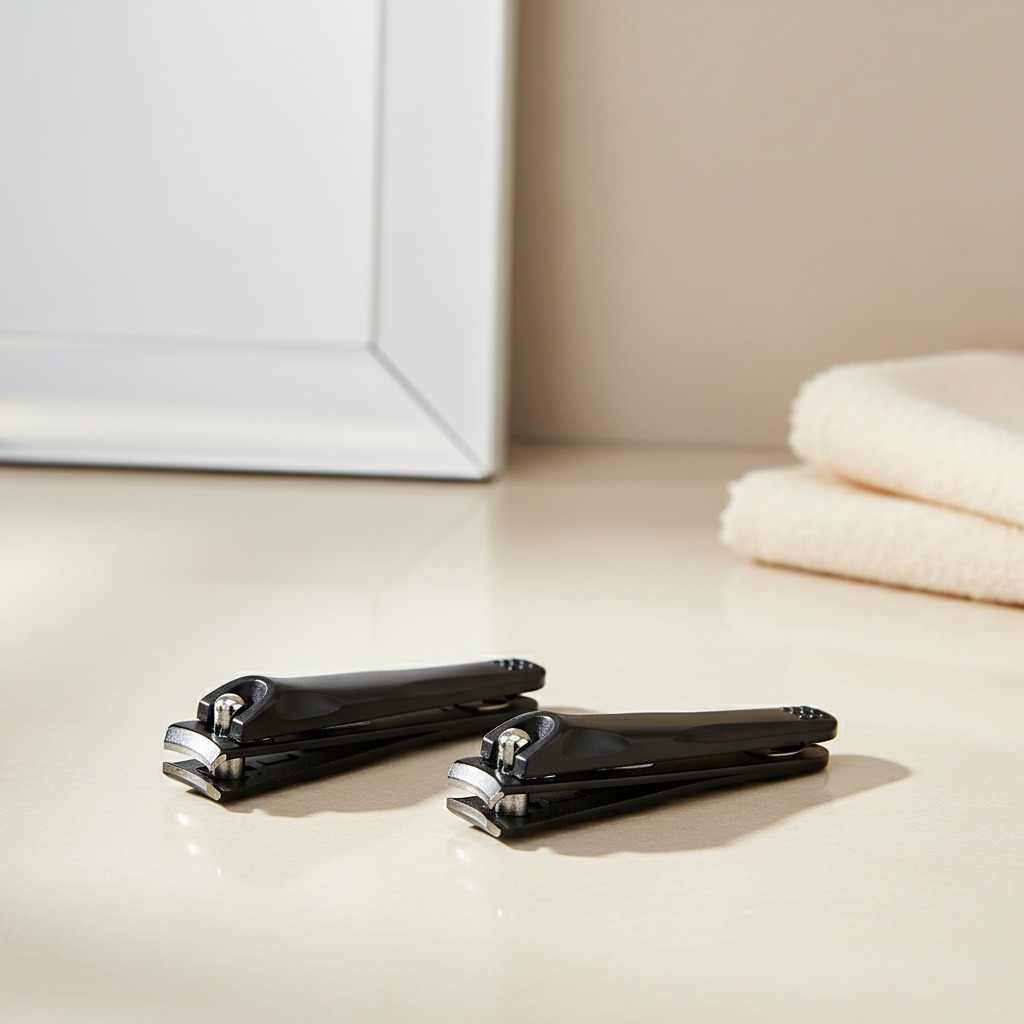












For a nail clipper, the surface finish is one of the first quality signals a buyer or end user notices. Before the blade edge is tested or the spring action is checked, the hand already feels whether the clipper is smooth, consistent and comfortable. A poorly controlled sanding process can leave uneven texture, visible scratches, dull patches or edges that feel unfinished. An upgraded sanding process helps reduce those risks and gives brand owners more control over the final appearance of their nail clipper line.
Olimor Beauty’s nail clipper sanding process upgrade focuses on supporting different finish preferences, especially sand-light and mirror-light effects. These two finishes serve different product positions. A sand-light texture can create a softer, less reflective appearance with a practical hand feel. A mirror-light finish can give a brighter, polished look for buyers who want a cleaner and more reflective presentation. The right choice depends on the product audience, packaging style, expected retail channel and the level of visual inspection required by the customer.
Why Surface Finishing Matters in Nail Clipper Manufacturing
Nail clippers are small tools, but they are handled closely and often used in personal care settings where comfort and hygiene perception matter. Even when the cutting function is the main purpose, the finish affects how the product is judged. A consistent finish suggests controlled production. Uneven sanding suggests process variation, even if the tool still cuts properly.
A reliable sanding process can support several practical goals. It can help prepare the surface before the final finish, improve the visual uniformity of the clipper body, reduce rough touch points and make the product feel more carefully made. For B2B buyers, these details influence returns, customer reviews, retail presentation and the confidence of distributors comparing multiple suppliers.
Surface quality also affects product positioning. A basic grooming kit may only need a clean and uniform matte look. A gift set or premium retail item may need brighter reflection and tighter visual consistency. When these expectations are defined early, the production team can plan the sanding and polishing route more accurately instead of treating surface finishing as a final correction step.
Sand-Light vs. Mirror-Light: Choosing the Right Finish
The original production direction described two finish effects: sand-light and mirror-light. These terms are useful for buyers because they separate two common appearance targets. A sand-light effect generally emphasizes a smooth textured surface with lower reflection. A mirror-light effect emphasizes gloss and reflectivity. Neither option is automatically better; each serves a different product strategy.
| Finish direction | Typical appearance goal | Useful for | Buyer review focus |
|---|---|---|---|
| Sand-light | Soft, even, lower-reflection surface | Practical grooming tools, everyday retail sets, products where fingerprints should be less obvious | Texture consistency, absence of harsh sanding lines, comfortable touch |
| Mirror-light | Glossy, bright and more reflective surface | Premium-looking nail clippers, giftable sets, display-focused packaging | Reflection uniformity, scratch visibility, clean edges and polished details |
When deciding between these options, buyers should consider the full product environment. A mirror-light finish may look attractive in clear packaging or close-up photography, but it can make fine scratches more visible if the handling and packaging process is not controlled. A sand-light finish may be more forgiving in daily use, but it still requires even processing to avoid patchy or streaked areas. The best finish is the one that matches the customer’s expectations, price position and quality control plan.
What an Upgraded Sanding Process Should Control
A sanding process upgrade is not only about making the surface shinier. The real value is process control. Nail clippers have curves, recesses, levers and edges that can be difficult to finish consistently. If pressure, direction or sequence is poorly managed, one area may appear bright while another remains dull. Edges can become overworked, and surfaces can show inconsistent grain or swirl marks.
For buyers reviewing a nail clipper production partner, the following control points are worth discussing during sampling and order preparation:
- Finish target: Define whether the product should follow a sand-light or mirror-light appearance, and provide reference samples when possible.
- Consistency across parts: Check the top lever, lower body, side profile and handle contact areas rather than only the most visible front surface.
- Edge comfort: Confirm that sanding improves touch comfort without distorting functional edges or making the clipper feel weak.
- Scratch tolerance: Decide what level of fine hairline marks is acceptable for the intended sales channel and packaging format.
- Batch comparison: Compare samples from different production runs when possible, because consistency over time is more important than one attractive sample.
- Post-sanding handling: Review how parts are stored, moved and packed after finishing so the surface is not damaged before shipment.
These points help turn a subjective phrase such as “better finish” into a more practical set of inspection expectations. They also help both sides avoid misunderstandings between product development, purchasing and quality control teams.
How Better Sanding Supports B2B Product Development
For importers, distributors and private-label buyers, surface finish is part of product development rather than a minor decorative detail. A nail clipper may be sold alone, included in a manicure set, paired with travel accessories or placed in a retail grooming range. Each use case creates different requirements for appearance and durability perception.
If the nail clipper is part of a coordinated beauty tool set, the finish should visually match the other items. Buyers browsing Olimor Beauty’s beauty tool products may need nail clippers, tweezers, scissors or other grooming tools to look consistent in the same package. A mismatch between matte and glossy surfaces can make a set feel less planned, even if each item is individually acceptable.
Finish choice can also affect product photography. Mirror-light products can show strong highlights, which may help create a clean look in professional images but may require careful lighting. Sand-light products tend to produce softer reflections, which can be easier to represent consistently online. For e-commerce buyers, the finish seen in the photo should closely match what the customer receives.
For retail buyers, handling samples is especially important. A finish that looks fine on a screen may feel different in the hand. The lever should feel smooth during use, and the body should not have rough or sharp-feeling areas where fingers apply pressure. An upgraded sanding process should therefore be evaluated through both visual inspection and practical handling.
Practical Sample Review Checklist
Before confirming a nail clipper finish for production, buyers can use a simple review process. This is especially helpful when comparing sand-light and mirror-light options or when aligning a new product with an existing line.
- Inspect under different lighting. View the sample under daylight, office lighting and stronger direct light. Some surface marks only appear at certain angles.
- Check all visible surfaces. Do not limit inspection to the front. Look at the sides, lever area, underside and curved surfaces.
- Handle the clipper repeatedly. Open and close it, grip it as a user would, and check whether the finish feels comfortable.
- Compare multiple pieces. One sample may not represent batch consistency. Review several units if available.
- Match with packaging. Place the sample in its intended tray, pouch or box to see whether the finish supports the overall product presentation.
- Record the approved standard. Keep photos, notes and physical approval samples where possible so future inspections have a clear reference.
This checklist does not replace formal quality control, but it helps purchasing teams make clearer decisions before production begins. It also gives the manufacturer more precise guidance than a general request for a “high quality” finish.
Manufacturing Questions Buyers Should Clarify Early
Because finish expectations vary widely, buyers should clarify key decisions before confirming bulk production. The goal is to define what matters most for the specific product: visual brightness, texture, touch comfort, consistency or compatibility with a larger set.
Useful questions include: What finish effect is required for the target market? Will the nail clipper be inspected mainly by visual appearance, hand feel or both? Is the product intended for a basic grooming kit, a mid-range retail line or a more presentation-focused set? Will the packaging protect the surface from rubbing during transport? Are there reference samples that show the expected sand-light or mirror-light result?
It is also important to consider how the finish interacts with the rest of the product. A polished surface may draw more attention to small assembly differences. A textured finish may hide some minor handling marks but still needs uniform sanding direction. Buyers who already manage related manicure or grooming items can review Olimor Beauty’s product collections to think about how the nail clipper finish fits within a broader assortment.
Working with Olimor Beauty on Nail Clipper Finish Requirements
Olimor Beauty’s sanding process upgrade is designed to give buyers more practical finish options for nail clippers, including sand-light and mirror-light effects. The most successful projects begin with clear product positioning and realistic inspection standards. Instead of choosing a finish only by appearance, buyers should connect the finish to the product’s use case, packaging, retail environment and end-user expectations.
If you are developing a nail clipper product or updating an existing grooming line, prepare reference samples, target photos, packaging details and any finish concerns before discussion. This makes it easier to evaluate the best sanding direction and avoid unnecessary sample revisions. To discuss a project, you can contact Olimor or send an inquiry with your finish target and product requirements.
A carefully controlled sanding process helps a nail clipper look and feel more consistent. Whether the preferred direction is a subtle sand-light texture or a brighter mirror-light finish, the key is to define the standard early, inspect the right details and align the finish with the product’s market position. For B2B buyers, that attention to surface quality can make the difference between a tool that looks ordinary and one that supports a stronger product line.