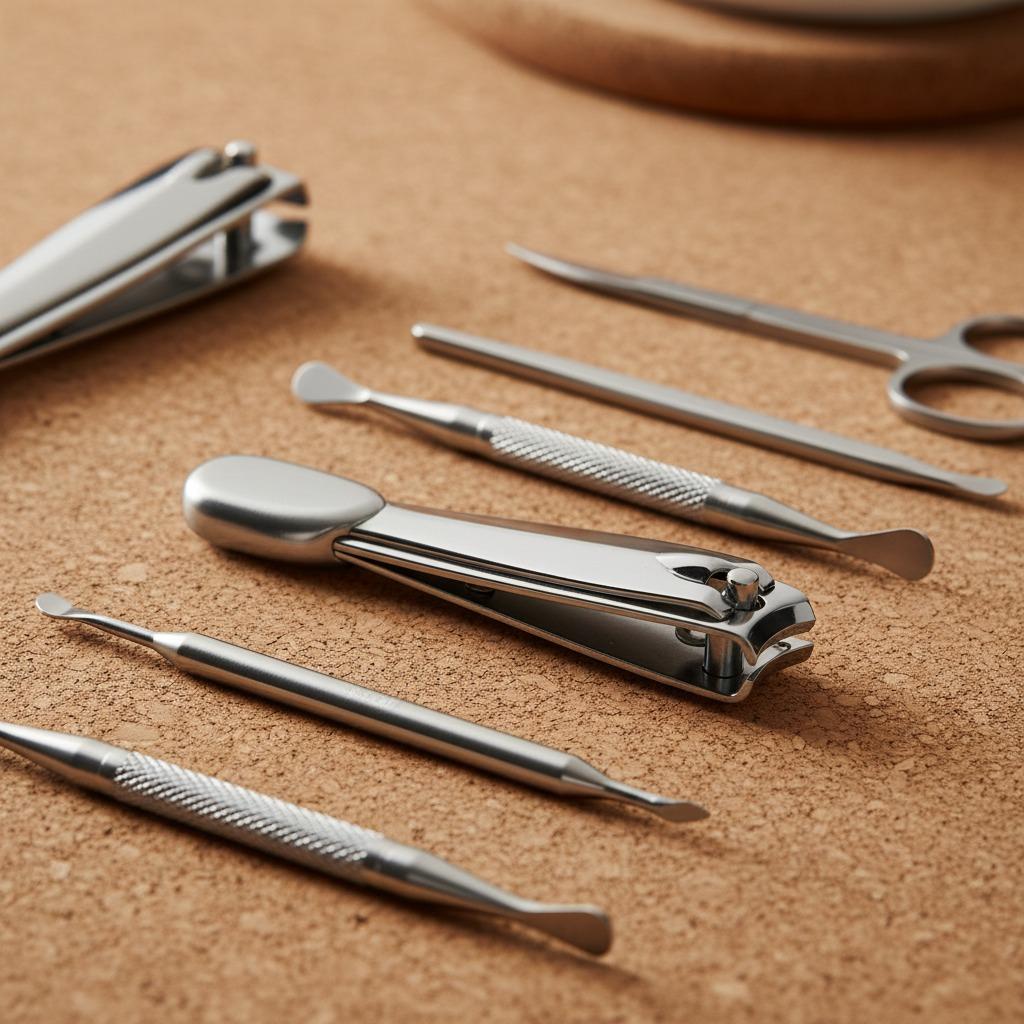











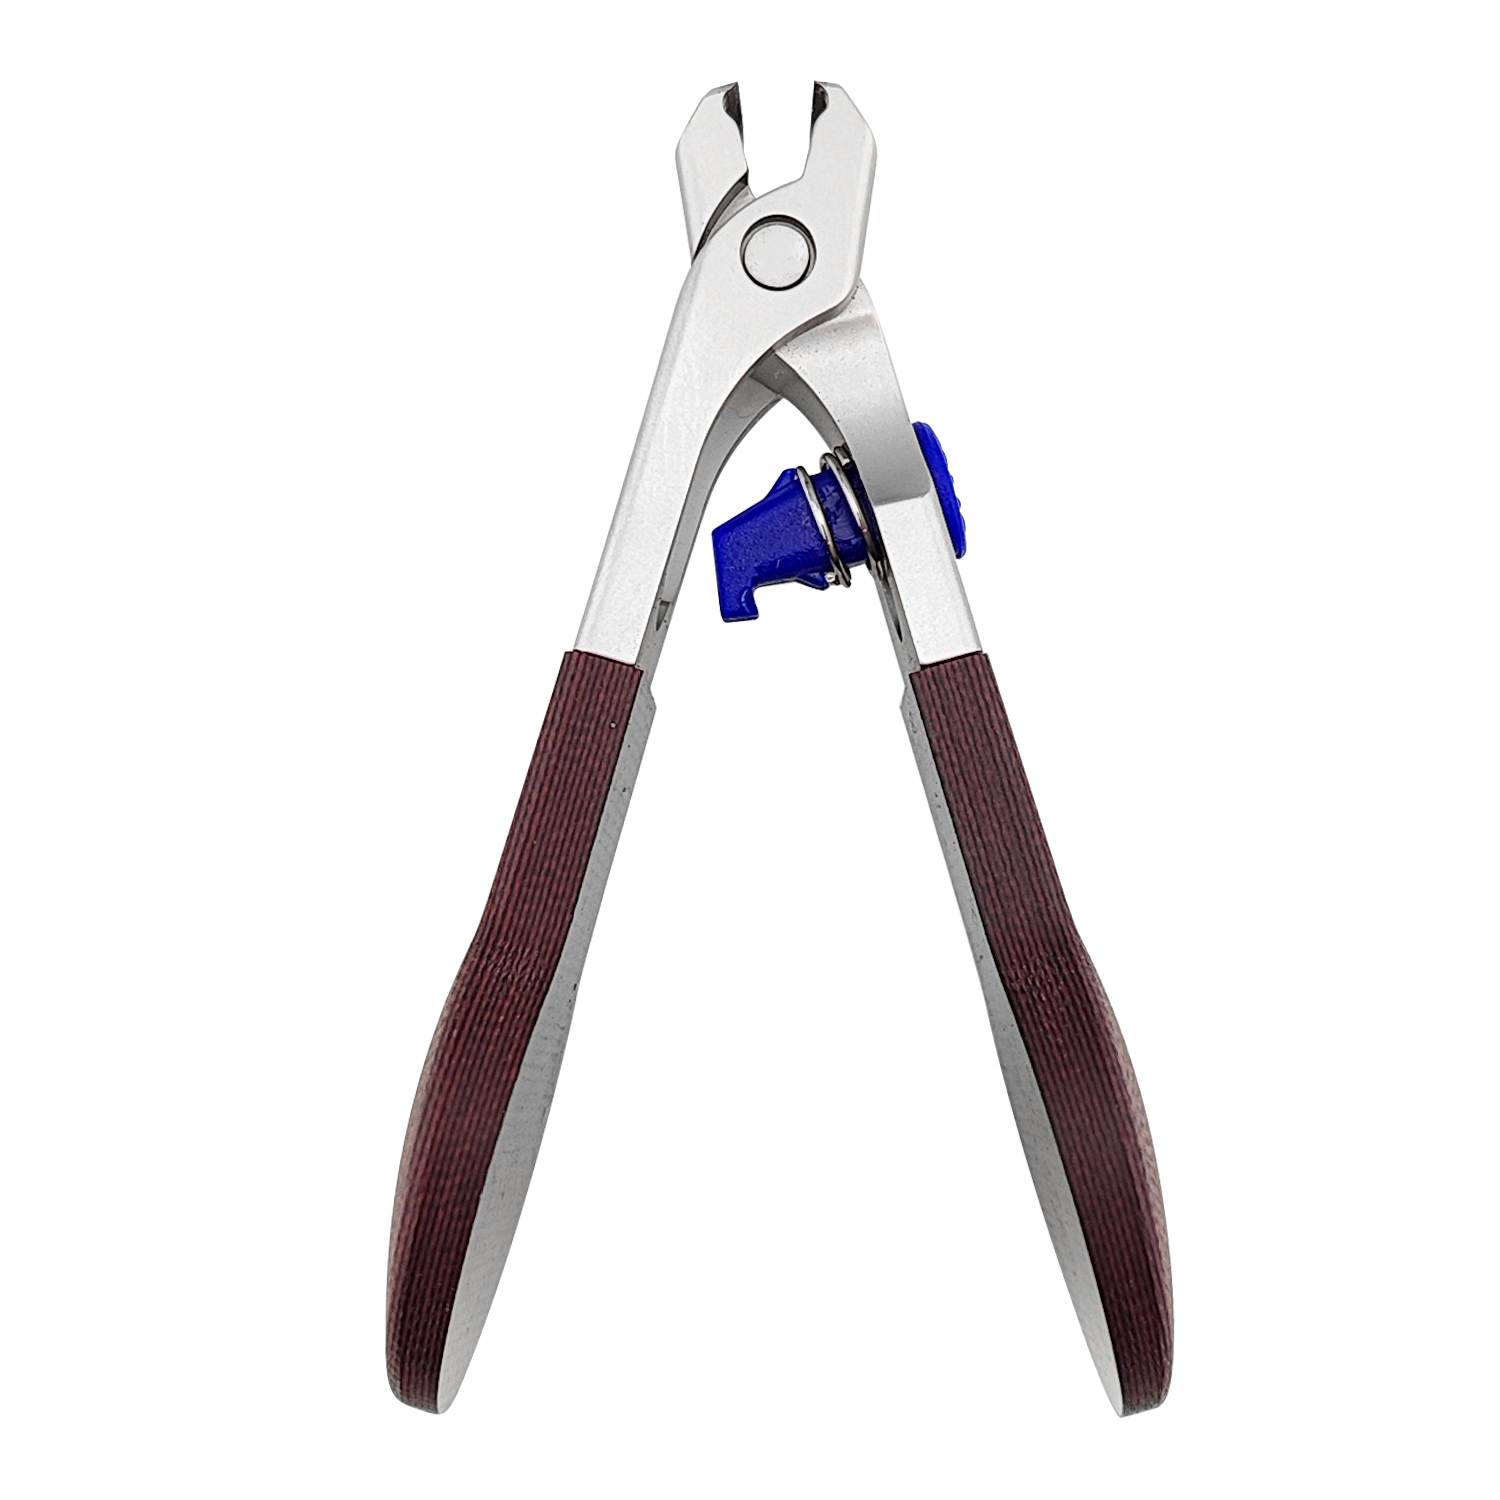
A nail clipper seems simple, but the difference between a clean trim and a rough one usually comes down to technique, hygiene and tool condition. When the blades meet evenly and the tool is kept dry and clean, it removes a small section of nail with less pressure. When the edge is dull, dirty or misaligned, the nail may split, the cut can feel uncomfortable, and the clipper can wear out faster.
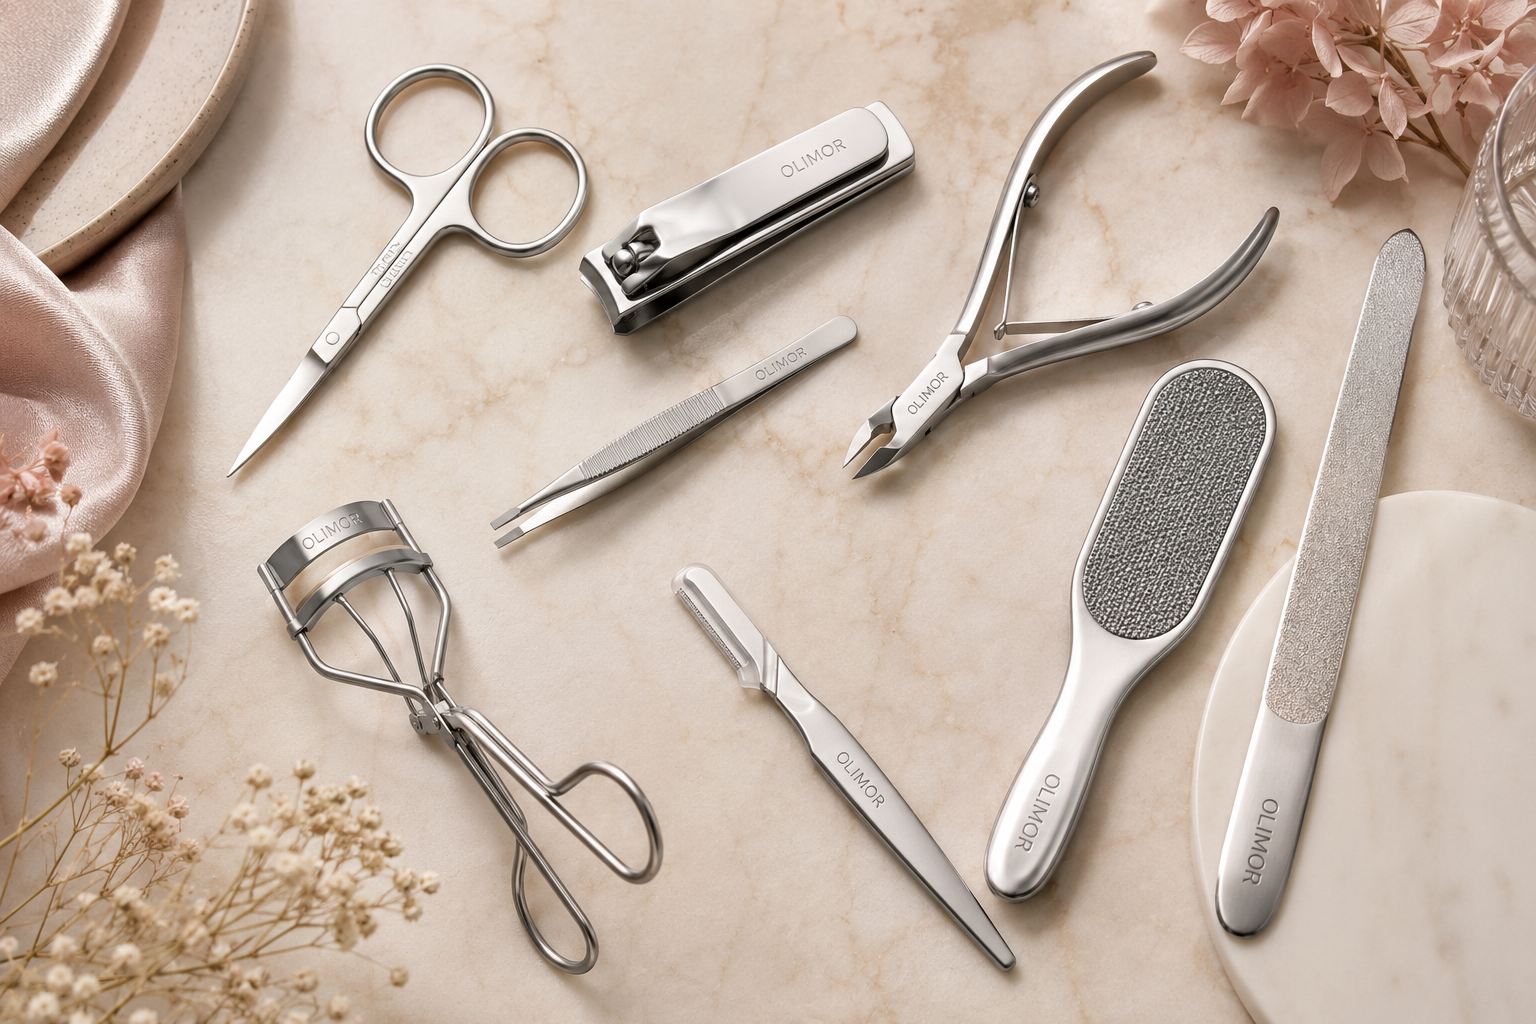
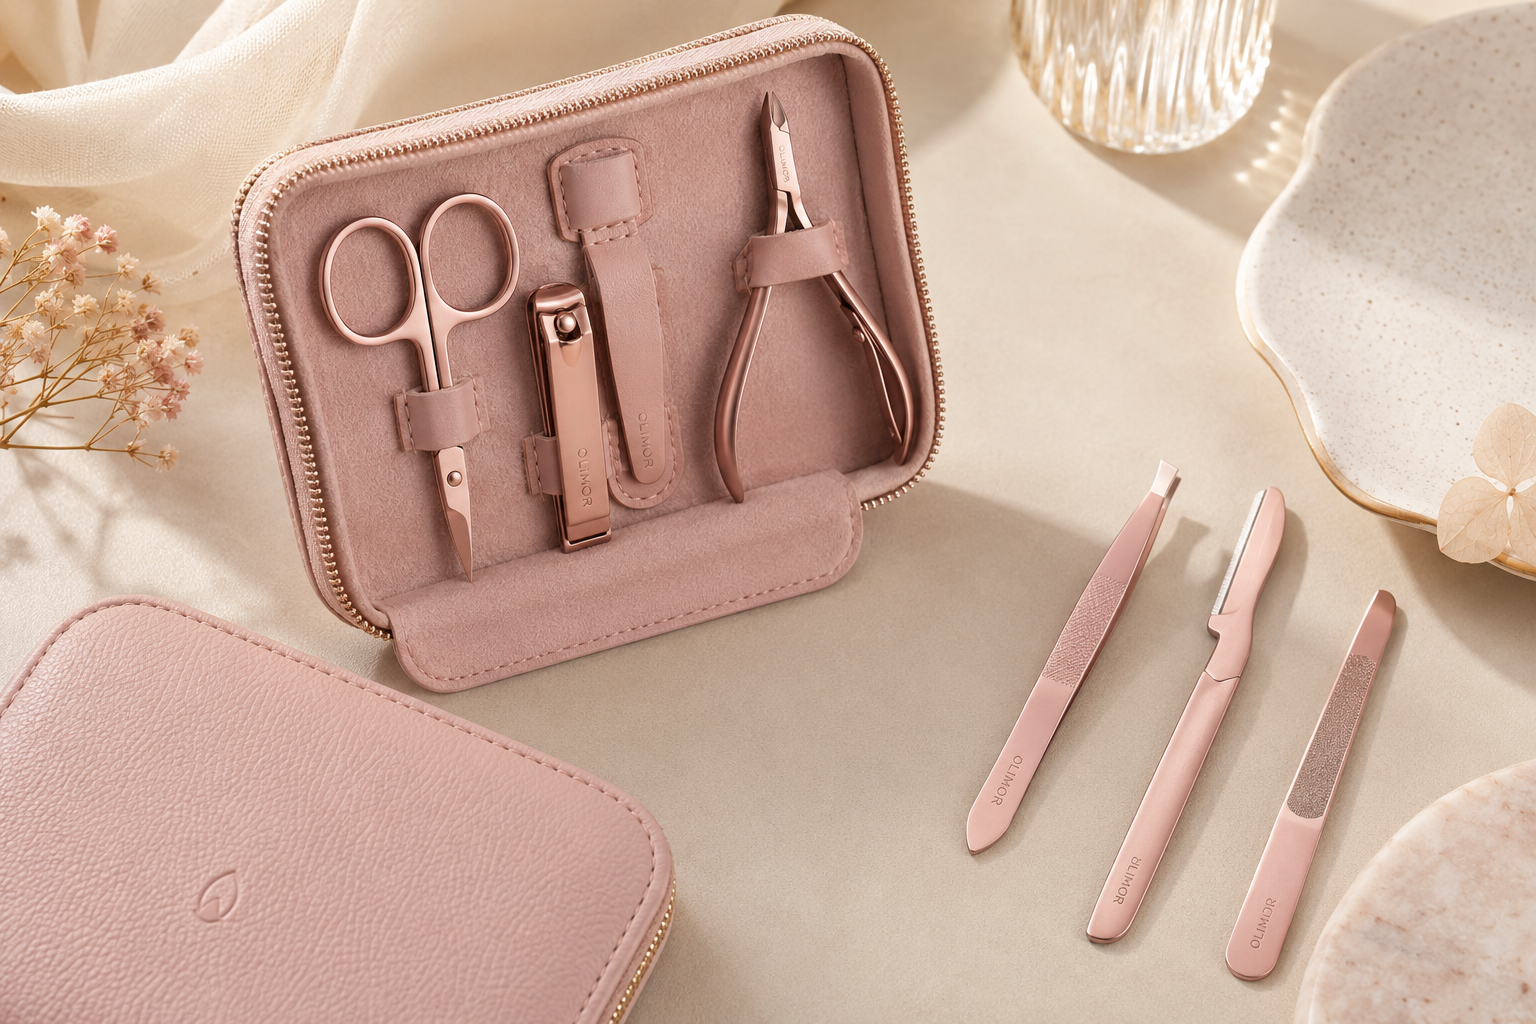
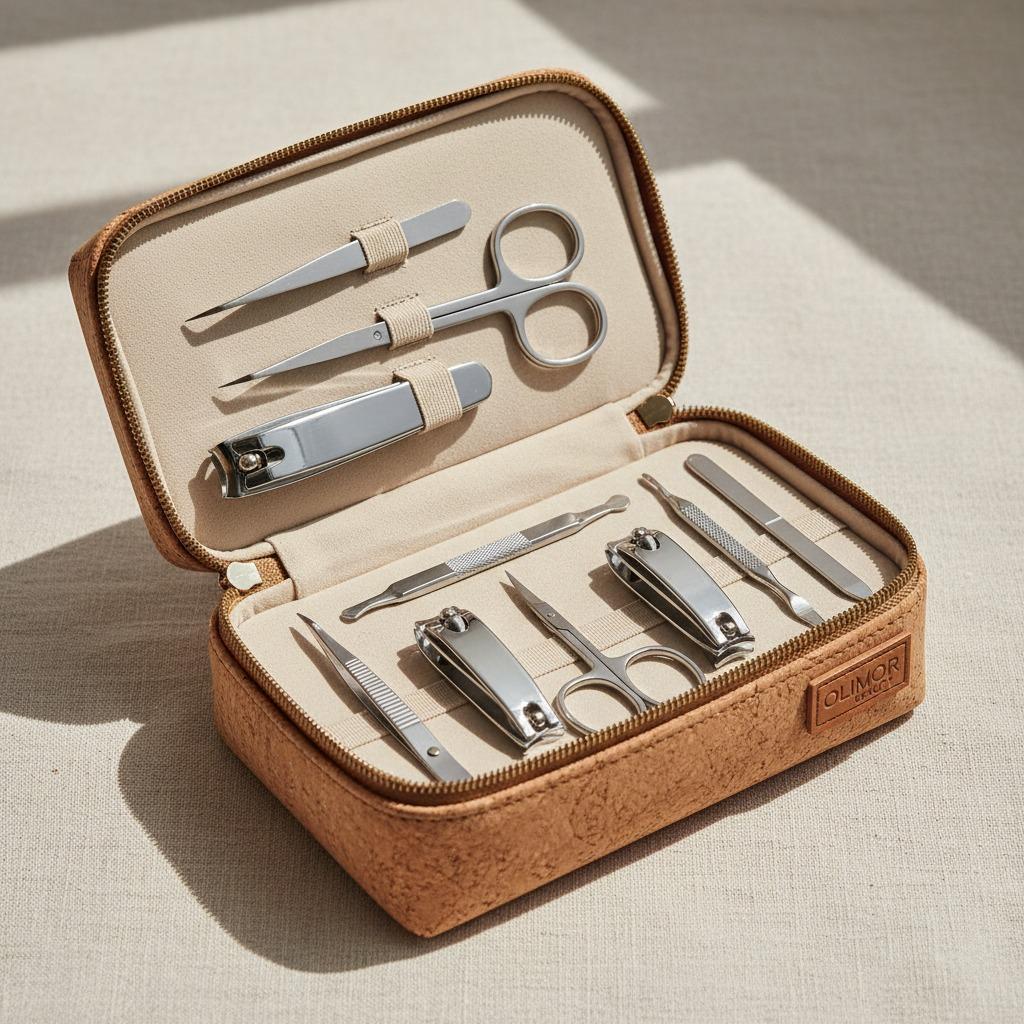
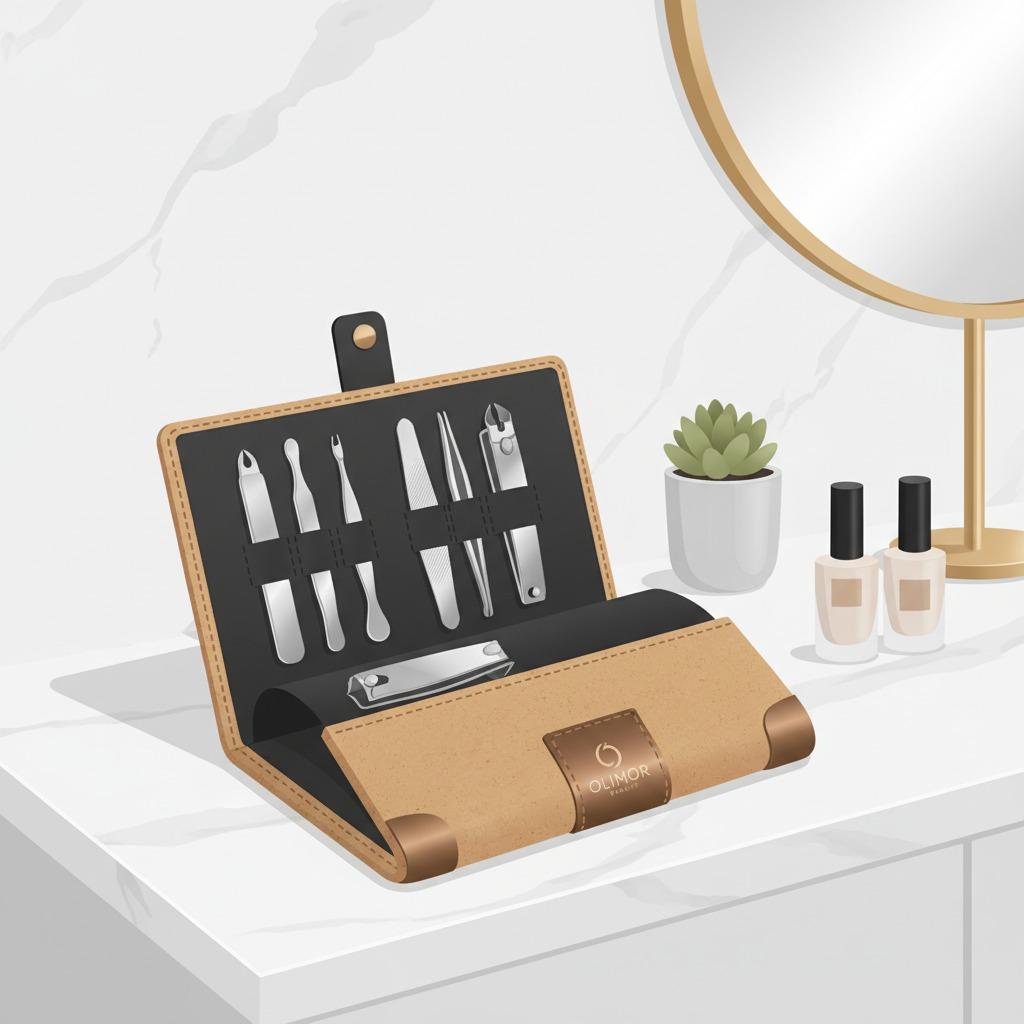
This guide focuses on practical use, cleaning, storage and sourcing checks for a nail clipper. It is useful for home grooming, travel kits, salon back-room use and retail buyers who need a dependable manicure or pedicure accessory. If you are building an assortment, you can also explore broader beauty tool products and related product collections for a fuller nail care lineup.
What a Nail Clipper Should Do Well
A good nail clipper should remove a small section of nail with a controlled press, not crush the nail into a rough edge. The blades should meet evenly across the cutting edge, the lever should return smoothly, and the body should feel stable in the hand. For everyday use, the right tool is less about appearance and more about alignment, finish and how much force it takes to complete a cut.
The basic parts matter. The cutting edges do the work, the lever creates pressure, and the pivot affects how smoothly the tool opens and closes. If any of those parts feel loose, rough or uneven, the clipper is more likely to snag, bend or leave an irregular edge. That is why buyers and users should think about function before shape or packaging.
For households and B2B assortments alike, the goal is the same: a clipper that cuts predictably, can be kept hygienic, and does not need unnecessary force. Those are the signs of a practical grooming tool rather than a decorative one.
Choose the Right Clipper for the Nail Type
Fingernails and toenails do not behave the same way, so the clipper should not be chosen the same way either. Fingernails are usually thinner and easier to trim, so a compact clipper often gives enough control. Toenails are typically thicker, flatter and wider, so a larger clipper may feel more comfortable and may require less force. Using a small fingernail clipper on tough toenails can create an uneven cut and put extra stress on the lever and blades.
Blade shape also matters. A curved cutting edge follows the natural arc of many fingernails, while a straighter edge can work better for toenails, where cutting too deeply into the corners may lead to discomfort. If you are sourcing nail clippers for different users, it helps to compare the tool in a practical way instead of judging by appearance alone.
| Use case | Better clipper profile | What to inspect | Common mistake |
|---|---|---|---|
| Fingernails | Compact body with a curved edge | Even blade contact, comfortable grip, smooth return | Removing too much at once |
| Toenails | Larger body with a flatter cutting edge | Firm leverage, stable pivot, clean cut without crushing | Forcing a small clipper onto thick nails |
| Shared family kit | Simple design that is easy to clean and dry | Accessible pivot area, clean finish, optional catcher | Storing it while damp |
| Retail or private-label assortment | Multiple sizes or styles for different users | Batch consistency, smooth edges, clear packaging | Choosing only by outside finish |
That table is useful when you compare products on a shelf or in a sample set. It keeps the focus on use, not just style. For retail teams and buyers, it also makes it easier to decide whether one model can cover both fingernail and toenail needs or whether a mixed assortment is the better option.
Prepare Nails Before Clipping
Good trimming starts before the clipper touches the nail. Wash hands or feet first to remove dirt and soften the nail edge slightly. Dry the area well so the tool does not slip. For thicker nails, a short soak in warm water for about five minutes can make trimming easier. Avoid clipping nails when they are extremely soft from a long bath, because very soft nails can bend instead of cutting cleanly.
Lighting matters too. Position the hand or foot so you can clearly see the free edge of the nail and the surrounding skin. If you are trimming someone else’s nails, keep the fingertip or toe steady and work slowly. People with diabetes, poor circulation, active infections or painful nail conditions should be especially cautious and may need professional foot care rather than aggressive home trimming.
Before you start, check that the clipper is dry, the blades meet properly and the area around the pivot is clear of debris. That quick inspection prevents many of the small problems that turn a routine trim into a frustrating one.
Use the Nail Clipper with Controlled, Small Cuts
The safest technique is usually a series of small cuts rather than one large snap across the whole nail. Place your thumb on the lever and support the clipper body with your fingers. Align the blades with the portion of nail you want to remove, keeping skin away from the cutting edge. Press the lever smoothly and release fully before moving to the next section.
- Start at one side: remove a small section from the free edge without cutting into the corner too deeply.
- Move across gradually: continue with several controlled cuts until the desired length is reached.
- Leave a thin white margin: cutting flush to the skin can create soreness or expose sensitive tissue.
- Shape conservatively: follow the natural line of the nail rather than forcing an exaggerated curve.
- Finish with a file: smooth sharp points or rough edges to reduce snagging on fabric.
For toenails, a straighter cut is often more comfortable because it helps avoid digging into the side of the nail. Do not use the clipper as a prying tool to lift corners, remove hard skin or scrape under the nail. That can bend the tool, damage the nail plate or irritate surrounding skin.
If a nail is thick, brittle or uneven, do not force the cut. It is better to make several small cuts and check progress than to press harder and risk splitting the nail. A clean result usually comes from patience rather than pressure.
Clean the Clipper After Every Use
Cleaning is not only about appearance. Nail dust, skin particles and moisture can collect around the blades and pivot. If the clipper is shared by family members, used in a salon environment or packed into a travel bag, regular cleaning becomes even more important.
After each use, brush away visible debris with a clean dry brush or tissue. Wipe the cutting edges with rubbing alcohol on a cloth or cotton pad, then allow the tool to air dry completely. If the clipper has a nail catcher, open it and clean underneath because clippings can remain trapped there. Do not store the clipper while it is wet.
For shared-use settings, follow the cleaner instructions and your local hygiene guidance. Public health bodies such as the CDC or your market's equivalent can be useful references for shared tools and cleaning routines, but current instructions should always be checked before use.
- Remove nail debris after every trimming session.
- Wipe the blades and pivot area so residue does not build up.
- Let the clipper air dry fully before it goes back into a pouch or drawer.
- Use the cleaning method recommended for the finish and construction of the tool.
- Keep shared tools separate from already-cleaned tools during storage.
Do not rely on long soaking unless the tool and finish are specifically suitable for it. Excess moisture can shorten service life, especially around seams, the pivot and any hidden areas where water can stay trapped.
Store It Away from Moisture and Impact
Many people keep nail clippers in bathrooms, but bathrooms are often humid. Moisture can affect metal tools over time, particularly around pivots, springs and hidden seams. A dry drawer, grooming case or sealed pouch is usually better than an open shelf near a sink or shower.
Storage should also prevent impact. Throwing a clipper into a bag with keys, razors or metal accessories can nick the blades or loosen the lever. For travel, use a small pouch or compartment. If you are organizing tools for retail display, salon preparation or personal kits, keep clean and used tools separated so the cleaning routine is easy to follow.
Occasionally, a tiny drop of oil on the pivot can help if movement feels dry, but excess oil is unnecessary and should not be allowed to collect on the cutting edge. After any maintenance, test the opening and closing motion once or twice to make sure the clipper still feels smooth and controlled.
Know When a Clipper Needs Attention or Replacement
A nail clipper does not last forever. Maintenance can improve performance, but it cannot fully correct every problem. If the blades no longer meet evenly, the lever wobbles, rust is visible near the cutting edge or the clipper crushes instead of cuts, replacement is usually the safer choice. A tool that requires excessive pressure is not just inconvenient; it can split brittle nails or cause sudden, uncontrolled cuts.
Some users try to sharpen clippers at home. This can work for minor dullness if you have the right sharpening method, but it is easy to change the blade angle or create uneven contact. For most personal-use clippers, replacement is often more practical when the cutting edge becomes noticeably dull. For business buyers, checking cutting performance during product evaluation is more useful than relying only on the outside finish.
Signs that a clipper should be retired include:
- the blades no longer meet evenly across the full width;
- the lever feels loose, stiff or unstable;
- the tool leaves crushed or jagged nail edges;
- rust appears near the cutting zone or pivot;
- the body is bent, chipped or scratched in a way that affects use.
These are functional issues, not cosmetic ones. A polished exterior cannot make up for weak cutting performance.
What Buyers Should Check When Sourcing Nail Clippers
If you are selecting nail clippers for a product line, promotional kit or beauty accessory assortment, focus on consistent function. A shiny finish may attract attention, but repeat customers will remember whether the clipper cut cleanly and felt stable in the hand. Request clear information about materials, finishing, packaging options and quality control expectations without assuming specifications that have not been confirmed.
A practical sourcing review should cover both user experience and production consistency. The same tool that feels fine in a single sample can perform differently across a larger batch if the blades are misaligned or the pivot finish is uneven. For that reason, buyers should compare several samples rather than one unit only.
- Does the clipper cut cleanly without tearing a thin test nail or equivalent sample?
- Do multiple pieces from the same batch show consistent blade alignment?
- Are burrs, sharp corners or rough grinding marks visible?
- Does the lever move smoothly without wobble or sticking?
- Is the finish even, with no obvious residue, stains or patchy plating?
- Does the packaging protect the blades during shipping and display?
- Are care instructions included or easy to add for end users?
Cost is usually affected by a small set of practical factors: the body style, blade geometry, surface finish, packaging type, custom branding, batch inspection and whether the design includes extras such as a catcher. Simple construction can be easier to package and inspect, while more detailed finishing or custom presentation usually requires more coordination.
If you supply into regulated markets, verify current requirements with the appropriate public body or local authority before launch. For example, the U.S. Consumer Product Safety Commission may be relevant for consumer product expectations in the United States, while shared-use hygiene guidance may come from the CDC or a local equivalent. Always check the current version of the rules and ask for supplier documents that support the product you plan to sell.
For assortment planning or custom requests, you can contact Olimor to discuss the use case, packaging direction and product fit, or send an inquiry with the model style you want to evaluate.
FAQ
Can I request samples before placing a larger order?
Yes, samples are the best way to check how the clipper feels, how the blades close and whether the finish and packaging fit your needs. Compare more than one sample if possible so you can judge consistency rather than a single piece.
What affects MOQ and lead time?
They usually depend on the model, customization level, packaging format and order plan. A plain tool and a custom-packed tool are often handled differently, so it is best to confirm current terms directly with the supplier for your specific request.
What customization options are usually worth discussing?
Common B2B topics include logo placement, printed packaging, insert cards, finish preferences and assortment mix. The useful question is not only what can be customized, but also what can be produced consistently without affecting cutting performance or packaging protection.
How can I judge quality before I place a retail order?
Inspect blade alignment, lever movement, surface finish and batch consistency. Open and close several samples, check for burrs or rough edges, and make sure the packaging protects the cutting edge. If the clipper feels inconsistent in sample testing, it is unlikely to improve later.
Should I ask about care instructions and replacement guidance?
Yes. Clear end-user instructions help reduce misuse, keep the tool cleaner and make returns less likely. A short care card can also improve the retail presentation of the product.
If you are comparing nail clippers for retail, gift sets or private-label grooming programs, start with the product details, then review samples, packaging and documentation. The most reliable tool is usually the one that cuts smoothly, stays clean easily and is easy for your customer to store and use correctly.