










A nail clipper looks simple, but the way it fits your hand matters. For left-handed users, a standard grooming routine can feel awkward when the lever, cutting angle or grip encourages right-hand control. The result may be uneven nail edges, excess pressure on the nail plate, or a tendency to twist the wrist just to see the blade clearly.
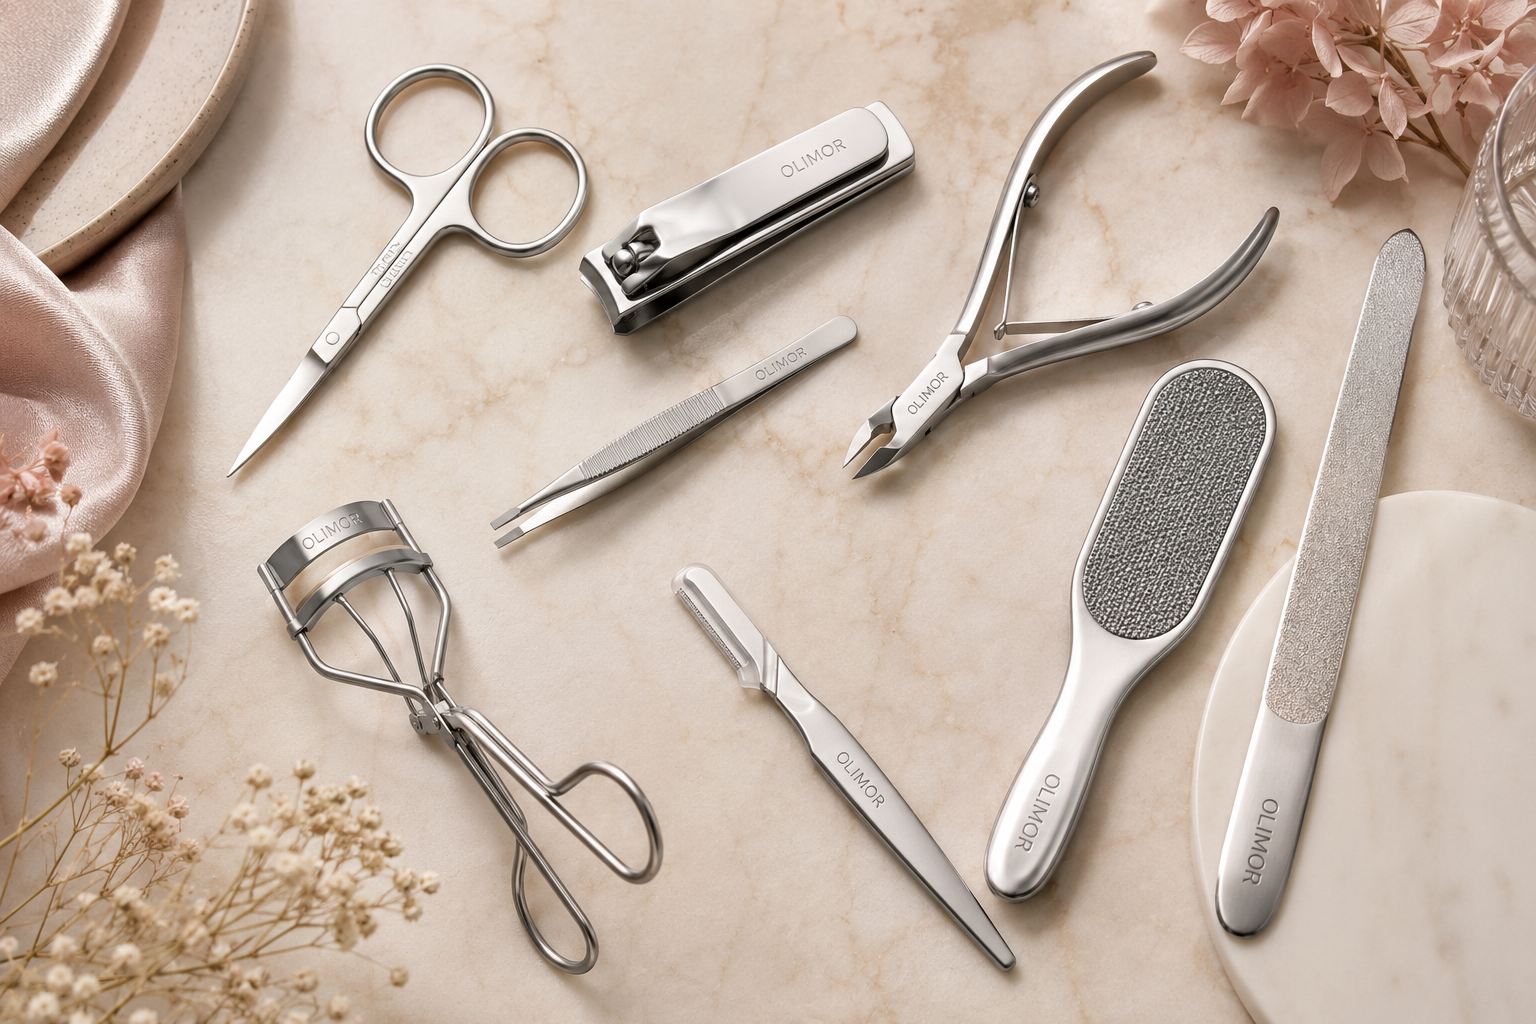
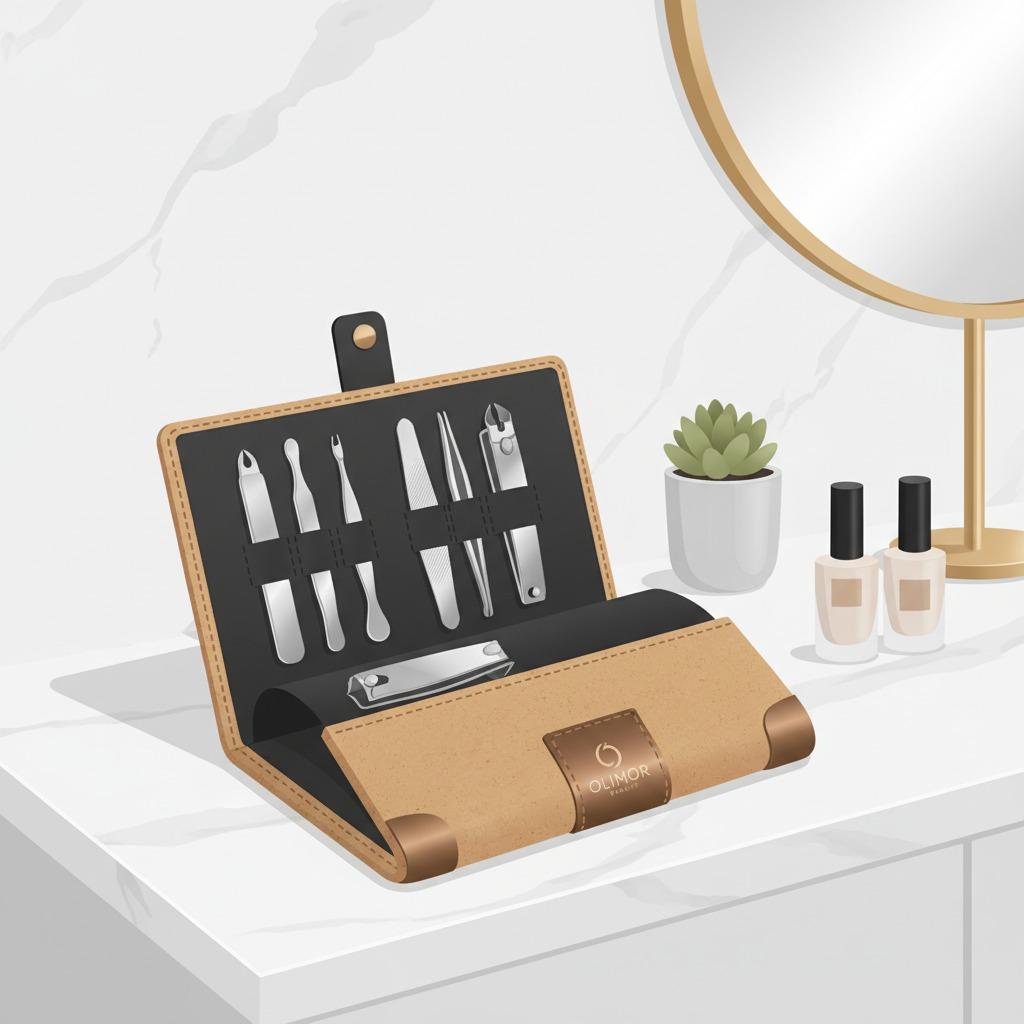
The Olimor Beauty stainless steel nail clipper is presented as a practical grooming tool for neat, healthy nails at home. Its value for left-handed users comes from the fundamentals: a secure hold, a sharp cutting edge, ergonomic handling and a shape that lets you work in small, controlled cuts instead of forcing one large cut across the nail. This guide explains how to select and use a nail clipper with left-hand comfort in mind, plus how to maintain the tool so it remains reliable over time.
Why Left-Handed Nail Clipping Needs Better Control
Many left-handed people learn to adapt to right-handed tools, but nail trimming is one place where adaptation can increase risk. Fingernails and toenails are small, curved surfaces, and the cutting line is close to skin. If your hand blocks your view or the clipper slips, a quick trim can become uncomfortable.
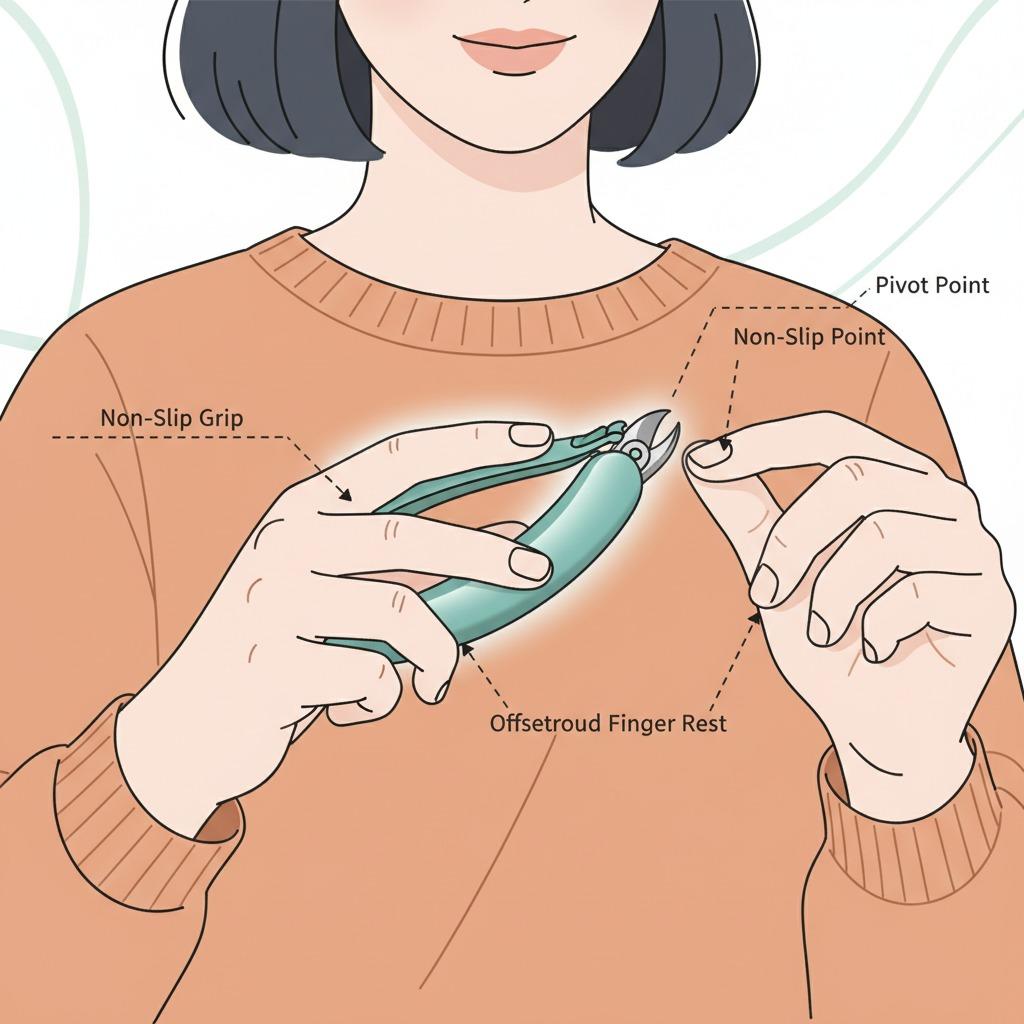
For left-handed grooming, the main issue is not only which hand holds the clipper. It is how naturally the clipper opens, closes and aligns with the nail edge. A good nail clipper should let your dominant hand guide the cut while your other hand supports the finger or toe being trimmed. When the lever is comfortable to press, the tool requires less force, which helps reduce sudden snapping and improves accuracy.
Left-handed users should pay attention to three practical factors: visibility of the cutting edge, stability of the grip, and the ability to clip in small sections along the natural nail curve. These details matter more than decorative features because they directly affect the quality and safety of the cut.
What to Look for in a Nail Clipper for Left-Handed Use
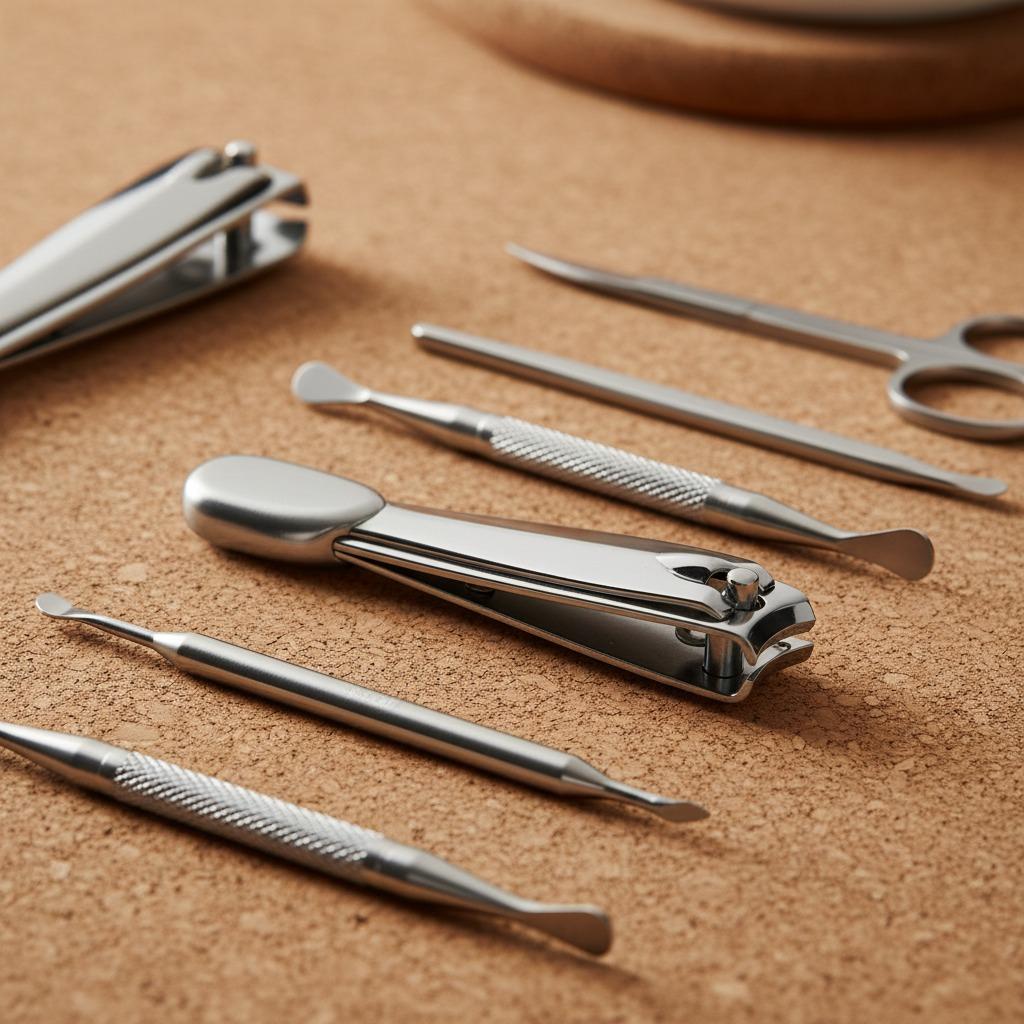
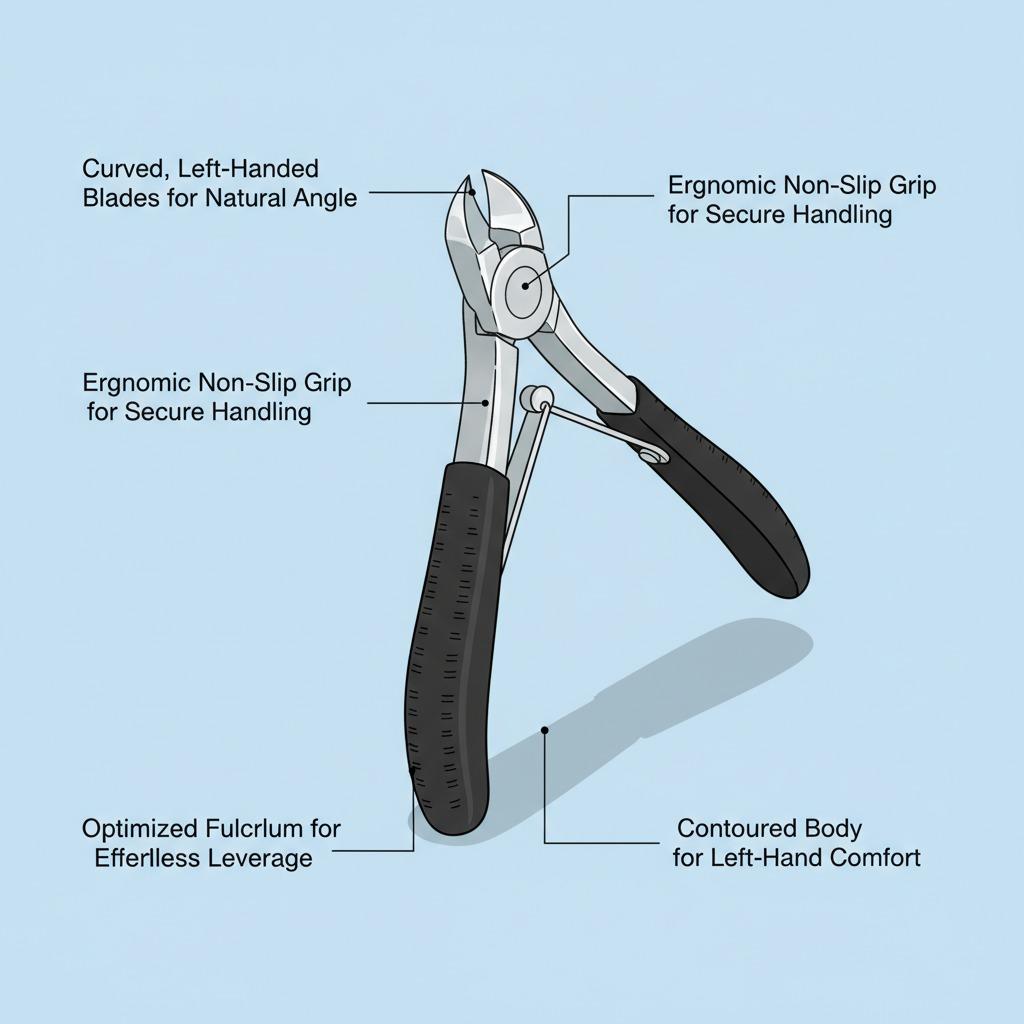
When comparing a nail clipper for left-handed grooming, start with the physical feel of the tool. A clipper that looks fine in a photo may not be ideal if the lever is too narrow, the surface is slippery, or the cutting jaw is difficult to align with the nail. Olimor Beauty describes its nail clippers as stainless steel tools with ergonomic features, curved blades and comfortable grips. Those details are important because left-handed control depends on both cutting performance and hand comfort.
- Stainless steel construction: Stainless steel is commonly chosen for grooming tools because it supports durability, easy cleaning and resistance to everyday moisture when properly dried after use.
- Sharp cutting edge: A sharp clipper cuts more cleanly and reduces the urge to squeeze hard. Excess force can flatten or split the nail instead of trimming it neatly.
- Curved blade shape: A curved cutting edge can help follow the natural shape of fingernails. For toenails, use more conservative, straighter trimming to reduce the risk of cutting too deeply at the corners.
- Comfortable grip: A grip that feels stable in the left hand helps prevent slipping, especially after washing hands or soaking nails.
- Clear blade visibility: The tool should allow you to see exactly where the edge meets the nail, even when trimming with your non-dominant hand as support.
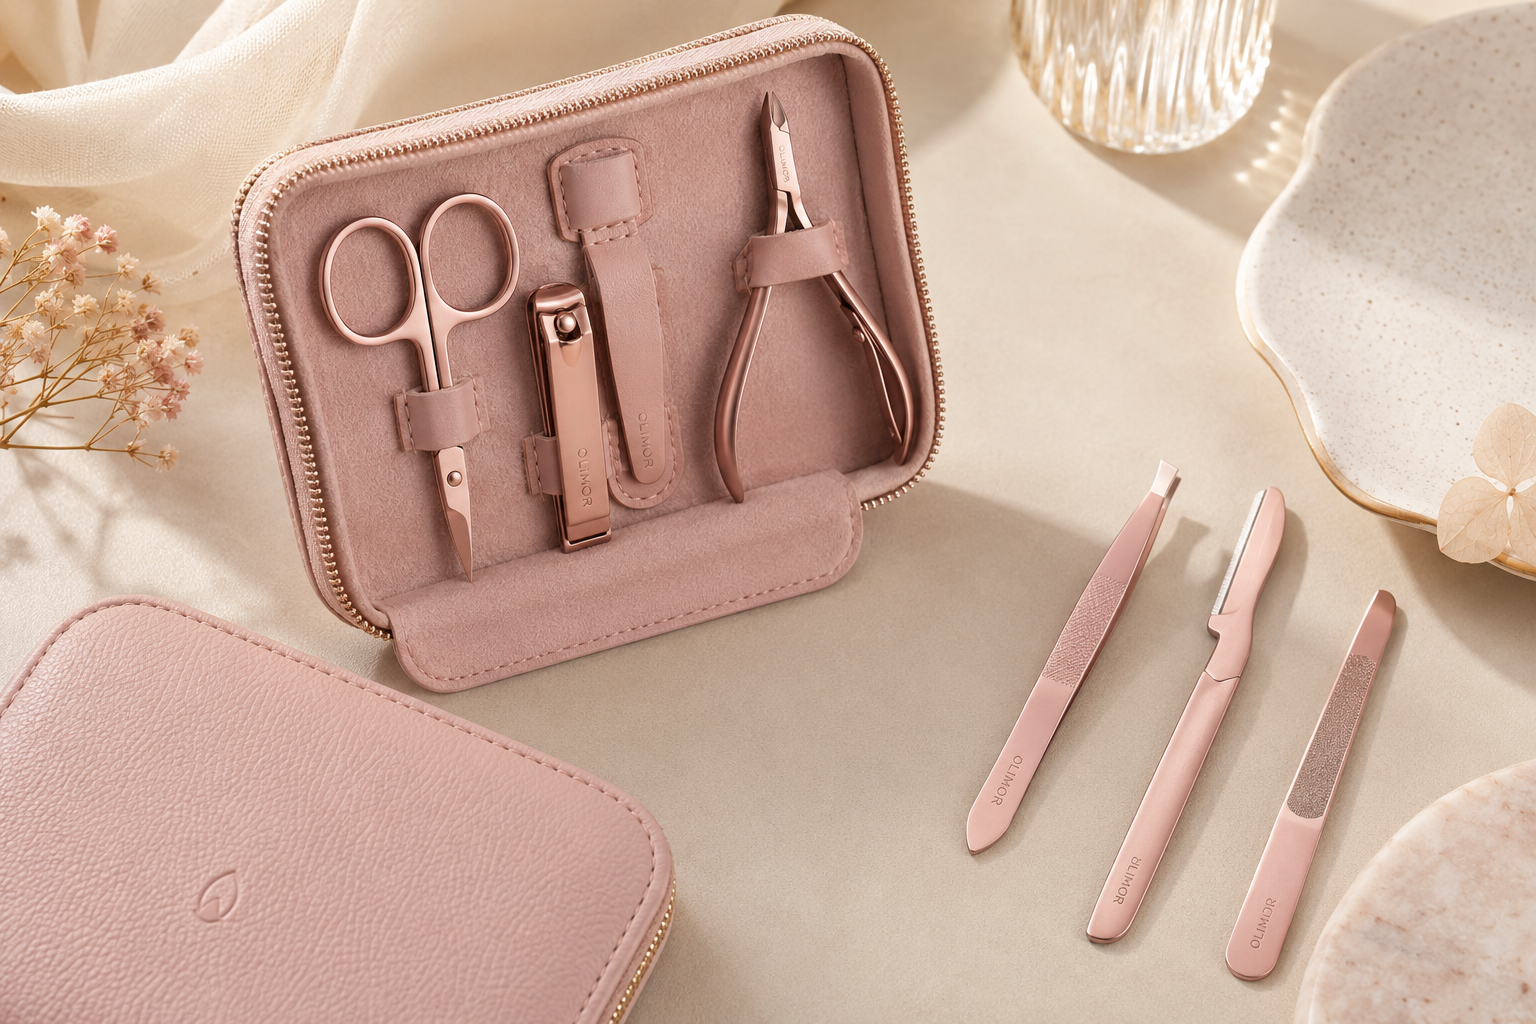
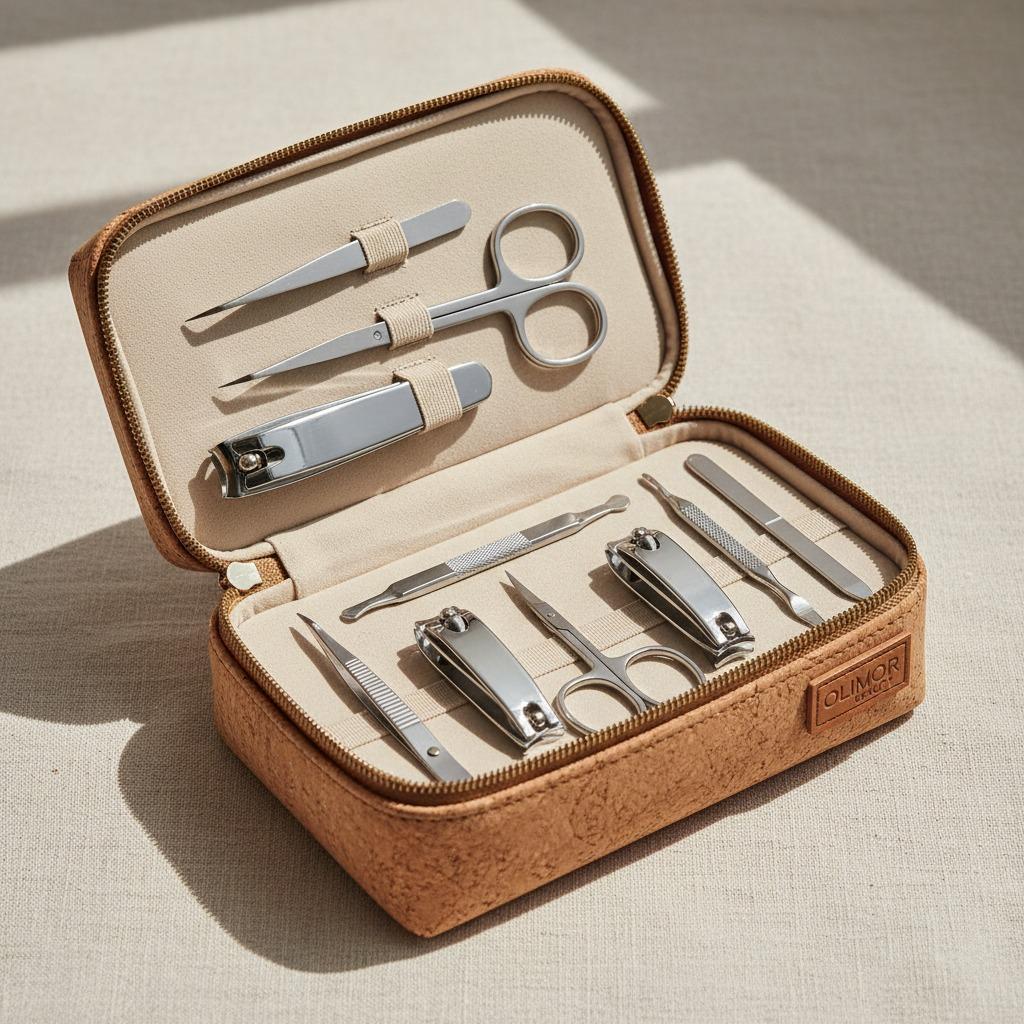
If you are comparing grooming tools for retail sourcing, salon support kits or personal care assortments, you can browse Olimor beauty tool products to review related categories and decide which nail care tools belong together in a practical set.
Step-by-Step: How to Clip Nails Left-Handed
A careful method is more useful than cutting quickly. The goal is to keep the clipper steady, remove small sections, and finish with smooth edges that do not catch on fabric or skin.
- Wash and dry your hands or feet. Clean nails are easier to inspect. If nails are very hard, a short warm soak can make trimming easier, but dry the skin and tool contact area before cutting so the clipper does not slip.
- Sit with stable support. Rest your trimming hand or foot on a flat surface. For toenails, place the foot where you can see the nail edge without bending your wrist sharply.
- Hold the clipper in your left hand. Keep your thumb on the lever and your fingers supporting the lower body of the clipper. The movement should feel like a controlled press, not a squeeze from an awkward angle.
- Start at one side of the nail. Instead of cutting the whole nail in one bite, remove small sections. This gives you more control and reduces stress on the nail plate.
- Follow the natural curve for fingernails. Trim gradually while leaving a small free edge. Avoid cutting into the side walls of the nail.
- Trim toenails more conservatively. Toenails should not be rounded too aggressively at the corners. A straighter cut with lightly smoothed edges can help reduce irritation from shoes.
- Check for rough points. After clipping, use a nail file if needed. Filing is better than repeatedly clipping tiny corners close to the skin.
- Clean the clipper after use. Remove nail debris, wipe the tool and dry it before storage.
This technique is especially helpful when trimming with the left hand because it reduces the number of times you need to reposition the tool. Small cuts also make it easier to correct the shape before too much nail is removed.
Common Mistakes That Make Nail Trimming Harder
Left-handed users often blame themselves for poor results when the problem is the process. A few small changes can make nail clipping more predictable.
Cutting nails when you are in a hurry is one of the most common causes of uneven edges. Nails are small, and even a sharp nail clipper needs correct placement. Give yourself enough light and a stable surface.
Trying to cut too much at once can create pressure and splitting. Work in short clips instead. If the nail is thick, soften it first and do not force the tool through a large section.
Rounding toenail corners too deeply may create discomfort as the nail grows. Trim toenails with caution and smooth only the sharp edge rather than digging into the side.
Using a dull or dirty clipper can lead to ragged edges. If a clipper starts crushing instead of cutting, it is no longer helping you maintain clean nails. Cleaning and dry storage also matter because grooming tools are frequently used near water.
Maintenance Tips for a Stainless Steel Nail Clipper
Stainless steel is a strong material choice for a nail clipper, but every grooming tool benefits from routine care. Maintenance is not complicated; it is mainly about keeping the cutting area clean, dry and protected from unnecessary impact.
- Wipe after each use: Remove nail fragments from the jaw and lever area. A clean tool is easier to inspect before the next trim.
- Dry before storage: Moisture left on any metal grooming tool can shorten its useful life. Store the clipper away from standing water and damp towels.
- Avoid dropping the tool: Impact can affect blade alignment. Even a small misalignment may change how evenly the clipper cuts.
- Keep it personal when possible: For hygiene, many households prefer separate nail tools for different users or at least careful cleaning between uses.
- Inspect the cutting edge: If the clipper pulls, tears or requires much more pressure than before, replace it rather than compensating with force.
For buyers building a broader nail care range, maintenance expectations should be part of product selection. Packaging, storage cases and cleaning guidance can influence how end users treat the tool after purchase.
Buyer Checklist for Nail Care Sourcing
If you are evaluating nail clippers for a store, distributor, beauty kit or promotional assortment, left-handed usability is a useful quality lens. A clipper that works comfortably for left-handed users will often feel more controllable for a wider audience too. Instead of focusing only on appearance, compare practical features that affect daily use.
| Selection point | Why it matters | What to review |
|---|---|---|
| Grip comfort | Supports control in either hand | Lever width, surface feel and hand position |
| Blade alignment | Helps create a clean cut | Even closing action and visible cutting edge |
| Material | Affects durability and cleaning | Stainless steel construction and finish quality |
| Use case | Different nails need different handling | Fingernail trimming, toenail trimming or travel kits |
| After-use care | Influences long-term performance | Cleaning instructions and dry storage suitability |
Olimor Beauty works across beauty tools and related personal care categories. You can explore broader product collections or send an inquiry if you need to compare nail care items for a sourcing project.
When a Better Nail Clipper Makes a Noticeable Difference
A nail clipper is a small tool, but it affects comfort every time you use your hands, wear shoes or maintain a polished appearance. For left-handed users, the right clipper should reduce awkward wrist angles, help you see the cut line, and allow controlled trimming without excessive pressure. Stainless steel construction, ergonomic handling, curved blades and a comfortable grip are all useful features when they support those goals.
Whether you are choosing one clipper for home grooming or reviewing nail care tools for a product range, focus on clean cutting, stable handling and simple maintenance. Those qualities make the tool easier to use, easier to keep clean and more dependable for routine nail care. For product questions or sourcing support, you can also contact Olimor directly.