










Nail clipper maintenance is simple, but it has a direct effect on hygiene, cutting comfort, rust prevention, and customer satisfaction. A nail clipper that is cleaned, dried, disinfected when needed, and stored correctly is more likely to cut smoothly instead of bending, crushing, or tearing the nail edge.
This guide explains how to care for nail clippers in personal grooming kits, salons, spas, hotel amenities, retail assortments, and B2B sourcing programs. It also helps buyers evaluate whether a clipper design is practical to maintain before placing it into a product line or professional service environment.
Why Nail Clipper Maintenance Matters
A nail clipper works through a small, precise cutting area. After use, nail fragments, skin oils, hand cream, dust, water, and disinfectant residue can collect around the jaws, hinge, lever, and underside of the cutting edge. If this buildup remains, the lever can feel stiff, the edges may not meet cleanly, and the clipper may require more pressure than normal.
Maintenance matters for three main reasons. First, clean tools are more suitable for grooming tasks that involve hands, feet, nails, and nearby skin. Second, debris-free jaws cut more predictably and help reduce rough nail edges. Third, drying and proper storage reduce the chance of surface staining, corrosion, or hinge stiffness, even on stainless steel tools.
For professional users and commercial buyers, maintenance is also a product-quality issue. A clipper that is difficult to clean, traps debris, rusts under ordinary care, or loses alignment after routine handling can create complaints and replacement costs. When comparing options from beauty tool products, maintenance should be assessed alongside appearance, grip, cutting feel, packaging, and end-user expectations.
The Basic After-Use Cleaning Routine
The best time to clean a nail clipper is immediately after use, before nail dust and residue dry around the blade or hinge. A personal clipper may only need a quick routine after ordinary use. A tool used by more than one person should follow a more formal cleaning and disinfection process based on local rules and workplace procedures.
- Open the lever fully. Expose the jaw, hinge, and underside of the lever so trapped fragments can be seen.
- Remove loose debris. Tap the clipper gently over a tissue or use a small soft brush. Avoid hard scraping on the cutting edge.
- Rinse when necessary. Warm running water can help remove visible residue, especially after pedicure use or contact with creams.
- Wash with mild soap. Use a small amount of mild soap and a soft brush around the jaws and hinge when oils or lotions are present.
- Rinse off soap residue. Residue left on metal surfaces can attract dust or affect the feel of the tool.
- Dry thoroughly. Wipe the clipper with a clean cloth, then leave it open in a ventilated area until fully dry.
Do not leave nail clippers soaking in water for long periods. Extended soaking can hold moisture in the hinge, under the lever, or near decorative finishes. It may also affect coatings, springs, packaging inserts, or non-metal components depending on the clipper design.
How to Disinfect Nail Clippers Without Damaging Them
Disinfection is most relevant when a nail clipper is shared, used in a salon or spa, included in a professional kit, or exposed to damaged nails or broken skin. The correct order is important: remove visible debris first, wash the tool, then disinfect. Disinfectants are less effective when surfaces are covered with residue.
For personal use, wiping a cleaned clipper with rubbing alcohol can be a practical additional step. For professional use, follow applicable local salon, spa, or public health requirements. In the United States, salons commonly refer to state board rules, and disinfectants may be regulated by the U.S. Environmental Protection Agency when antimicrobial claims are made. Requirements vary by location and product type, so always verify the current version of regulations, disinfectant labels, and supplier documents before writing procedures.
Use disinfectants according to their label directions, including contact time, dilution, surface compatibility, ventilation, and drying instructions. Do not mix alcohol, bleach, salon disinfectants, or household cleaners. Chemical mixtures can create hazardous fumes, stain metal, weaken finishes, or leave irritating residue on a tool that touches nails and skin.
For buyers, cleanability should be reviewed before ordering. A clipper with accessible surfaces, smooth transitions, and a lever that opens easily is easier for staff or consumers to maintain. Areas that trap nail dust or water can increase cleaning time and may lead to dissatisfaction in high-use environments.
Drying and Storage: The Most Overlooked Rust Prevention Steps
Many nail clipper problems begin after cleaning. A user may wash the tool properly, then put it back into a closed pouch while it is still damp. Moisture trapped inside a travel case, drawer, pedicure tray, or manicure kit can create conditions for odor, staining, or rust spots.
After rinsing or disinfecting, dry the clipper with a clean, lint-free cloth. Pay special attention to the hinge pin, the underside of the lever, the gap between overlapping surfaces, and the cutting edge. If the tool has been heavily rinsed, leave it open in a dry, ventilated area before placing it into storage.
Storage should also protect the cutting edge. A clipper thrown into a bag with keys, tweezers, razors, scissors, or other metal items can become scratched or knocked out of alignment. For home use, a dry pouch or compartment is enough. For retail and professional kits, packaging should protect the tool during shipping, display, and repeated handling.
Stainless steel is commonly used for nail clippers because it can resist corrosion better than many materials, but it is not maintenance-free. Moisture, harsh cleaners, salt, disinfectant residue, and poor storage can still cause staining or surface issues. The simplest rule is also the most effective: clean the tool, dry it completely, and store it away from damp conditions.
How to Inspect a Nail Clipper for Wear, Damage, or Misalignment
Inspection helps users decide whether a clipper only needs cleaning or should be replaced. A good clipper should close evenly, cut with steady pressure, and leave a reasonably smooth nail edge. If it bends the nail, slips sideways, pulls, or requires excessive force, check the tool before continuing to use it.
Check the cutting edge
Open the clipper and look closely at both cutting edges. They should appear even and free from obvious chips. If one side is damaged or flattened, the clipper may crush the nail instead of cutting cleanly.
Check jaw alignment
Close the clipper slowly and watch how the edges meet. The jaws should meet evenly across the cutting area. If one side touches first or a gap is visible, the clipper may have been dropped, bent, or worn.
Check lever movement
Open and close the lever several times. It should move smoothly without grinding, wobbling, or sticking. Stiffness may be caused by debris, dried residue, rust, or hinge damage.
Check for rust or staining
Light surface staining on non-cutting areas may sometimes be cleaned, followed by thorough drying. Rust on the cutting edge, inside the hinge, or in areas that cannot be cleaned effectively is a stronger reason to replace the tool, especially in professional use.
Sharpening nail clippers is possible in some cases, but it requires care. The edges are small and shaped to meet at a specific angle. Aggressive filing, sanding, or grinding can change the edge geometry and make cutting performance worse. In many retail, salon, and hospitality settings, replacement is more practical than repair when alignment or cutting quality declines.
Home, Salon, and B2B Maintenance Needs Compared
Maintenance expectations vary depending on where the clipper is used. A household clipper, a professional salon tool, and a private-label retail item may look similar, but their care requirements and risk points are different.
| Use setting | Main concern | Recommended focus | Buyer or user question |
|---|---|---|---|
| Personal home grooming | Clean cutting and rust prevention | Remove debris after use, dry fully, store outside damp areas | Is the clipper easy to clean and comfortable to hold? |
| Travel or grooming kits | Moisture trapped in pouches | Dry before packing and protect the cutting edge from impact | Does the case allow safe, dry storage? |
| Salon or spa use | Shared-tool hygiene and repeat cleaning | Follow local procedures for cleaning, disinfection, drying, and storage | Can staff clean the hinge, lever, and jaws quickly and consistently? |
| Retail assortment | Customer satisfaction after purchase | Choose designs with smooth action, practical care instructions, and protective packaging | Will the tool perform well under normal consumer care? |
| B2B sourcing or private label | Repeatable quality and after-sales risk | Review samples, inspection approach, finish consistency, and packaging needs | Can the supplier explain material, maintenance, customization, and quality checks? |
This comparison helps product teams look beyond appearance. A polished finish or attractive package matters, but the clipper must also be practical to clean, dry, inspect, and use repeatedly.
Common Mistakes That Shorten Nail Clipper Life
Most nail clipper damage is avoidable. One common mistake is using the tool for materials it was not designed to cut, such as wire, plastic tags, tape, packaging ties, or craft materials. These tasks can chip the cutting edge or bend the jaws.
Another mistake is using the wrong size or style of clipper. A small fingernail clipper may not be suitable for thicker toenails. Pressing harder can stress the lever and create uneven cuts. For thicker nails, a properly sized toenail clipper may provide better control and reduce user frustration.
Dropping the clipper is also a frequent cause of misalignment. The tool may look normal at first, but a small bend can cause one side of the jaw to meet before the other. Users then apply extra pressure, which may worsen the problem.
Harsh storage is another issue. Damp bathroom counters, wet pedicure trays, sealed pouches, and mixed metal tool bags can all shorten service life. Good storage does not need to be complicated; it only needs to keep the clipper dry, protected, and separate from items that may strike the edge.
How Buyers Should Evaluate Nail Clippers Before Sourcing
For distributors, salons, retailers, hotel amenity buyers, and private-label teams, nail clipper maintenance is part of supplier evaluation. A reliable sourcing process should review how the tool is made, how it feels in hand, how it is inspected, and how the end user will care for it.
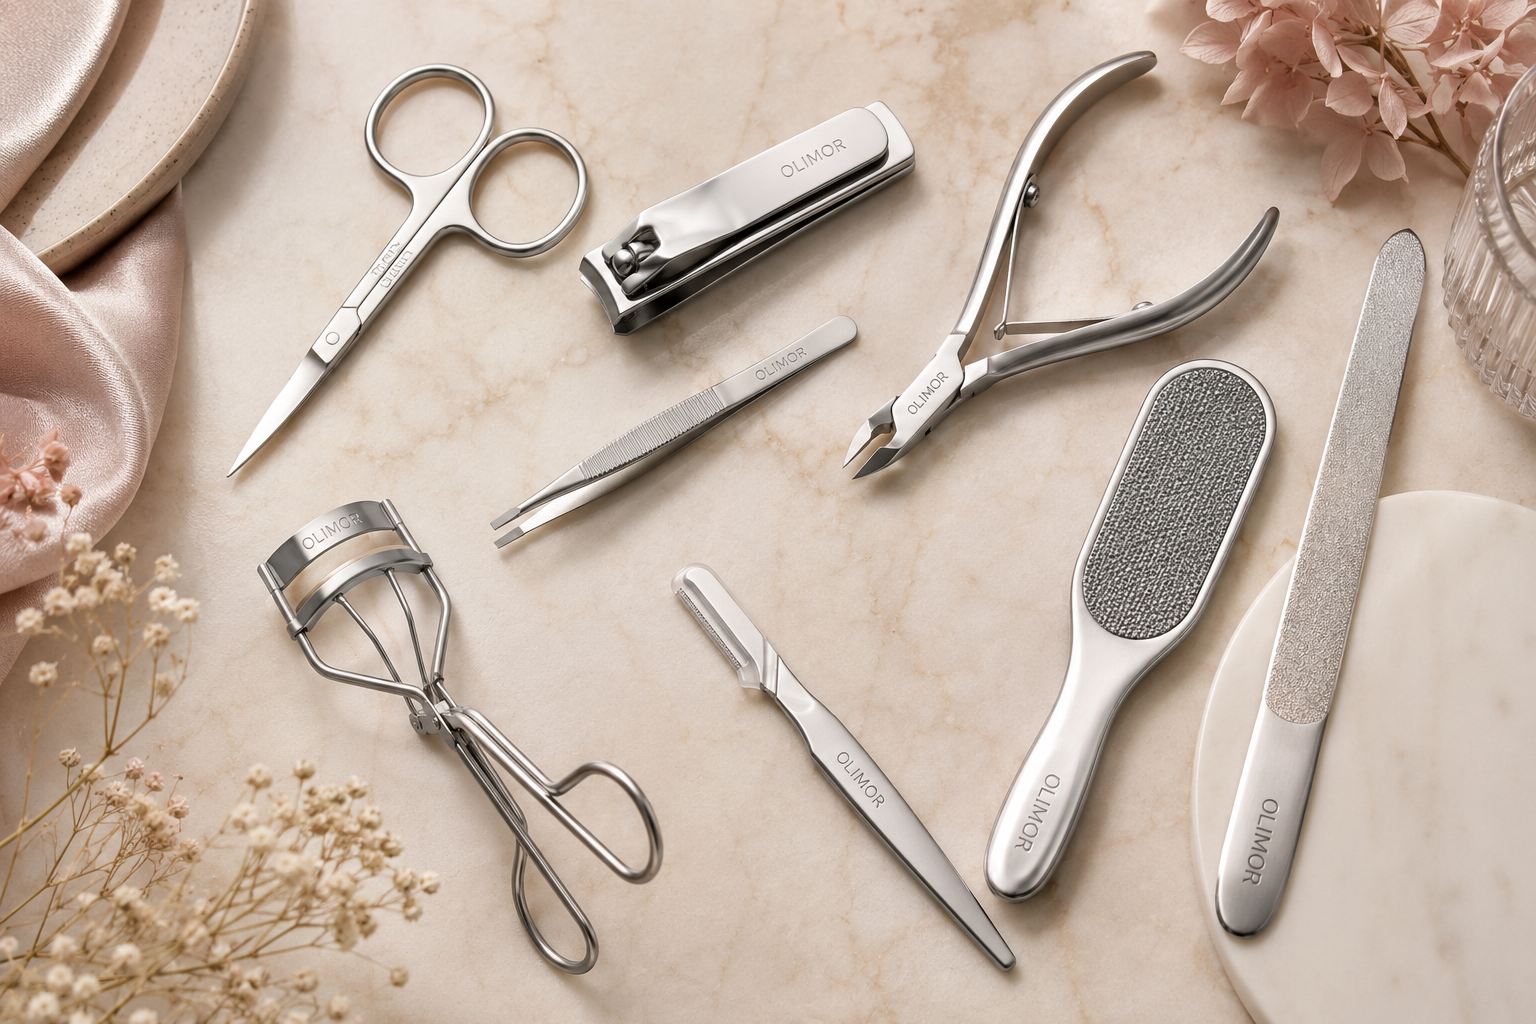
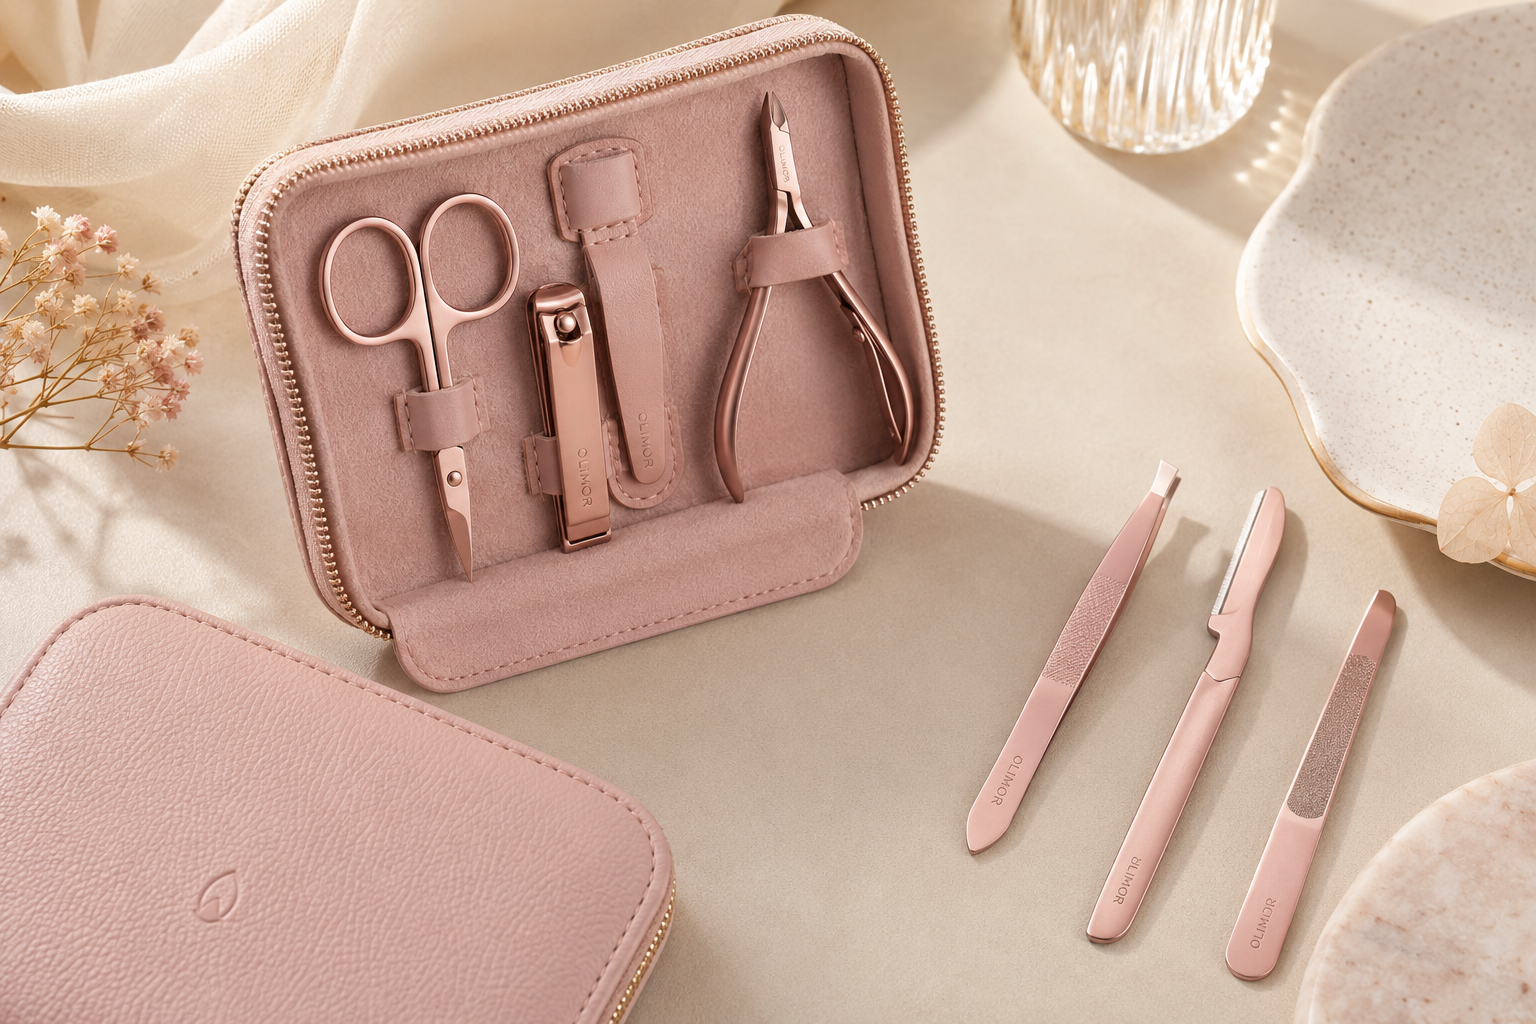
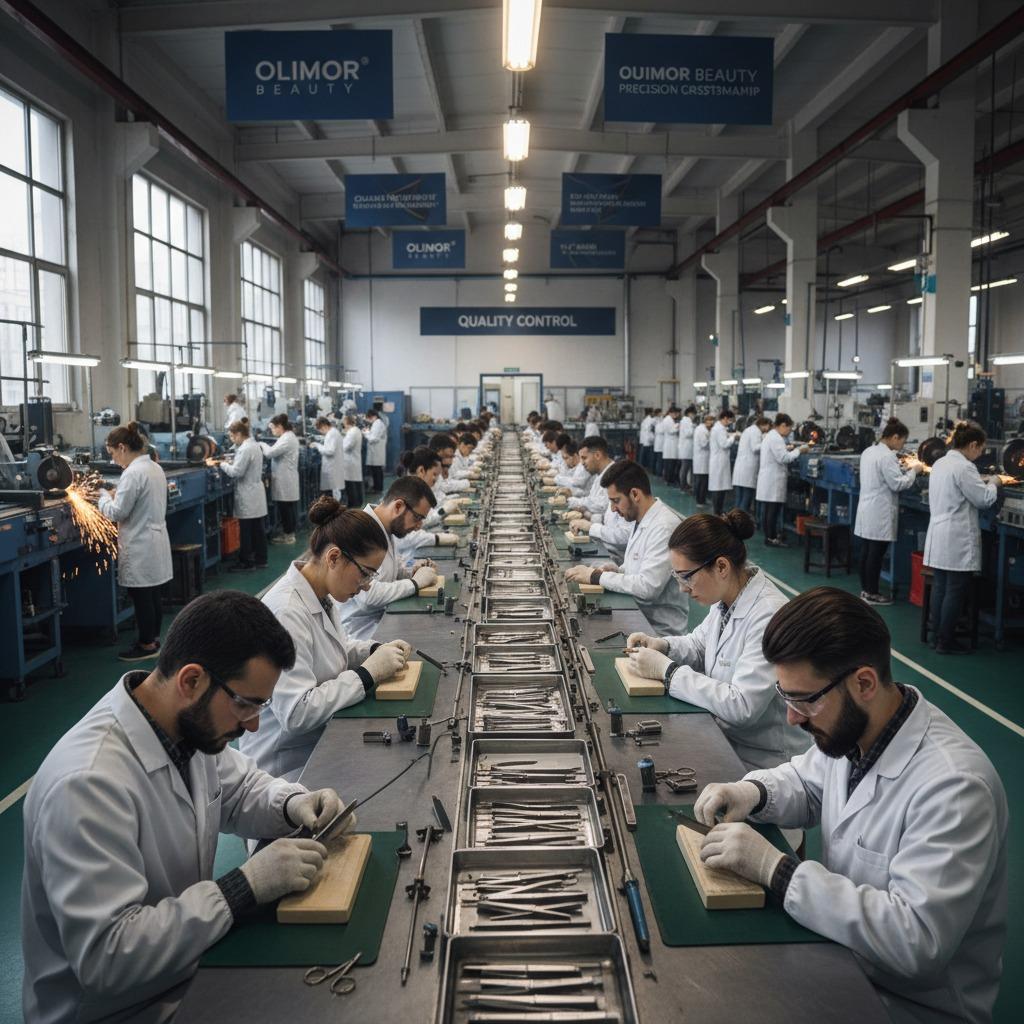
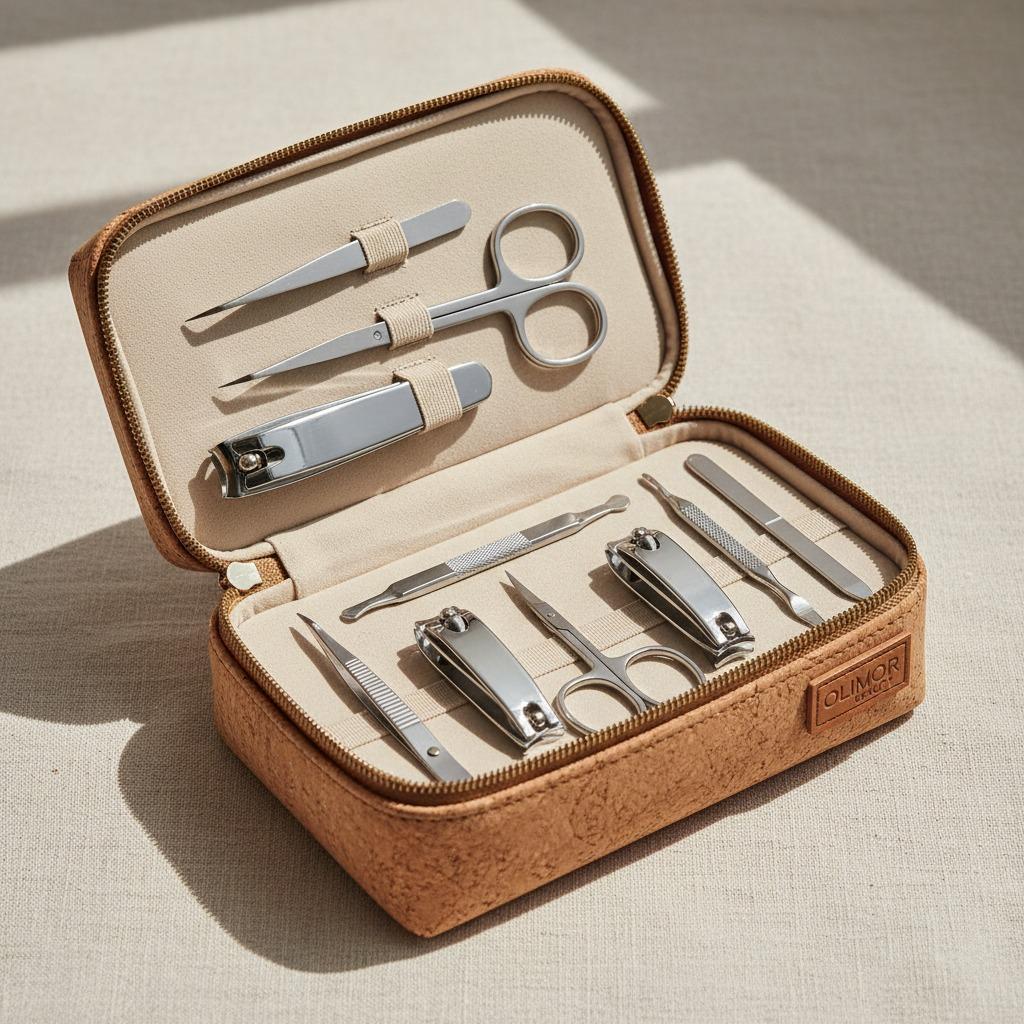
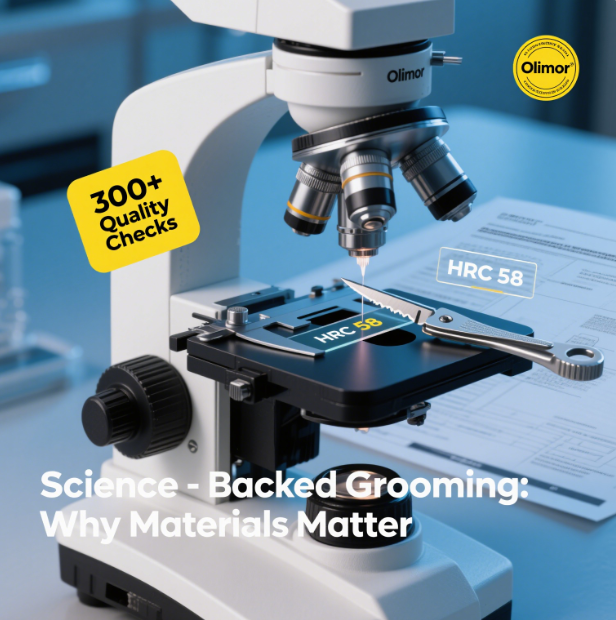
Olimor Beauty offers stainless steel nail clippers with ergonomic designs, and the brand emphasizes inspections and quality checks. Buyers can use samples to assess cutting feel, lever movement, surface finish, cleaning access, packaging protection, and suitability for the intended sales channel. When reviewing broader manicure or grooming ranges, the product collections can help compare related tools within one sourcing plan.
Buyer checklist for nail clipper selection
- Cutting alignment: Do the jaws meet evenly without visible gaps?
- Lever comfort: Does the lever open and close smoothly without wobbling?
- Edge protection: Is the cutting area protected during shipping and storage?
- Cleanability: Can users access the jaw, hinge, and underside of the lever?
- Finish consistency: Are visible surfaces smooth and suitable for the intended market?
- Care instructions: Can cleaning, drying, and disinfection guidance be included clearly?
- Customization fit: Are packaging, finish, and branding options appropriate for the sales channel?
- Supplier communication: Can the supplier explain inspection steps, sample review, and order requirements without vague claims?
Cost should be evaluated as total usability, not only unit price. Factors that may influence commercial cost include material choice, tool size, finish, design complexity, packaging, branding, inspection requirements, order quantity, and shipping arrangement. Buyers should ask suppliers to confirm what is included in a quotation rather than assuming that packaging, customization, or inspection details are identical across products.
Simple Maintenance Schedule for Reliable Use
A clear schedule helps prevent tool neglect. For personal use, remove debris after every trimming session, wash when residue is visible, disinfect when appropriate, dry thoroughly, and inspect the edge regularly. If the clipper is stored in a travel pouch, check that it is dry before closing the case.
For professional use, create a written process that staff can follow consistently: used tools should be separated from clean tools, cleaned to remove visible debris, disinfected according to the chosen product and local rules, dried fully, inspected, and stored in a clean area. The process should be reviewed whenever disinfectant products, regulations, or supplier instructions change.
For retail and B2B programs, maintenance guidance can be included in packaging inserts or product pages. Clear instructions reduce misuse and help customers understand why drying, proper storage, and avoiding non-nail materials matter. For sourcing questions, packaging requirements, or sample discussions, contact Olimor or send a product inquiry with the intended application and product requirements.
FAQ
Can buyers request nail clipper samples before ordering?
Sample availability depends on the product and sourcing request. Buyers should ask which models, finishes, and packaging options can be reviewed before confirming an order.
Is there a minimum order quantity for nail clippers?
MOQ can vary by product, customization, packaging, and production arrangement. Confirm the current requirement with Olimor before planning retail launches or promotional programs.
Can nail clippers be customized for private-label projects?
Customization may involve branding, packaging, finish, or assortment planning depending on the selected item. Provide the intended market, design needs, and packaging expectations when making an inquiry.
How should buyers evaluate nail clipper quality?
Review samples for cutting alignment, lever smoothness, finish consistency, cleanability, packaging protection, and supplier inspection procedures. Do not rely on appearance alone.
How long does production or delivery take?
Timing depends on product selection, order details, customization, approval steps, and logistics. Ask for current lead-time information and confirm it in supplier documents before placing an order.
A nail clipper is a small tool, but its condition affects both hygiene and trimming performance. Clean it after use, disinfect it when needed, dry it completely, store it safely, and replace it when alignment or cutting quality declines. For buyers, choosing a maintainable design is one of the simplest ways to support better user experience and fewer after-sales issues.