










Sunflower shaped eyelashes are a soft, wide-awake curl pattern where the lashes lift upward from the center and gently fan outward at the corners. The goal is not a harsh crimp or a single sharp bend. Instead, the lashes should look open, separated and petal-like, similar to the way a sunflower spreads from its center.
This look is especially useful for beginners because it can be created with one well-chosen eyelash curler and a careful curling sequence. You do not need false lashes, extensions or complicated layering to start. The key is learning where to place the curler, how much pressure to use and how to adjust the angle for your own eye shape.
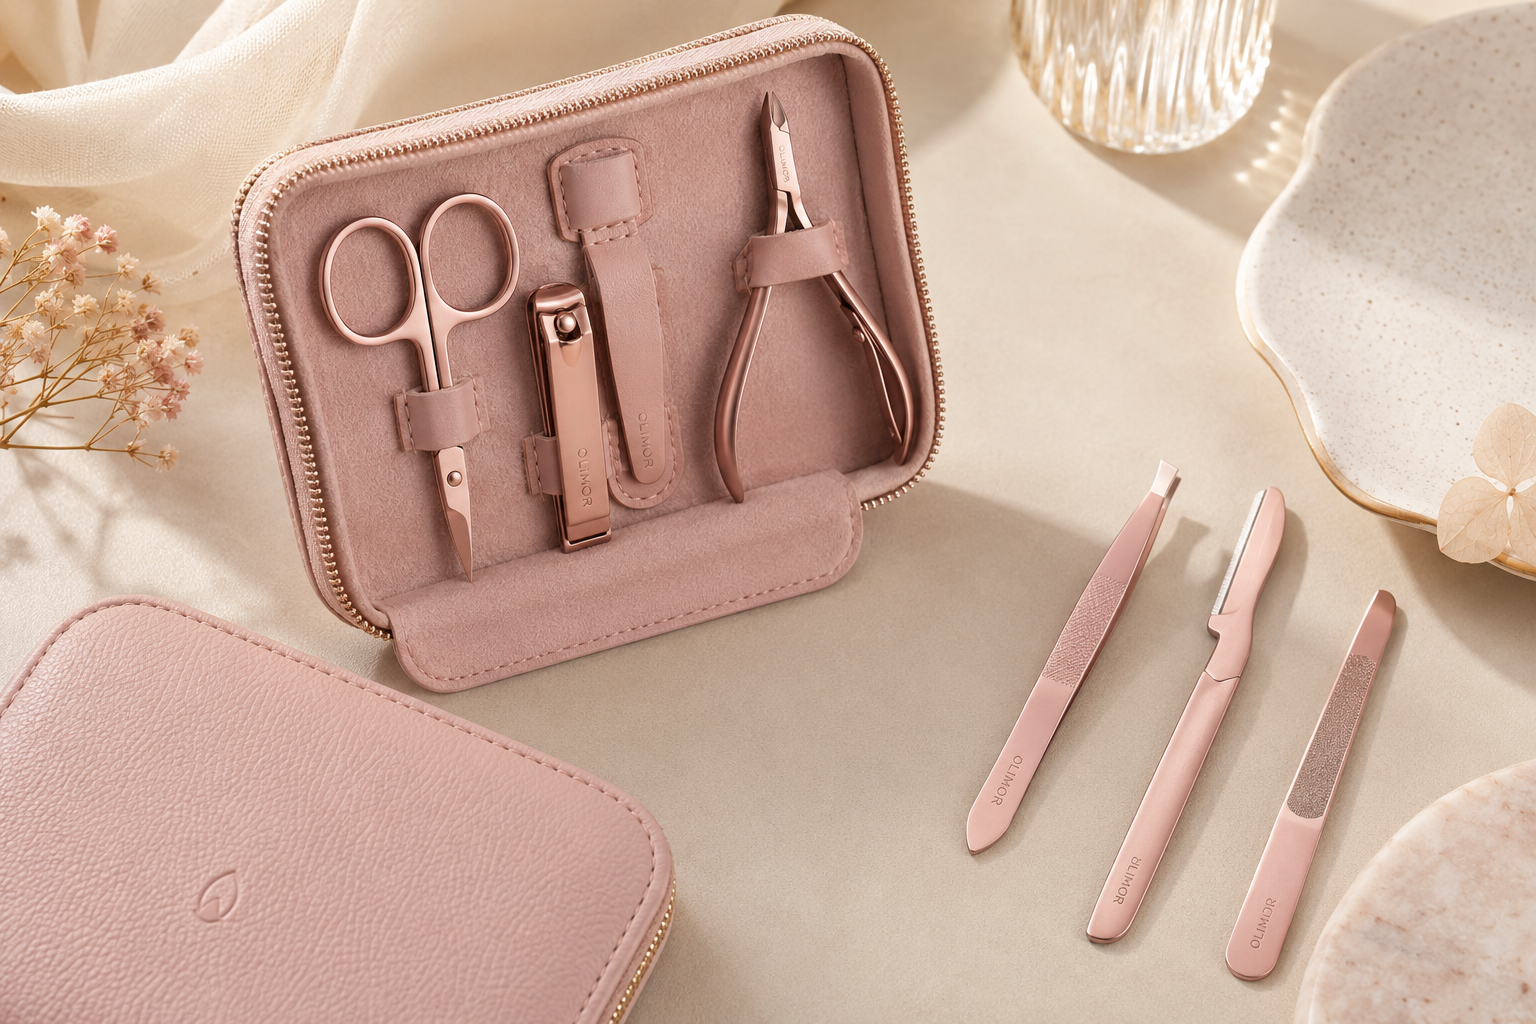
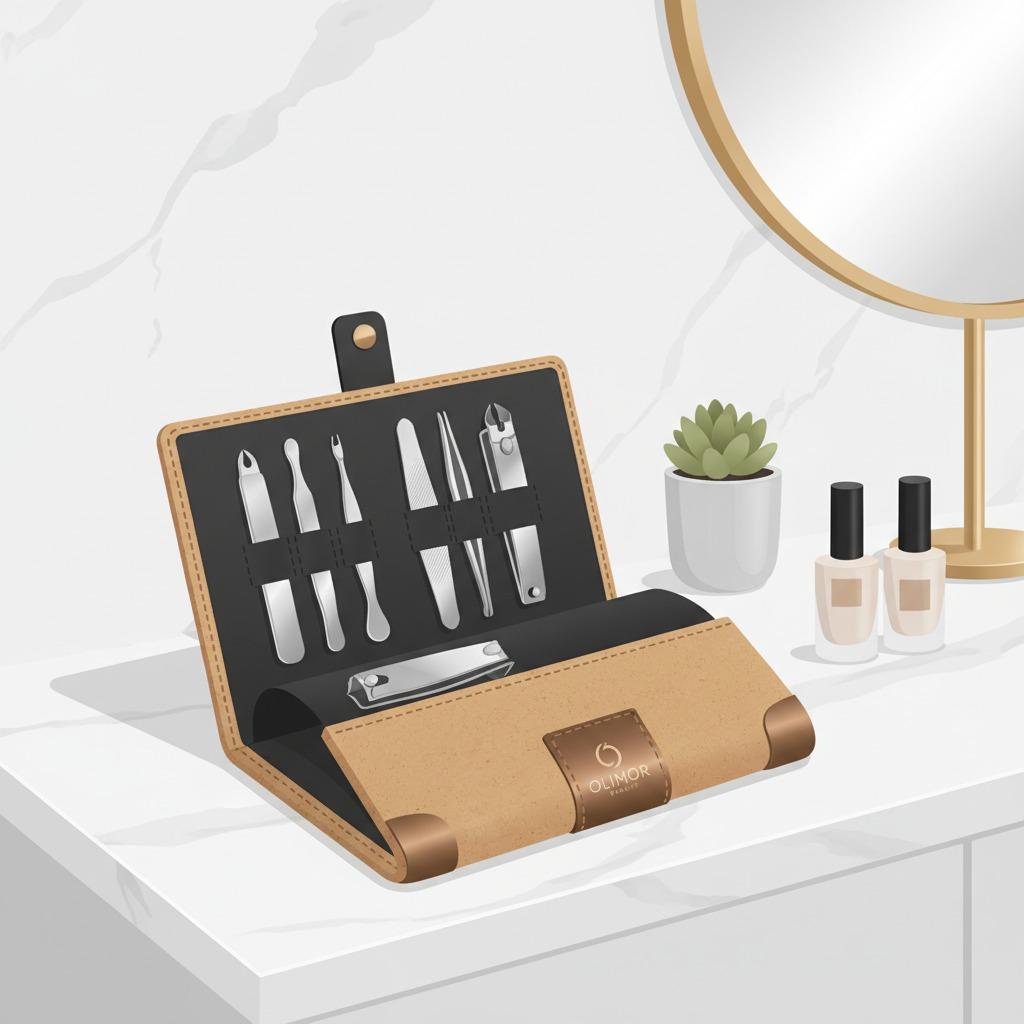
Olimor Beauty offers beauty tools for daily grooming and professional merchandising needs. If you are comparing tools for personal use, retail assortments or sourcing projects, you can browse related beauty tool products or review broader product collections to match the curler style to your target user.
What Makes Eyelashes Look “Sunflower Shaped”?
A sunflower lash shape is defined by direction. The inner lashes are lifted neatly, the center lashes are curled upward to open the eye, and the outer lashes are encouraged to fan up and slightly outward. This creates a rounded, bright effect without making the outer corner look heavy.
It differs from a cat-eye lash style, which usually emphasizes length and pull at the outer corner. It also differs from a doll-eye look, which concentrates most of the lift in the center. Sunflower shaped eyelashes sit between these effects: open in the middle, softly spread at the sides and natural enough for daily makeup.
The technique works best when the lashes are clean and dry. Wet lashes, leftover mascara or oil around the lash line can reduce curl hold and may cause lashes to stick together. Before curling, remove eye makeup residue and allow skincare products to absorb fully. If your lashes grow downward, you may need a slower, multi-step curl rather than one strong squeeze at the base.
Choosing an Eyelash Curler for a Beginner-Friendly Curl
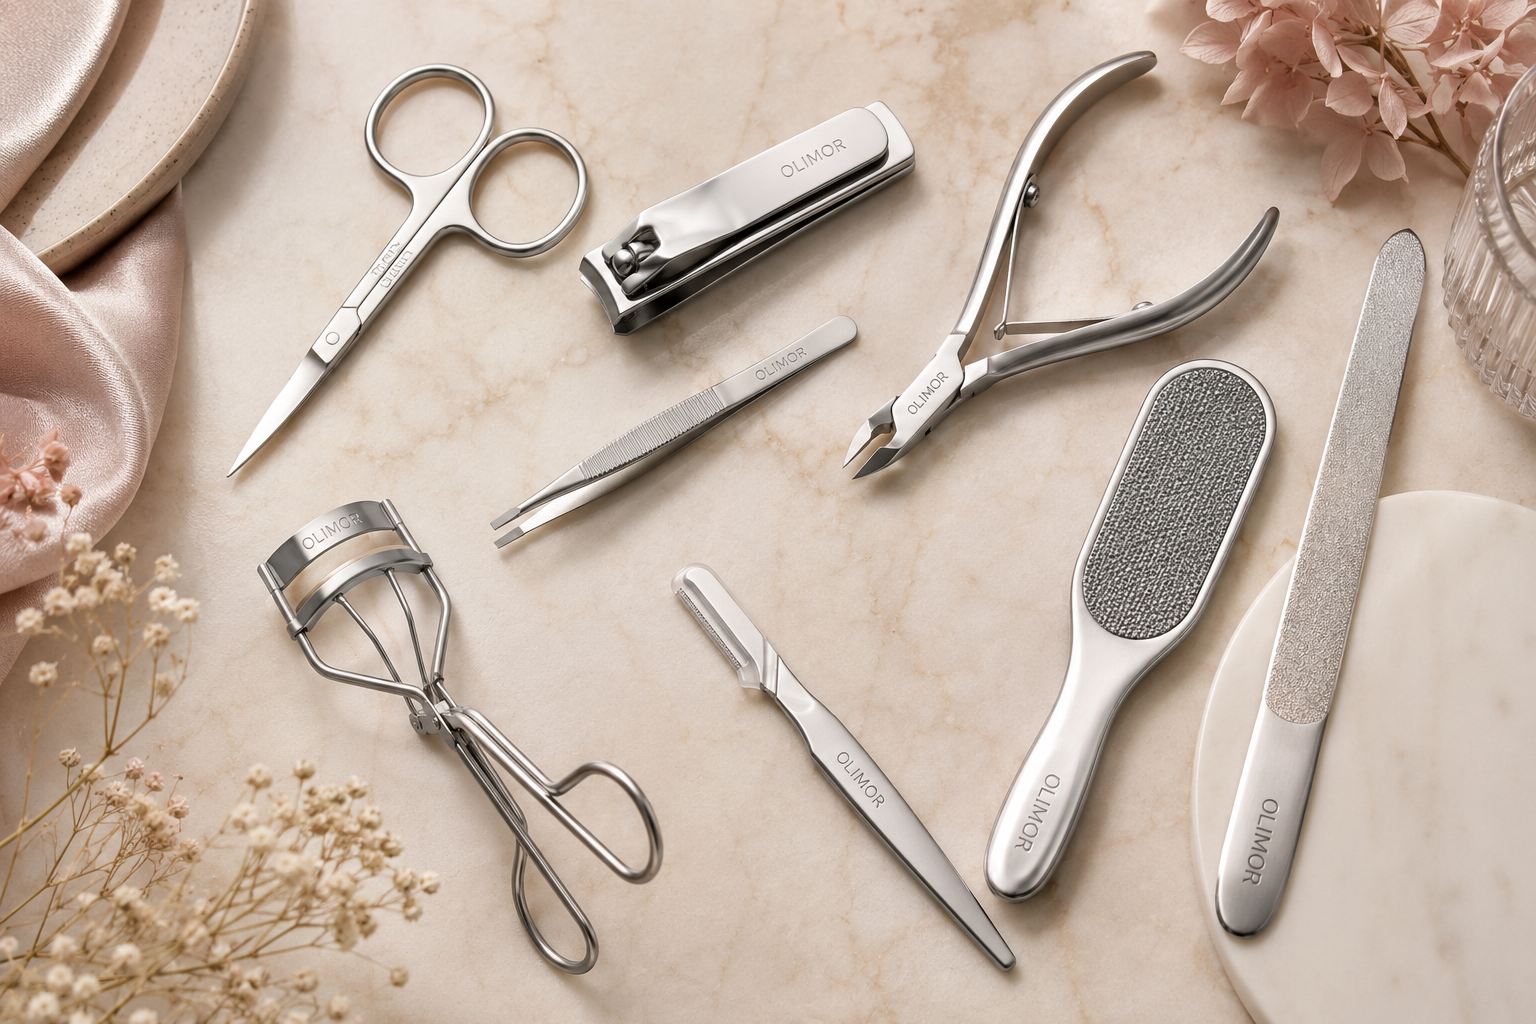
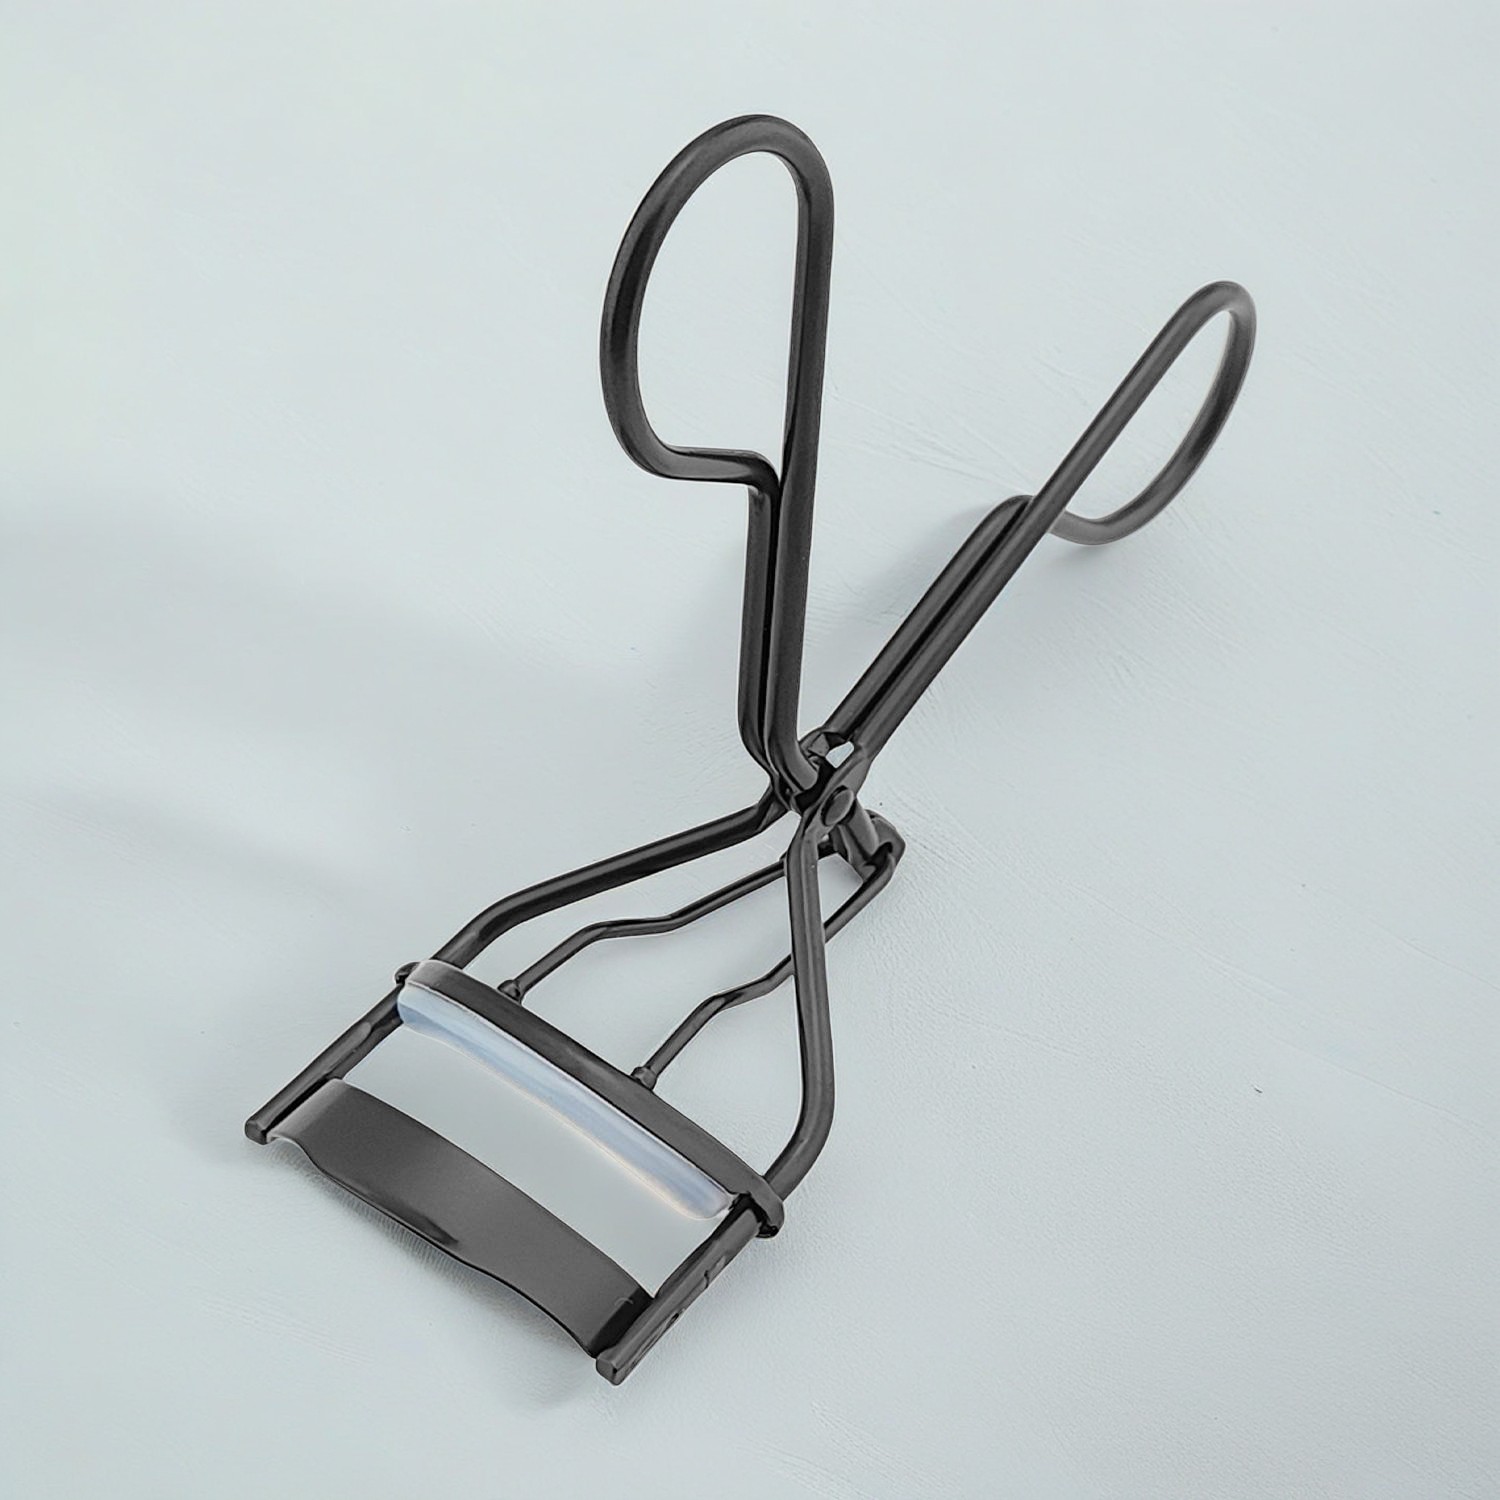
The eyelash curler matters because the wrong tool can pinch the eyelid, miss the corner lashes or create a visible crease. A beginner should look for comfort, alignment and a pad that cushions pressure. The Olimor Beauty eyelash curler shown here features ergonomic matte black handles and a protective silicon pad, both of which are useful for controlled curling. The original product description also notes a stainless steel design, a practical choice for a beauty tool that needs to be cleaned and handled regularly.
When evaluating an eyelash curler, focus on functional details rather than decoration. A curler used for sunflower shaped lashes should help you reach the base of the lashes, apply even pressure and release smoothly.
- Comfortable grip: Handles should feel stable so you can squeeze gently instead of overcompensating with force.
- Cushioned pad: A protective silicon pad helps soften pressure and reduce the chance of a hard bend.
- Clean alignment: The upper bar and pad should meet evenly across the lash line.
- Appropriate curve: The curler opening should suit the user’s eye shape so the inner and outer lashes are not skipped.
- Smooth release: The curler should open without pulling lashes after pressure is released.
For retailers, salons or distributors comparing eyelash curlers for a product range, the same points can be used as a buyer checklist. If you need to discuss assortment requirements or product details, you can send an inquiry to Olimor Beauty.
Step-by-Step: Beginner Eyelash Curling for a Sunflower Effect
The safest way to create this lash shape is to build the curl in stages. Avoid clamping hard at one point. A softer sequence gives more lift, a smoother curve and better control over the outer lashes.
- Start with clean, dry lashes. Remove mascara, powder and skincare residue from the lash line. Curling over dry mascara can make lashes stiff and more likely to break.
- Look slightly downward into a mirror. This makes the lash line easier to see while keeping the eyelid relaxed.
- Position the curler at the base. Place the curler close to the roots without catching skin. Keep your hand steady and do not rush this step.
- Apply gentle pressure for 5 to 10 seconds. Use a controlled squeeze, then release fully before moving the tool.
- Move to the middle of the lashes. Curl again with slightly lighter pressure. This turns a base lift into a rounded curve.
- Touch the tips lightly. A quick, gentle press near the tips can help the lashes point upward rather than straight forward.
- Angle the outer lashes outward. For the sunflower effect, rotate the curler slightly toward the temple when curling the outer third. The movement should be subtle, not forced.
- Separate and set. If desired, apply a light coat of mascara from root to tip. Use a clean spoolie to separate lashes before the mascara dries.
For beginners, it is better to repeat gentle pressure than to squeeze once with too much force. The curl should look gradual from root to tip. If you see a sharp corner in the lash, reduce pressure and curl in smaller sections next time.
Adapting the Technique to Different Eye Shapes
Sunflower shaped eyelashes can suit many eye shapes, but the angle and emphasis should change slightly. The goal is balance: open the eye without making one section of the lash line look over-curled.
For round eyes, keep the center curl soft and spend more attention on the outer third. This helps avoid making the eye appear overly circular. For almond eyes, curl the full lash line evenly, then give the outer lashes a small outward lift. For hooded eyes, focus on a clean base lift and avoid heavy mascara at the tips, which can transfer to the lid. For downturned eyes, lift the outer lashes carefully upward before directing them outward; too much sideways angle can exaggerate the downward slope.
If your lashes are very straight, curl in three stages: base, middle and tip. If your lashes are fine, use lighter pressure and a mascara that does not weigh them down. If your lashes are naturally curly, you may only need to refine the center and outer direction rather than curl the entire lash line.
Common Mistakes That Flatten or Damage the Curl
Most curling problems come from pressure, timing or product buildup. Beginners often think a stronger squeeze will create a longer-lasting curl, but too much pressure can create an unnatural bend and stress the lash.
- Curling after mascara: This can make lashes stick to the pad and may increase breakage.
- Skipping the outer corner: The sunflower look depends on a soft fan at the sides, so do not curl only the center.
- Using a dirty pad: Old mascara and oil can reduce grip and transfer residue back to the eye area.
- Clamping too close to skin: A curler should reach the lash base, but it should never pinch the eyelid.
- Replacing technique with force: Multiple light presses are better than one aggressive clamp.
If your curl drops quickly, check your mascara weight, lash condition and humidity exposure. A lightweight formula often works better for this shape than a very wet or heavy mascara. You can also curl one eye at a time and apply mascara immediately after each curl to help set the direction.
Cleaning, Storage and When to Replace the Pad
An eyelash curler is used close to the eye, so maintenance is not optional. Wipe the pad and metal surfaces after use with a clean tissue or soft cloth. If makeup residue builds up, clean the tool gently and allow it to dry completely before storage. Do not leave the curler in a damp bathroom drawer where residue and moisture can collect.
Inspect the silicon pad regularly. If it becomes cracked, deeply grooved, loose or sticky, replace it before continuing to use the curler. A worn pad can create uneven pressure and may crease lashes instead of curling them. Also check that the curler opens and closes smoothly. If the frame is bent or the pad no longer aligns with the upper bar, it is time to stop using that tool.
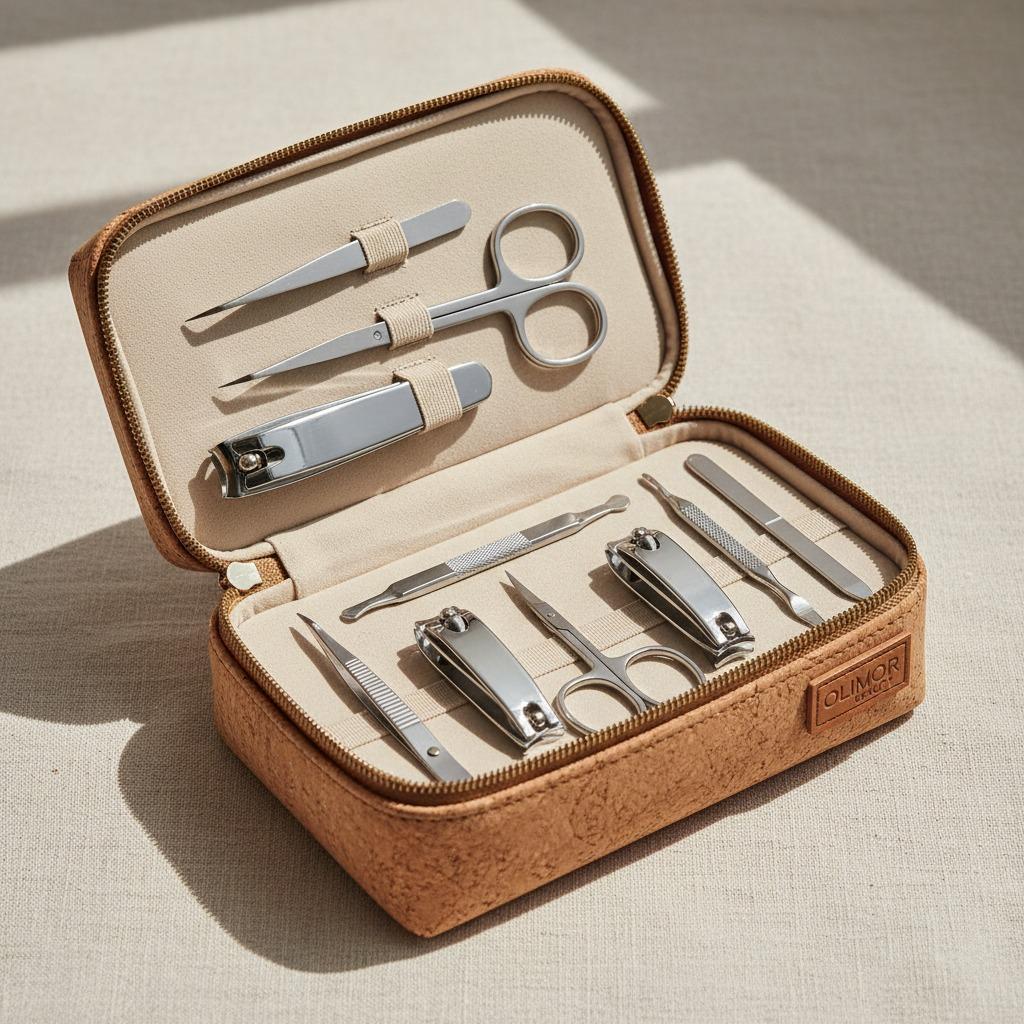
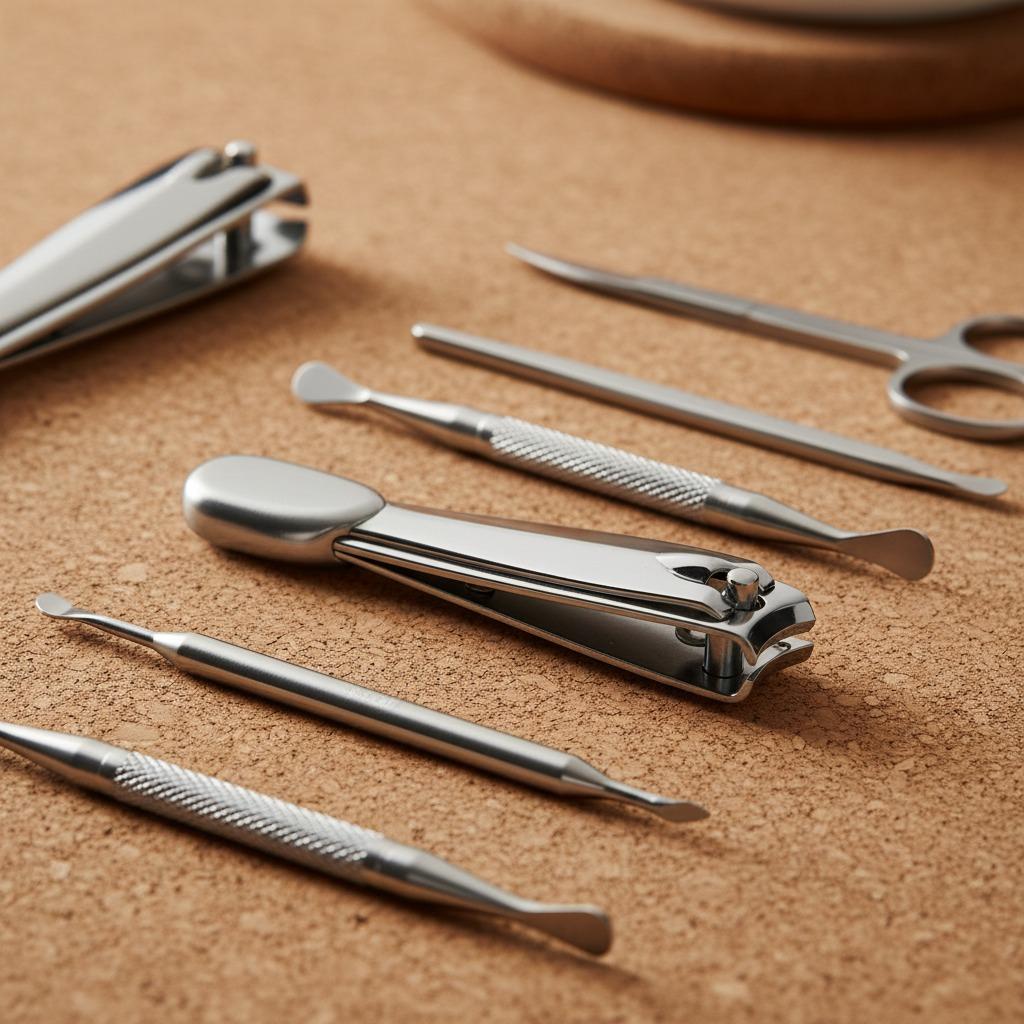
For travel or kit storage, keep the curler away from sharp tools that could cut the pad. Makeup artists, retailers and beauty buyers should also consider how easily a curler can be cleaned, displayed and explained to a beginner customer. Clear usage guidance reduces misuse and helps customers get better results from a simple tool.
Final Tips for a Natural Sunflower Lash Finish
The best sunflower shaped eyelashes look intentional but not stiff. Keep the base lifted, the center open and the outer lashes softly fanned. Use gentle pressure, work in stages and adjust the angle according to your eye shape. With practice, the technique becomes quick enough for daily makeup while still polished enough for photos, events or retail demonstrations.
If you are selecting eyelash curlers for a beauty counter, online store or promotional set, compare comfort, pad quality, frame alignment and ease of use before making a decision. For product questions or sourcing discussions, you can contact Olimor and share the type of eyelash curler project you are planning.