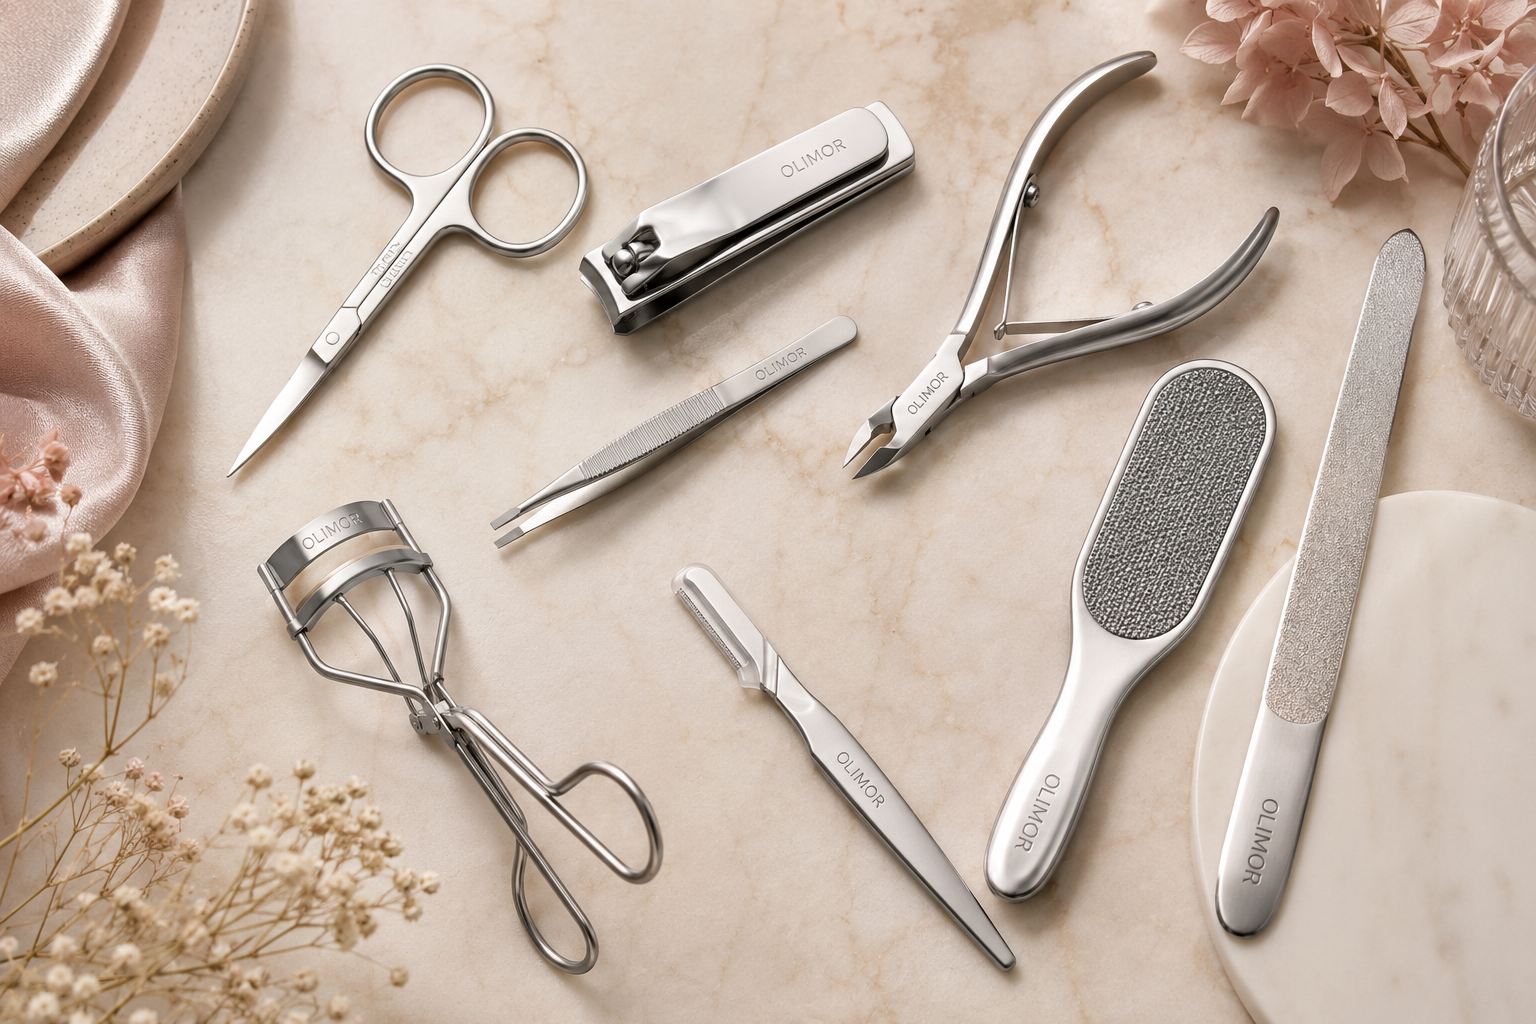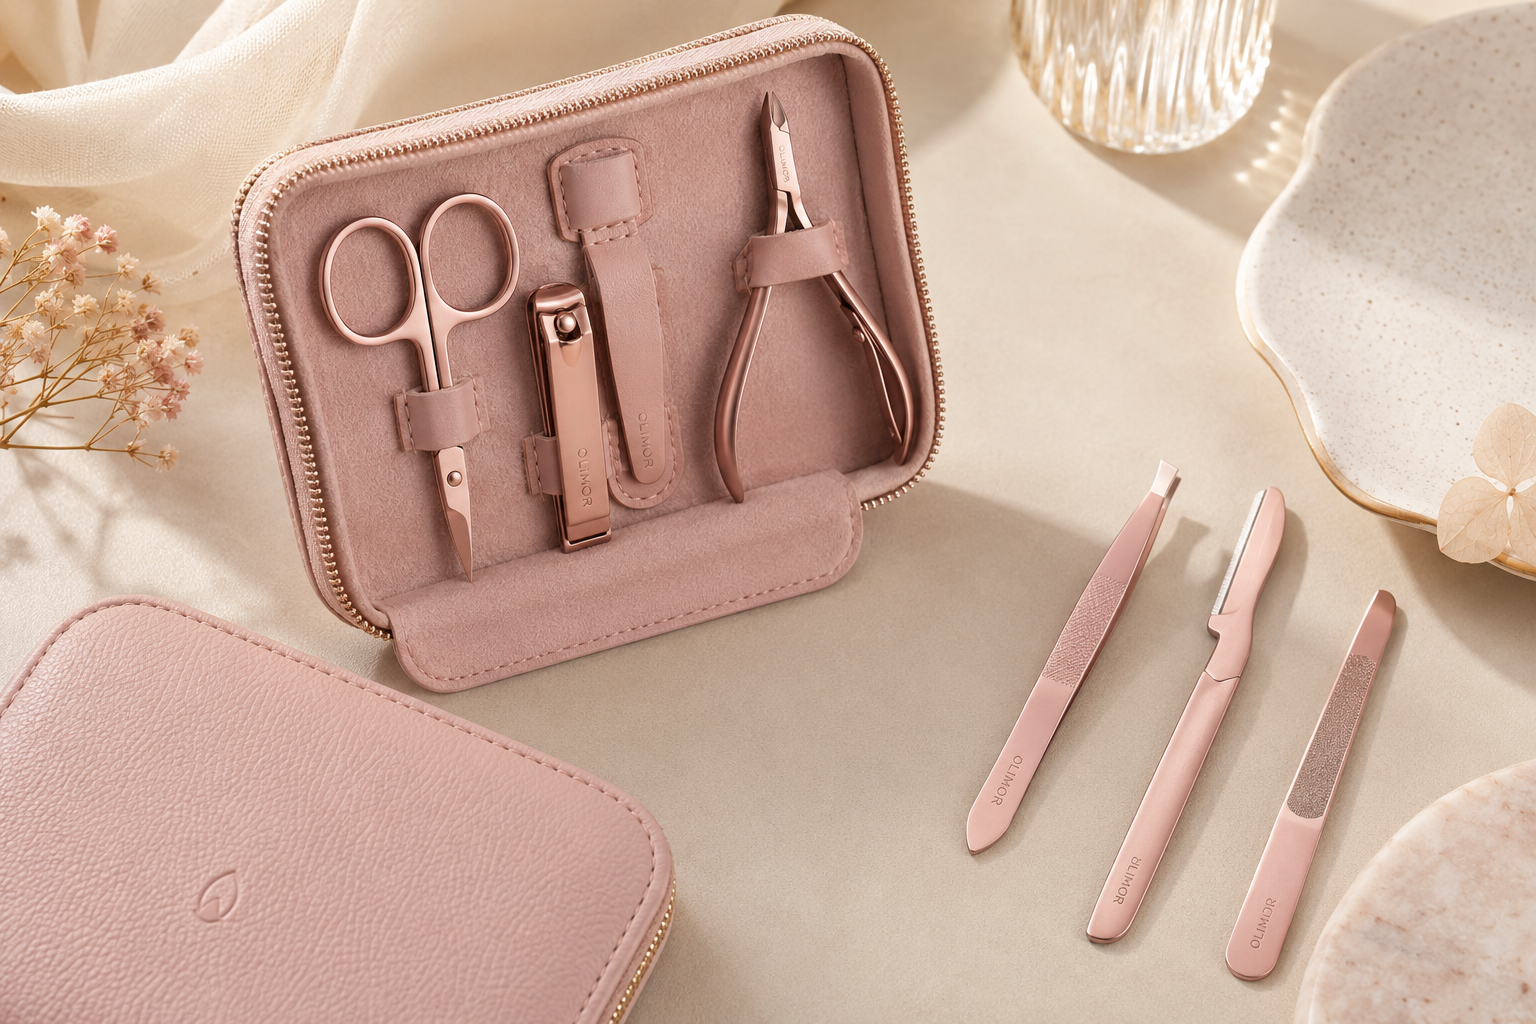











Cuticle nippers are small tools, but they have a large impact on the quality and safety of nail preparation. A cleanly made nipper can remove loose cuticle and hangnails with control, while a poorly chosen or poorly maintained tool can pull skin, crush instead of cut, or lose alignment quickly. Whether you are building a personal manicure kit, equipping a salon station, or comparing beauty tool products for retail or distribution, the right evaluation process matters.
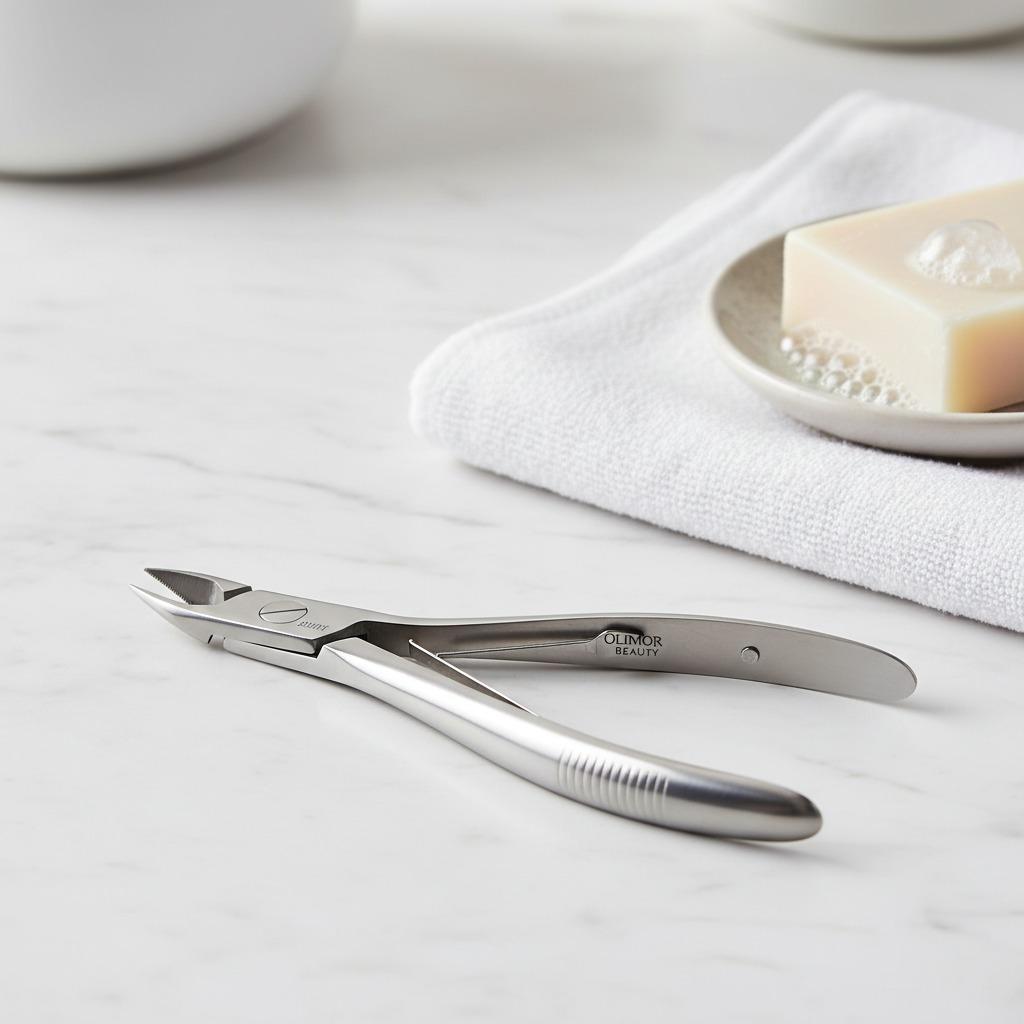
Olimor Beauty cuticle nippers are designed for precise nail care applications, with attention to clean cutting action, stainless steel construction and practical handling. The goal is not to cut more skin; it is to remove only what is necessary, with a tool that lets the user see the working area clearly and apply measured pressure. This guide explains how to assess cuticle nippers, how to use them responsibly, and how to prevent blade damage through proper cleaning and storage.
What Cuticle Nippers Are Used For
Cuticle nippers are intended for trimming small pieces of non-living tissue around the nail edge, such as lifted cuticle or a torn hangnail. They are not meant for cutting the nail plate, thick callused skin, acrylic product, or hardened gel residue. Using them outside their intended role is one of the fastest ways to dull or misalign the blades.
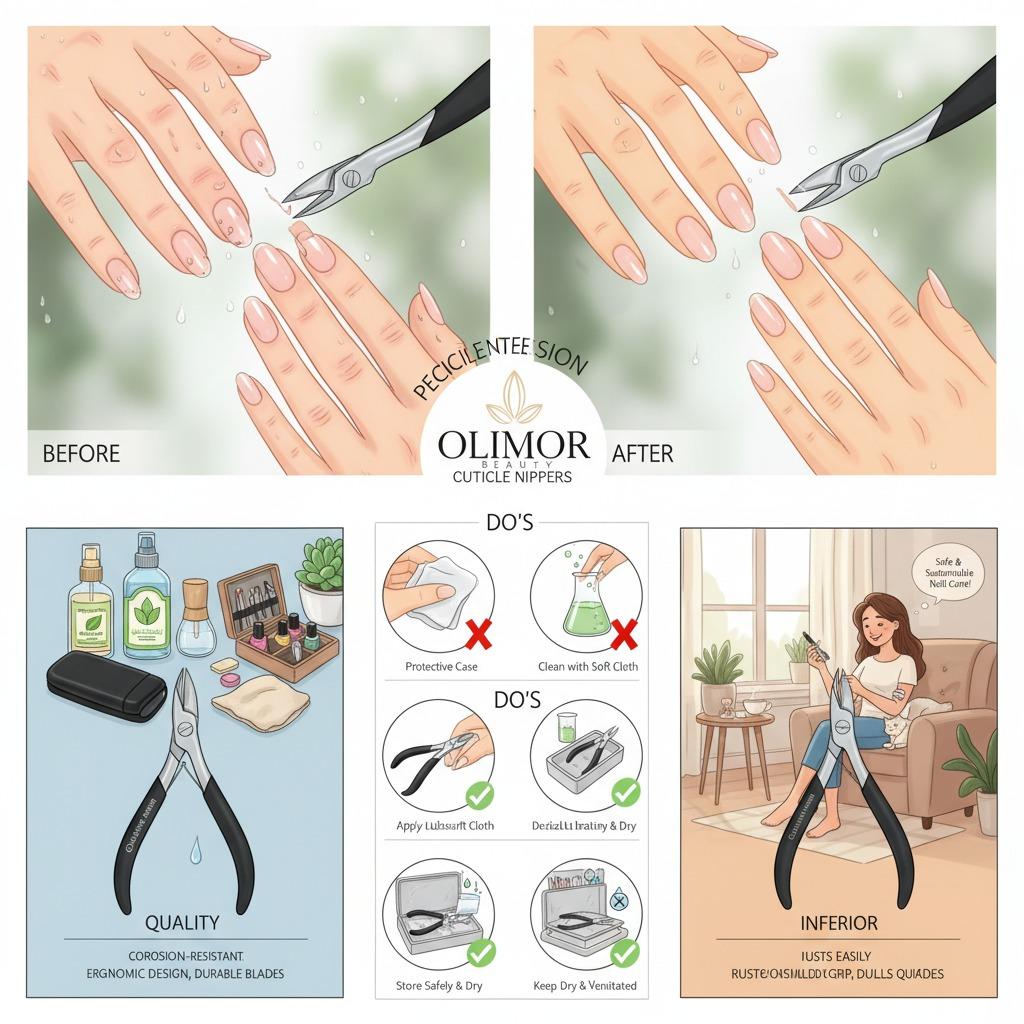
For professional-looking results, cuticle work should begin with softening and gentle preparation. After washing the hands, a user can soften the cuticle area with warm water or an appropriate manicure product, then lightly push back loosened tissue with a suitable pusher. The nipper is used only at the end, where there is clearly visible excess tissue to remove. This sequence reduces pulling and makes the cut more predictable.
For salons, the same principle applies at scale: precision tools should support a conservative technique. A sharp, well-aligned nipper helps technicians make smaller cuts and avoid repeated pressure on the same area. For home users, the most important rule is to trim only what is raised or loose, not the protective living skin around the nail fold.
Selection Criteria for Better Cutting Control
When comparing cuticle nippers, look beyond appearance. A highly polished tool may still perform poorly if the jaws do not meet evenly or the spring action feels unstable. The best choice depends on who will use the nipper, how often it will be cleaned, and how much control is needed for the work.
- Jaw alignment: The two cutting edges should meet cleanly from tip to base without visible gaps. Uneven contact can cause tearing or leave small bits uncut.
- Tip visibility: A fine, clear tip helps the user see exactly where the blade is placed. This is especially helpful for small hangnails and detailed cuticle work.
- Handle comfort: The grip should allow stable control without forcing the hand into an awkward angle. For salon use, comfort affects consistency over repeated services.
- Spring response: The opening and closing motion should feel smooth, not loose, sticky or overly stiff. A controlled return helps prevent accidental over-cutting.
- Stainless steel construction: Stainless steel is commonly preferred for manicure tools because it supports cleaning and resists corrosion when cared for properly.
- Finish quality: Edges, joints and handles should feel finished rather than rough. Small burrs or sharp non-cutting edges can reduce comfort and hygiene.
For businesses reviewing product collections, it is useful to compare samples under the same conditions: same user, same prep routine, same type of cuticle work and same cleaning process. This makes it easier to judge real cutting performance rather than packaging or first impressions alone.
How to Use Cuticle Nippers Safely
Safe use begins before the first cut. Hands and tools should be clean, the nail area should be softened, and lighting should be strong enough to see the cuticle line clearly. Rushing is a common cause of nicks. A good nipper allows precise control, but it cannot compensate for poor visibility or cutting too aggressively.
- Clean the nail area. Wash and dry the hands, then remove visible residue from the nail plate and sidewalls.
- Soften the cuticle. Use warm water or a suitable cuticle softening step so lifted tissue is easier to identify.
- Push back gently. Avoid scraping hard against the nail. The aim is to reveal loose tissue, not force the skin away from the nail.
- Trim small sections only. Place the nipper around the loose tissue and close the blades once. Do not pull the skin after cutting.
- Stop when the surface is neat. Over-trimming increases irritation and can make the area more vulnerable.
- Clean the tool immediately. Remove residue before it dries around the blades or joint.
If there is redness, swelling, broken skin or discomfort, the area should not be trimmed. In retail education or salon training, this point is important: cuticle nippers are precision tools, not corrective tools for inflamed skin conditions.
Preventing Blade Damage During Everyday Use
Blade damage often comes from misuse rather than normal wear. Cutting material that is too hard, dropping the tool, placing it loose in a drawer, or using abrasive cleaning methods can create small dents along the cutting edge. Once the edge is nicked, the nipper may pinch instead of cut, which affects both comfort and results.
To extend service life, reserve cuticle nippers for cuticle and hangnail trimming only. Do not use them to cut fingernails, toenails, tape, packaging, gel extensions, wire, or salon product residue. Even a single hard cut can disturb the fine contact between the blades. If a nipper begins to feel rough or fails to cut cleanly at the tip, continued use may worsen the damage.
Chemical exposure also matters. Stainless steel can resist corrosion, but it is not a reason to leave tools wet or coated with product. After cleaning, dry the tool thoroughly, including the joint and the area behind the blades. If a disinfecting process is used in a salon setting, follow the disinfectant manufacturer’s instructions for dilution, contact time and tool compatibility. Overexposure to harsh solutions can affect finish, smoothness and long-term performance.
Cleaning and Storage That Protect Sharpness
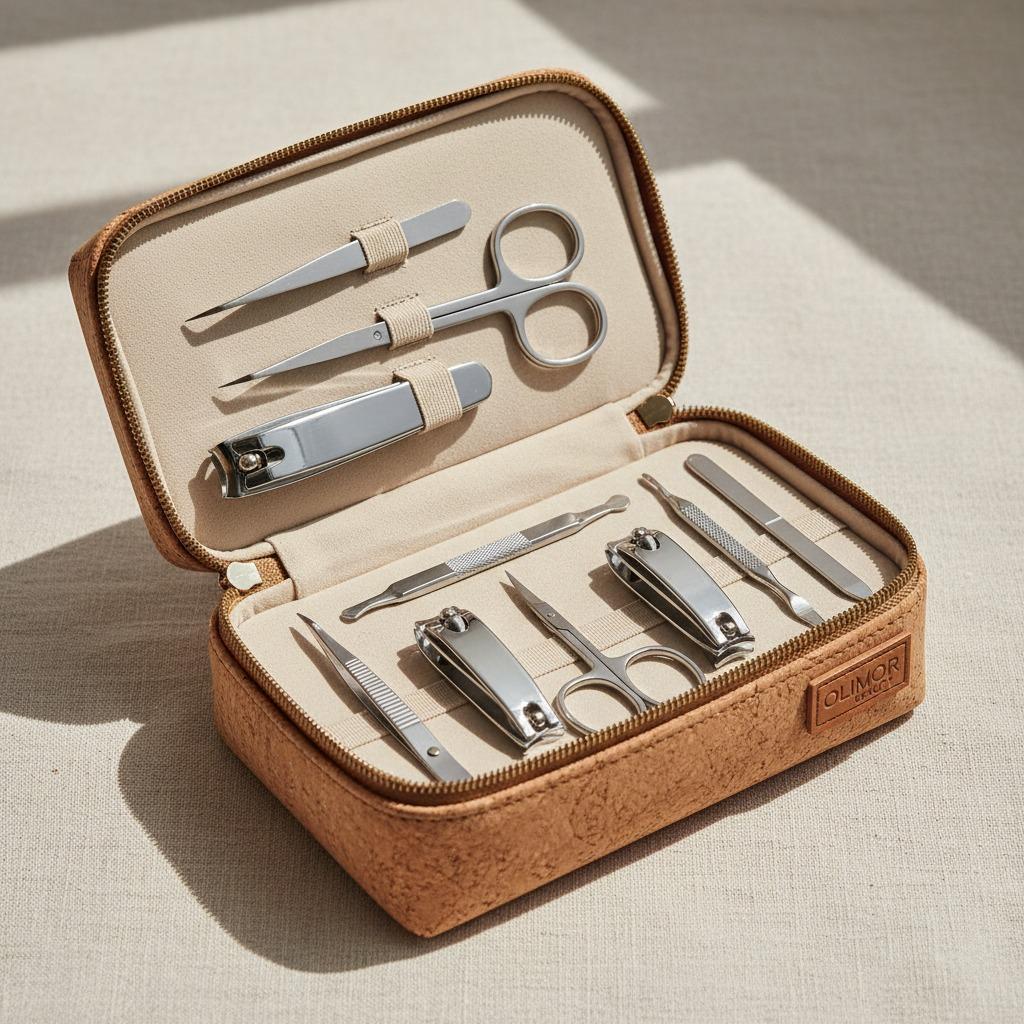
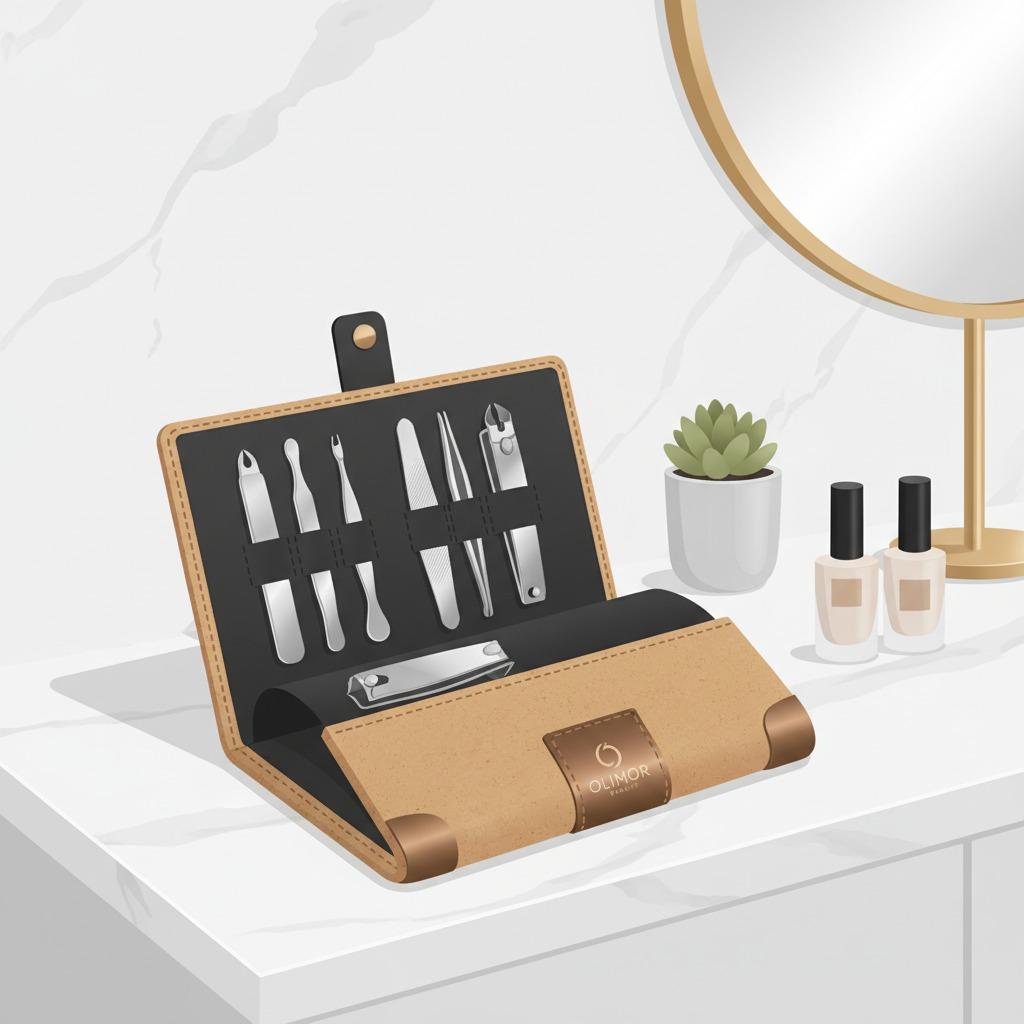
Good storage is as important as good cleaning. A cuticle nipper stored loose with files, clippers and metal pushers may suffer blade-to-blade impacts every time the kit is moved. Small collisions are enough to damage a finely finished edge. For home users, a protective sleeve or separate compartment is often sufficient. For salons, a defined clean-tool workflow helps keep prepared tools separated from used tools.
After each use, wipe away visible residue with a soft cloth and mild soap if appropriate, then dry completely. Avoid abrasive pads on the blade area. If the joint begins to feel stiff, a very small amount of suitable tool oil may help maintain smooth movement, but excess oil should be removed so it does not attract dust or residue.
| Care step | Why it matters | What to avoid |
|---|---|---|
| Clean after use | Removes skin residue before it dries near the blades | Leaving debris in the jaw or joint |
| Dry thoroughly | Reduces moisture exposure during storage | Putting tools away damp |
| Protect the tips | Helps preserve blade alignment and sharpness | Storing loose with hard metal tools |
| Use only for cuticles | Prevents edge stress from hard materials | Cutting nails, plastic or packaging |
| Check movement regularly | Supports smooth, controlled trimming | Forcing a stiff or damaged joint |
Buying Questions for Salons, Retailers and Distributors
For a single personal tool, the main concerns are comfort, sharpness and storage. For commercial buyers, the decision also includes consistency from unit to unit, packaging suitability, user education and after-sales communication. When comparing cuticle nippers from any supplier, build a checklist that can be reviewed consistently by your purchasing, training and quality teams.
Useful questions include: Do the jaws meet evenly on multiple samples? Is the handle comfortable for different hand sizes? Does the finish feel smooth around the grip and joint? Can the tool be cleaned according to the procedures used by your salon or market? Is the packaging appropriate for storage, retail display or professional kits? Are product photos and descriptions accurate enough for online buyers to understand the tool’s intended use?
Olimor Beauty offers cuticle nippers as part of its beauty tool range, and buyers can review related options through the site’s product pages. If you are comparing tools for a salon program, retail assortment or sourcing project, you can send an inquiry with your application requirements, or contact Olimor for product-related communication.
The Bottom Line: Precision Comes From Tool Quality and Habits
A cuticle nipper should feel controlled, clean and predictable. The best results come from pairing a well-made tool with careful preparation, conservative trimming, immediate cleaning and protected storage. This approach helps prevent blade damage, supports hygiene and keeps the nipper performing as intended for detailed nail care.
For home manicures, choose a nipper that feels stable in the hand and easy to protect between uses. For professional and commercial settings, evaluate consistency, handling and maintenance requirements before adding a tool to your workflow. With the right selection and care habits, cuticle nippers can remain one of the most reliable instruments in a complete nail preparation kit.