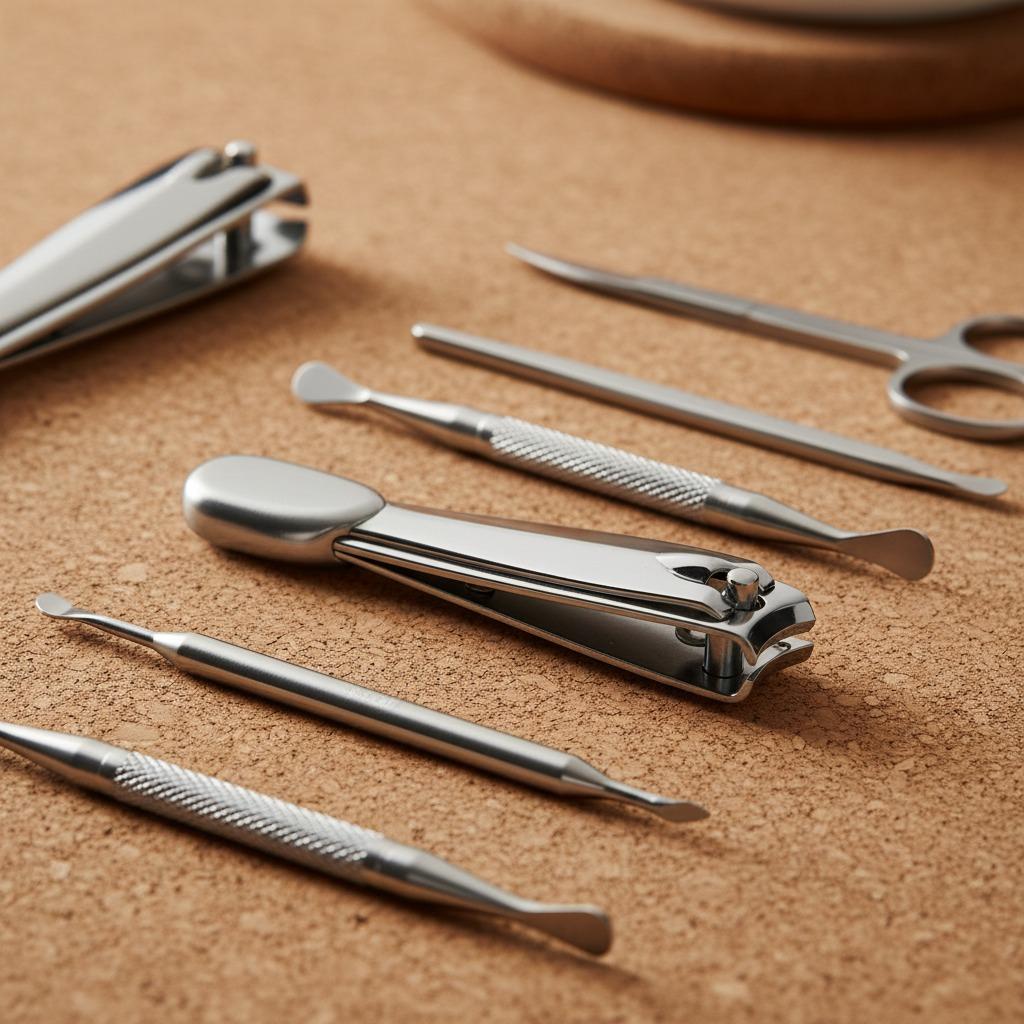











Cuticle nippers are small tools, but they work close to one of the most sensitive areas of the hand: the nail fold. A clean, well-aligned stainless steel cuticle nipper can remove loose dead skin neatly, while a dull, dirty or poorly controlled tool can tear living tissue and increase the chance of redness, swelling or infection.
This guide explains how to choose, use, clean, store and evaluate cuticle nippers for safer nail care. It is useful for professional manicure settings, retail nail care kits, distributors, private-label buyers and careful home users who want a practical hygiene routine rather than aggressive cutting.
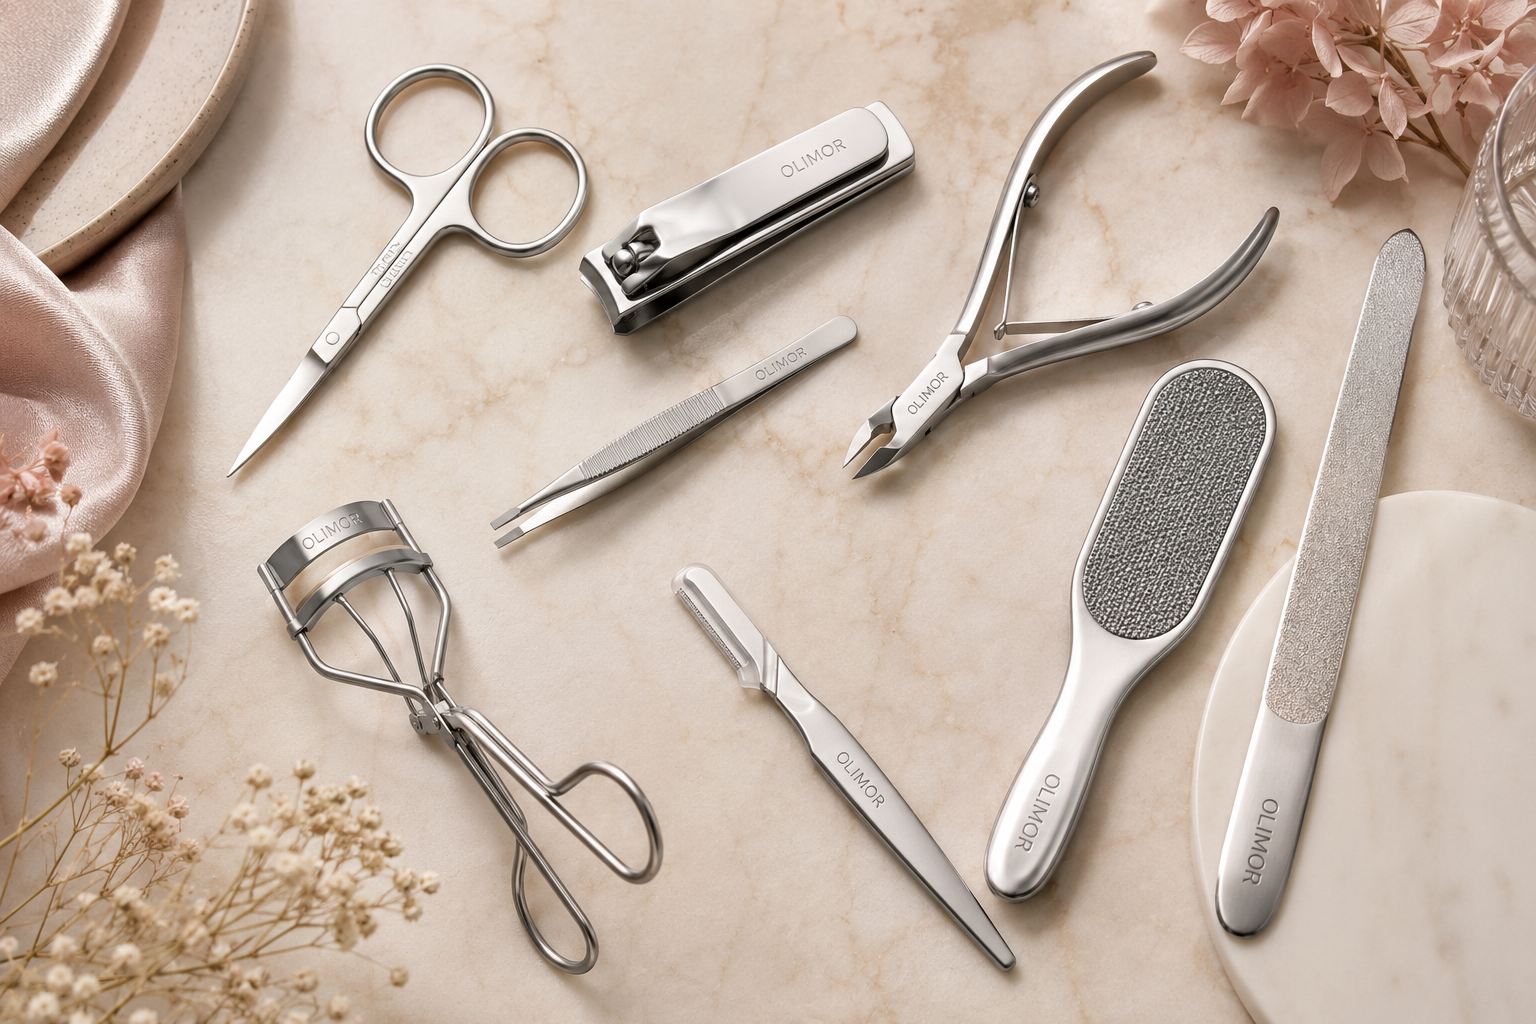
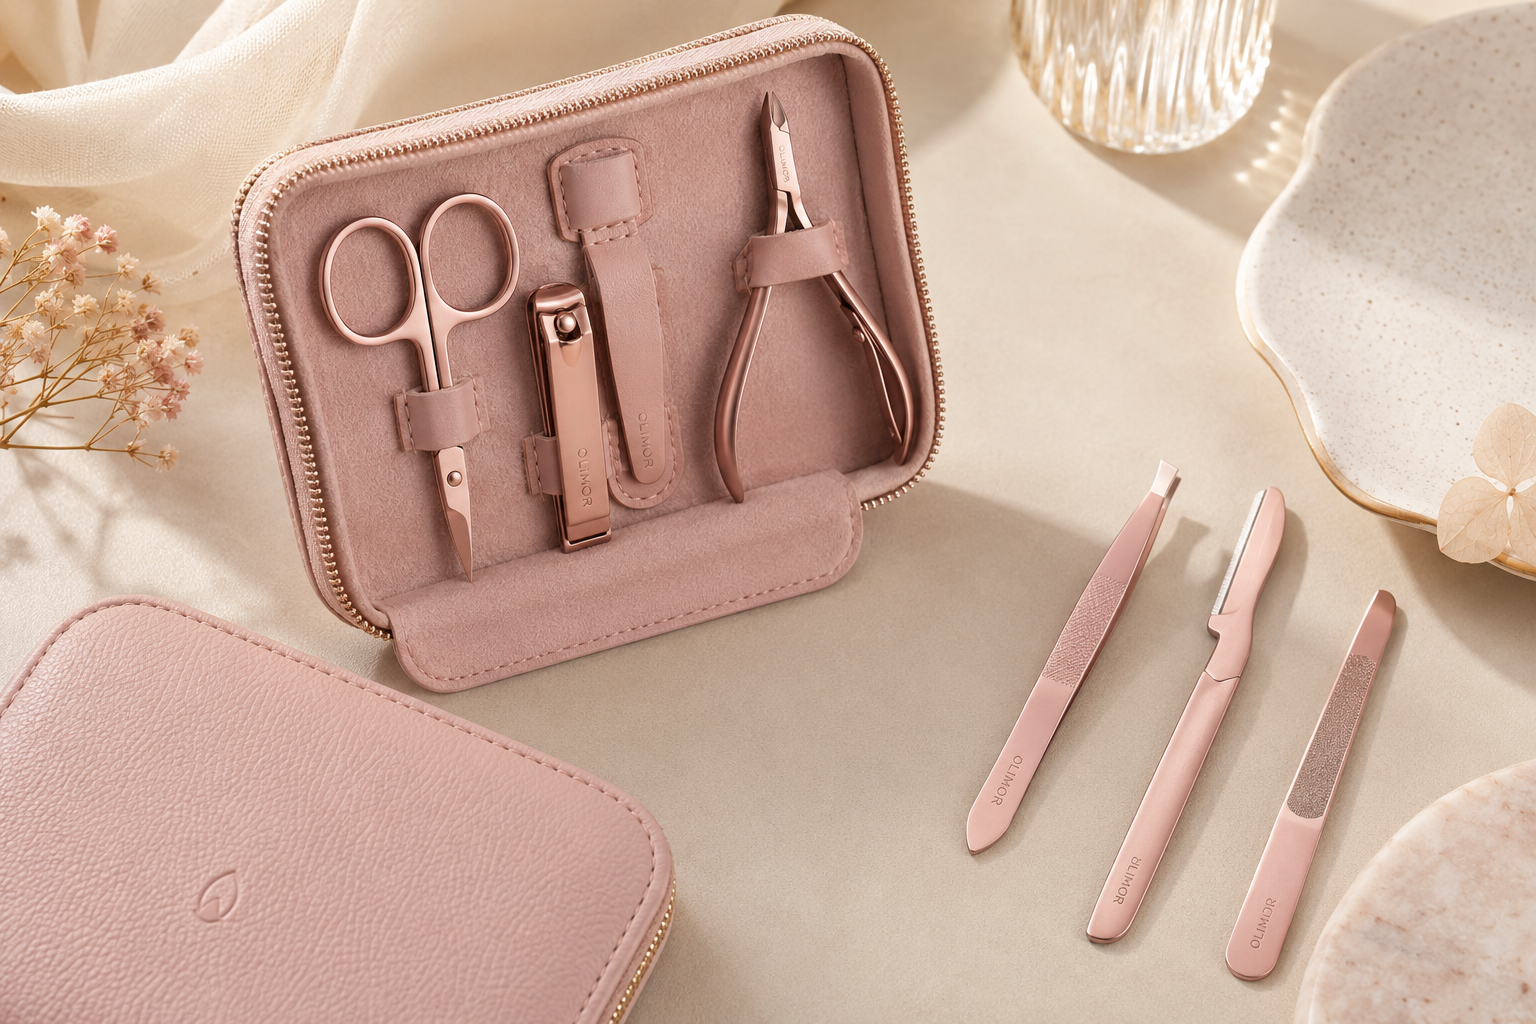
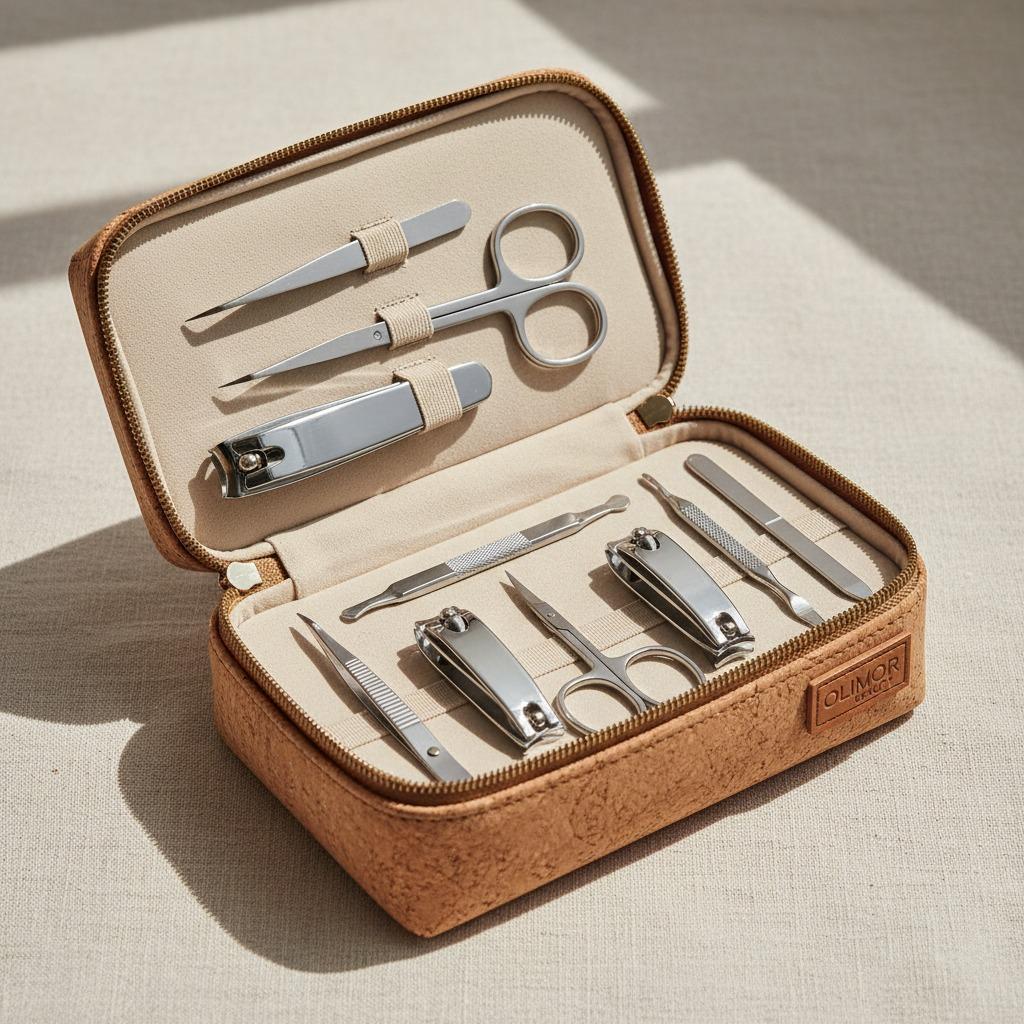
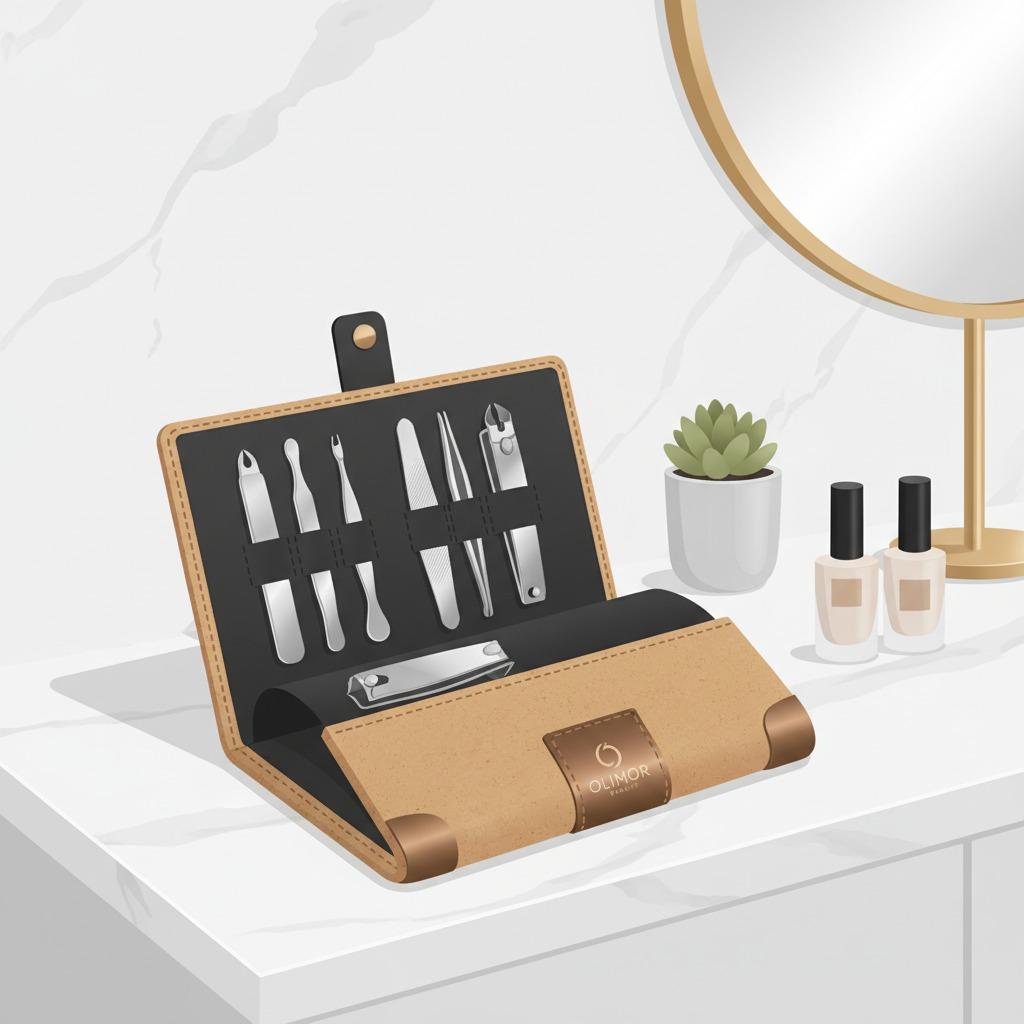
Olimor Beauty offers a stainless steel cuticle nipper designed for precise cuticle and dead skin trimming. Product details include corrosion-resistant stainless steel, sharp aligned tips, an ergonomic double-spring mechanism and a comfortable satin-finish handle. Those features can support cleaner work, but infection prevention still depends on correct preparation, conservative trimming, effective cleaning and dry storage.
Why Cuticle Nipper Hygiene Matters
The cuticle area helps protect the nail matrix from bacteria, dirt and moisture. When the skin is pushed too hard, cut too deeply or torn by a dull tool, that protective barrier can be weakened. Once there is a break in the skin, microorganisms can enter and cause irritation or infection.
Common warning signs after cuticle trimming include tenderness, warmth, redness, swelling, throbbing pain, pus, bleeding or a nail fold that looks shiny and stretched. Mild dryness is not the same as infection, but discomfort that worsens after trimming should be taken seriously. If the skin is already inflamed, cracked, bleeding or painful, do not trim it. Allow the area to recover and seek appropriate care when symptoms are concerning.
People with diabetes, reduced circulation, immune concerns or slow wound healing should be especially cautious with any cutting around the nail. In a salon or retail education context, care instructions should make clear that cuticle nippers are intended for loose, non-living skin, not deep cutting into the nail fold.
What a Safer Cuticle Nipper Should Do
A cuticle nipper should help the user make small, controlled cuts. It should not require pulling, twisting or repeated pressure. For buyers comparing nail tools, the most important details are functional: material, tip alignment, cutting feel, spring action, grip comfort, cleanability and packaging protection.
Stainless steel construction
Stainless steel is commonly used for manicure tools because it is durable, non-porous and easier to clean than many coated or absorbent materials. Corrosion resistance is important because nail tools are repeatedly wiped, cleaned and handled in humid environments. However, corrosion-resistant does not mean maintenance-free. Tools still need prompt drying and proper storage.
Sharp, aligned cutting tips
The tips should meet evenly so they can trim small lifted pieces of dead skin without crushing or dragging. Misaligned tips may leave ragged edges, encourage picking or increase the chance of nipping healthy skin. For B2B buyers, tip alignment should be part of incoming inspection because end users often judge tool quality by the first cut.
Controlled spring action
A double-spring mechanism can support smoother opening and closing, which helps reduce hand fatigue during detail work. The spring should feel stable and predictable. If the action is too loose, stiff or uneven, it becomes harder to control the tips around the nail fold.
Comfortable, steady grip
A satin-finish handle can help the user hold the nipper securely. Grip matters because slipping near the sidewall or cuticle area can cause small injuries. A handle should feel balanced, not overly sharp at the edges and not difficult to control with dry hands.
How to Prepare Nails Before Trimming
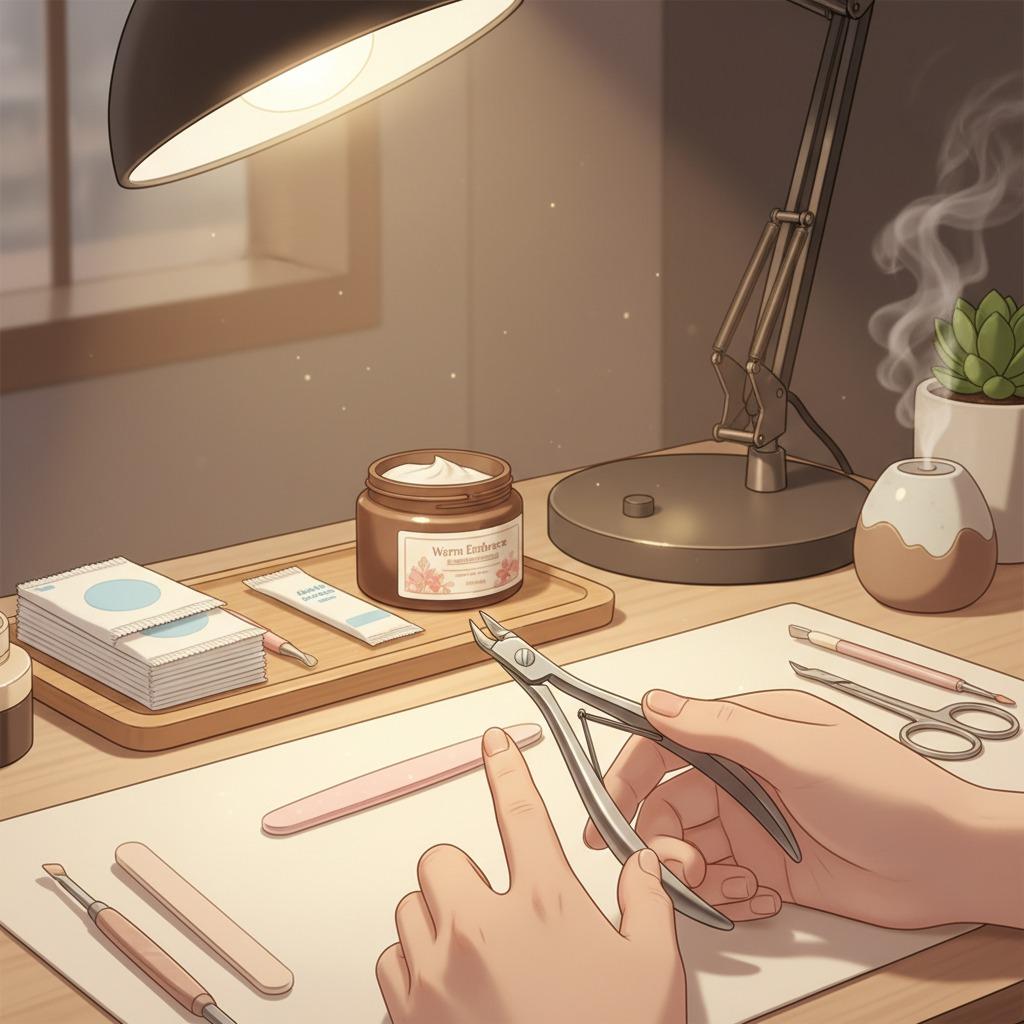
Good cuticle care begins before the tool touches the skin. Dry, tight cuticles are easier to tear, and poor lighting can make users cut more than necessary. The safest routine is to clean, soften, inspect and cut only when there is truly loose skin to remove.
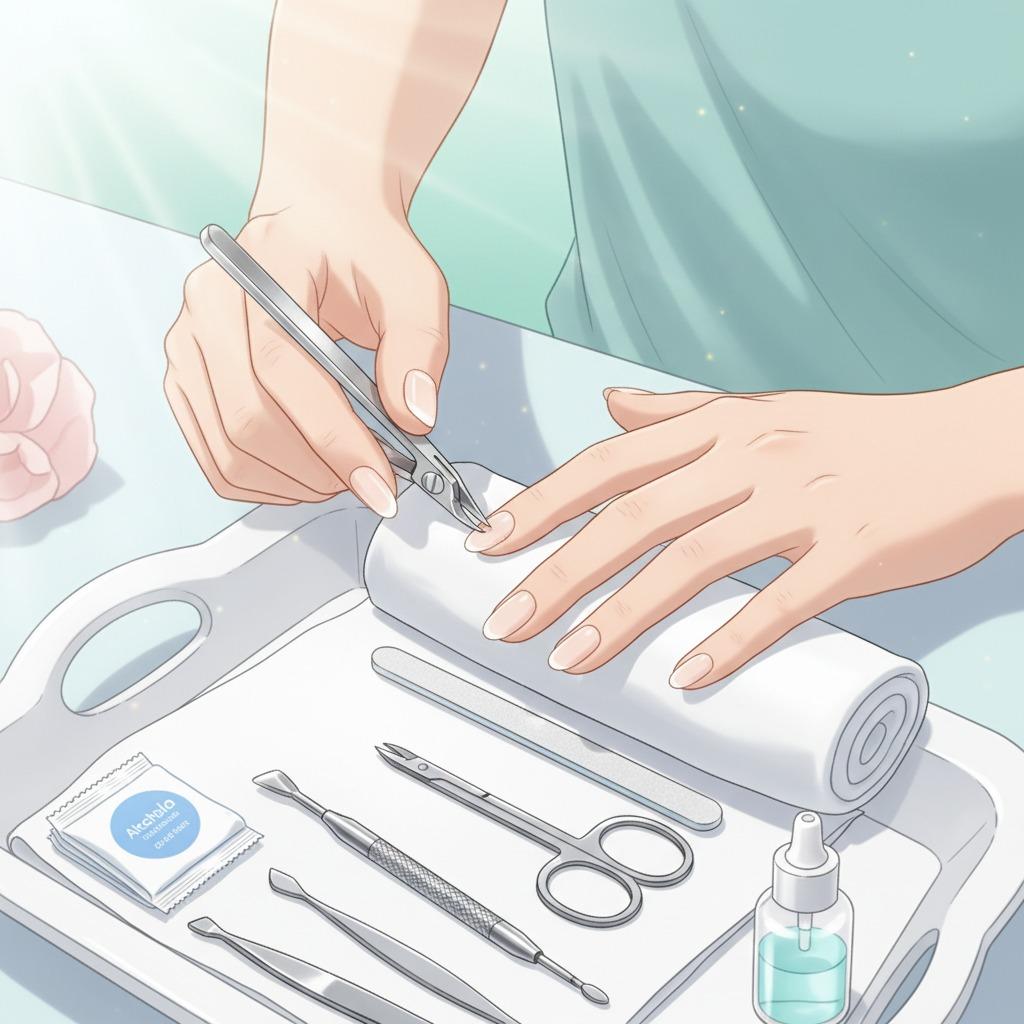
- Wash hands first. Clean hands with soap and water, then dry with a clean towel.
- Clean the tool before use. Wipe the cutting edges, handle, hinge and spring area according to the setting and hygiene procedure being followed.
- Soften the cuticle area. Soak fingertips briefly in warm water or use a cuticle-softening product according to its directions.
- Improve visibility. Remove polish if it blocks the view of the nail edge or sidewall.
- Push gently, do not force. Move only the thin non-living cuticle film from the nail plate. Avoid pushing the living nail fold backward.
- Inspect before cutting. If there is no lifted dead skin or hangnail, do not cut simply to create a more dramatic result.
This conservative preparation protects the nail barrier and reduces unnecessary cutting. In professional services, it also creates a more consistent process that can be taught, supervised and documented.
Step-by-Step Use for Cleaner, Lower-Risk Trimming
Cuticle nippers are precision tools, not scissors for removing large sections of skin. The safest approach is to trim tiny pieces of already-lifted dead skin while keeping the hand stable and the tool clean.
Use a controlled trimming method
- Support the hand. Rest the hand on a table or manicure surface so the tool does not move unexpectedly.
- Hold the nipper at a comfortable angle. Keep the tips visible and avoid twisting the wrist.
- Trim in small bites. Clip loose hangnails or dead skin a little at a time. Do not pull the skin while cutting.
- Stay outside living tissue. Avoid cutting deeply around the base and sides of the nail.
- Stop if there is pain. Pain usually means the user is cutting living skin or applying too much pressure.
- Moisturize afterward. Apply a suitable cuticle oil or hand cream to reduce dryness and support the skin barrier.
Never use a cuticle nipper on broken, infected or heavily irritated skin. Do not share personal tools unless they have been properly cleaned and disinfected according to the use setting. In a salon, hygiene requirements are stricter because tools may be used with multiple clients and must comply with applicable local rules.
Cleaning, Disinfection, Drying and Storage
Visible cleanliness is not enough. Fine skin particles can remain near the cutting edge, hinge and spring. Cleaning removes debris; disinfection reduces microorganisms on the cleaned surface. The exact procedure depends on whether the tool is for personal, salon, retail demonstration or training use.
For professional environments, verify current requirements from the applicable state board, local health authority or occupational regulator. In the United States, salon operators often refer to state cosmetology rules and EPA-registered disinfectant label directions. Public health bodies such as the CDC also provide general hand hygiene and infection prevention guidance. Always verify current versions and supplier documents instead of relying on old printed instructions.
Practical cleaning workflow
- Remove debris immediately. Wipe away visible skin particles after use, especially around the tips and joint.
- Clean before disinfecting. Disinfectants work best on surfaces that are already free of visible soil.
- Follow the product label. If using a disinfectant, observe the manufacturer’s instructions for compatible surfaces, contact time and safe handling.
- Dry completely. Moisture left on metal tools can contribute to staining or corrosion over time, even with corrosion-resistant stainless steel.
- Store protected. Keep the nipper in a clean, dry pouch, case or tool compartment with the cutting tip protected.
Avoid leaving the tool loose in a makeup bag where it can contact used files, cotton pads, dust or cosmetic residue. Avoid long-term bathroom storage if the space remains humid. A dedicated manicure kit drawer or dry tool container is usually better for preserving cutting quality and hygiene.
Selection Checklist for Retailers, Salons and Distributors
B2B buyers need more than a tool that looks good in a product photo. They need consistency, packaging protection, practical user guidance and a supplier that can answer product questions clearly. When comparing beauty tool products, use the checklist below to evaluate whether a cuticle nipper is suitable for your market.
| Evaluation area | What to check | Why it matters |
|---|---|---|
| Material | Stainless steel construction and surface finish | Supports durability, cleanability and resistance to everyday manicure-tool moisture exposure |
| Tip alignment | Tips meet evenly without visible gaps or overlap | Helps create cleaner cuts and reduces tugging on delicate skin |
| Cutting edge | Sharp enough for loose dead skin, without rough burrs | Improves control and reduces ragged edges that users may pick at |
| Spring action | Smooth opening and closing, stable double-spring feel | Supports repeatable motion and reduces hand fatigue during detail work |
| Handle comfort | Secure satin-finish grip and comfortable hand position | Helps prevent slipping near the nail fold |
| Cleanability | Accessible hinge, spring and tip areas for wiping and drying | Reduces hidden debris and supports better hygiene routines |
| Packaging | Tip protection, clean presentation and care instructions | Protects the cutting edge during shipping, storage and retail handling |
| Supplier support | Clear product information and responsive communication | Helps buyers confirm suitability for salons, kits, retail shelves or private-label projects |
If you are building a complete manicure assortment, review Olimor beauty tool collections to compare related nail care categories and plan a coordinated product range.
Cost Factors Without Guesswork
Cuticle nipper pricing varies by design, production requirements, packaging and order needs. A lower unit price is not automatically the lowest total cost if the tool arrives with inconsistent alignment, weak packaging or poor user instructions. For retailers and distributors, returns, customer complaints and repackaging can create hidden costs.
Key cost factors include the stainless steel tool construction, cutting edge finishing, spring mechanism, handle finish, inspection requirements, packaging type, branding needs and shipment arrangement. Custom packaging or logo requirements may also affect quotation details. Because requirements differ by buyer and market, request a quotation based on the exact product, packaging and order conditions rather than relying on general assumptions.
For commercial buyers, it is useful to ask suppliers how they inspect tip alignment, handle finish, spring movement and packing protection. Do not ask only for the lowest price; ask what is included in the product specification and what documentation or samples can be reviewed before purchase.
Common Cuticle Nipper Problems and How to Prevent Them
Many cuticle nipper problems are caused by poor technique, improper storage or selecting a tool that does not match the use environment. The following troubleshooting points can help users and buyers reduce preventable issues.
- The tool pulls instead of cuts: The tips may be dull, misaligned or being used on skin that has not been softened. Stop using force and inspect the tool.
- Skin bleeds after trimming: The user may be cutting living tissue or trimming too deeply. Discontinue cutting and let the area heal.
- The edge feels rough: There may be damage, burrs or residue near the cutting surface. Do not use rough edges on delicate skin.
- The spring feels uneven: Check whether the spring is seated correctly and whether debris is affecting movement. If the action remains unstable, retire the tool from precision use.
- The tool shows staining: Review cleaning and drying habits. Moisture, residue and poor storage can affect appearance over time.
- Users over-trim cuticles: Improve instructions. Emphasize softening, gentle pushing and trimming only loose dead skin.
For retail products, clear care cards or package instructions can reduce misuse. For salon teams, consistent training is as important as tool selection.
When to Replace or Retire a Cuticle Nipper
A stainless steel cuticle nipper can serve for a long time with proper care, but no cutting tool remains ideal forever. Replacement should be based on condition and performance, not only age.
Retire a cuticle nipper from skin-contact use if the tips no longer meet evenly, the tool folds skin instead of cutting cleanly, the spring action becomes unstable, the handle is damaged, residue cannot be fully removed or rough spots appear near the cutting edge. Rust-like marks, deep scratches or visible corrosion are also reasons to stop using the tool around delicate skin.
For businesses, damaged tools should not be mixed back into usable inventory. Salons can separate tools needing inspection from clean ready-to-use tools. Retailers and distributors can include basic inspection criteria in quality review procedures before goods are accepted or packed into kits.
How to Evaluate a Cuticle Nipper Supplier
A reliable supplier should be able to discuss the tool’s functional details, not just appearance. For a stainless steel cuticle nipper, ask about material description, tip alignment expectations, spring mechanism, handle finish, packaging options, sample availability and care instructions. Avoid suppliers that make unsupported hygiene or medical claims.
Commercially relevant questions include whether the product is suitable for your sales channel, whether branding or packaging adjustments are available, how samples are handled, what inspection steps are used before shipment and what product information can be provided for retail or professional users. If your market has salon hygiene rules, verify current local requirements and confirm that any user instructions you provide are consistent with those rules.
Olimor Beauty’s stainless steel cuticle nipper focuses on practical manicure features: corrosion-resistant stainless steel, sharp aligned tips, a double-spring mechanism and a satin-finish handle. To discuss product fit for a salon assortment, retail nail kit or distribution project, you can send a product inquiry or contact Olimor Beauty.
FAQ
Can I request samples before placing a commercial order?
Sample availability depends on the product, customization needs and current supply situation. Contact Olimor with the cuticle nipper style, packaging preference and target market so the team can confirm what is possible.
Is there an MOQ for cuticle nippers?
MOQ can vary by product specification, packaging and customization requirements. Ask for a quotation based on your intended order type rather than assuming a standard quantity.
Can cuticle nippers be customized for retail or private-label projects?
Customization may involve packaging, branding or assortment planning, depending on the project. Share your preferred sales channel, presentation style and compliance needs so the supplier can review suitable options.
How should buyers check quality before accepting goods?
Inspect tip alignment, cutting edge condition, spring movement, handle finish, surface cleanliness and packaging protection. Buyers should also review care instructions and any supplier documents relevant to their market.
How long does delivery take?
Lead time depends on order details, customization, packaging and shipping arrangement. Confirm the schedule directly during quotation and verify all final documents before production or shipment.
A Safer Routine for Healthy-Looking Nails
The best cuticle routine is conservative: wash hands, soften the cuticle area, push gently, trim only loose dead skin, clean the tool and store it dry. A well-made stainless steel cuticle nipper can support precision, but it cannot replace good technique and hygiene discipline.
For professional and B2B buyers, the goal is to choose a tool that is easy to control, easy to clean and consistent enough for the intended market. Focus on stainless steel construction, aligned tips, smooth spring action, comfortable grip, protective packaging and clear care guidance. Healthy-looking nails are not created by aggressive cutting; they are maintained by protecting the skin barrier and using the right tool with restraint.