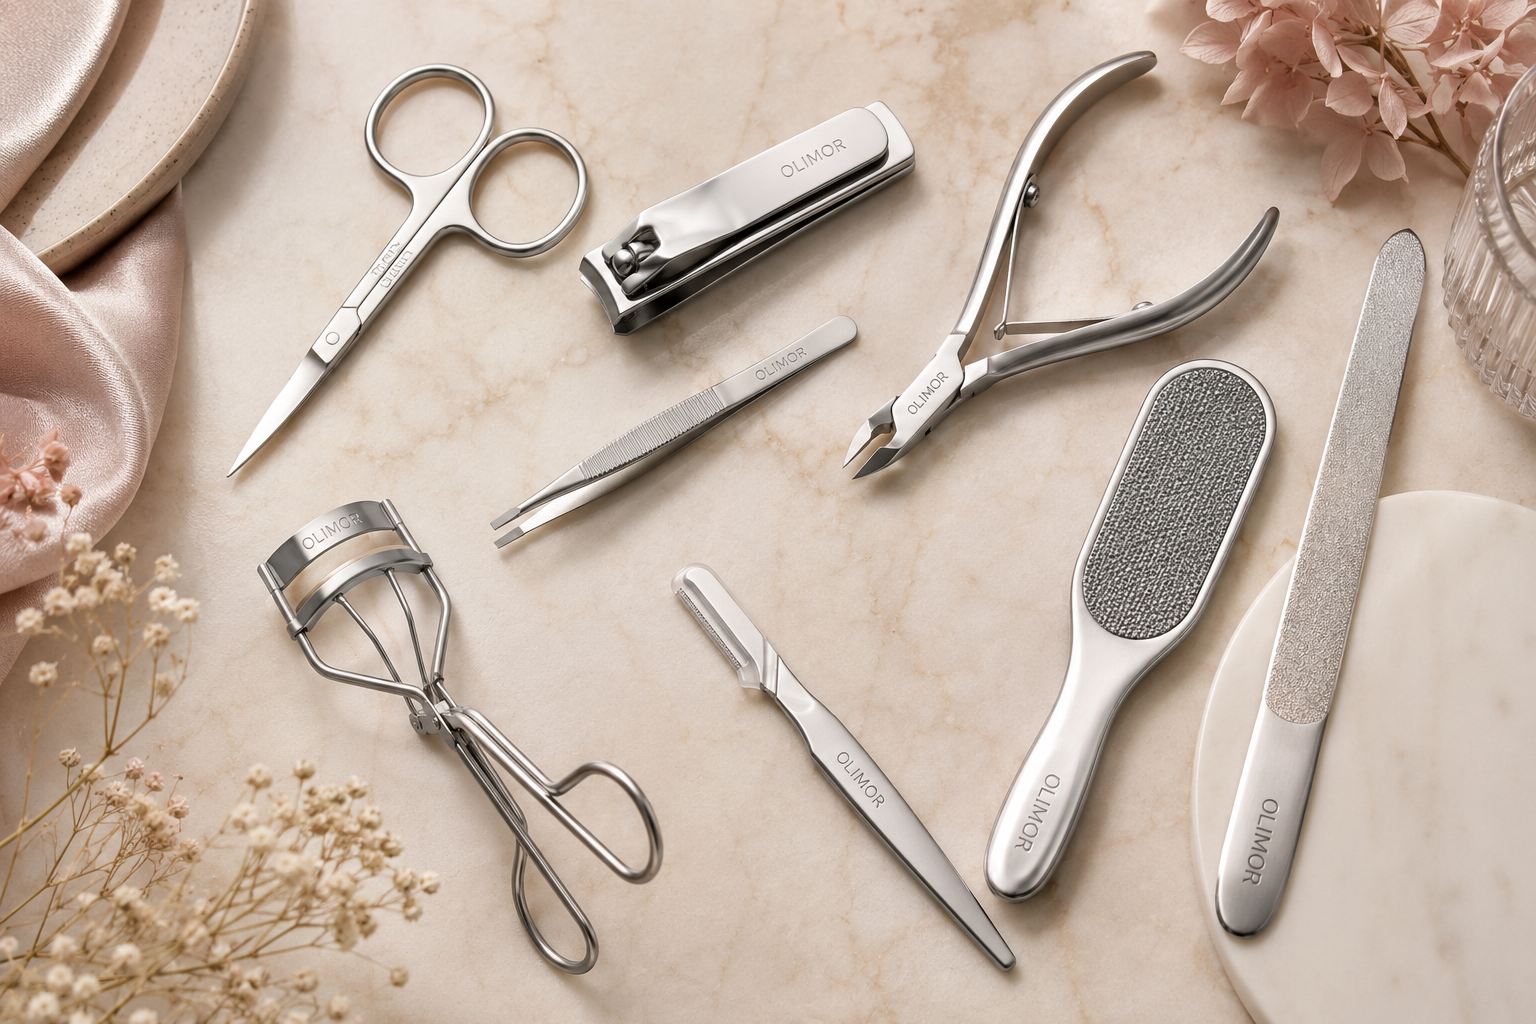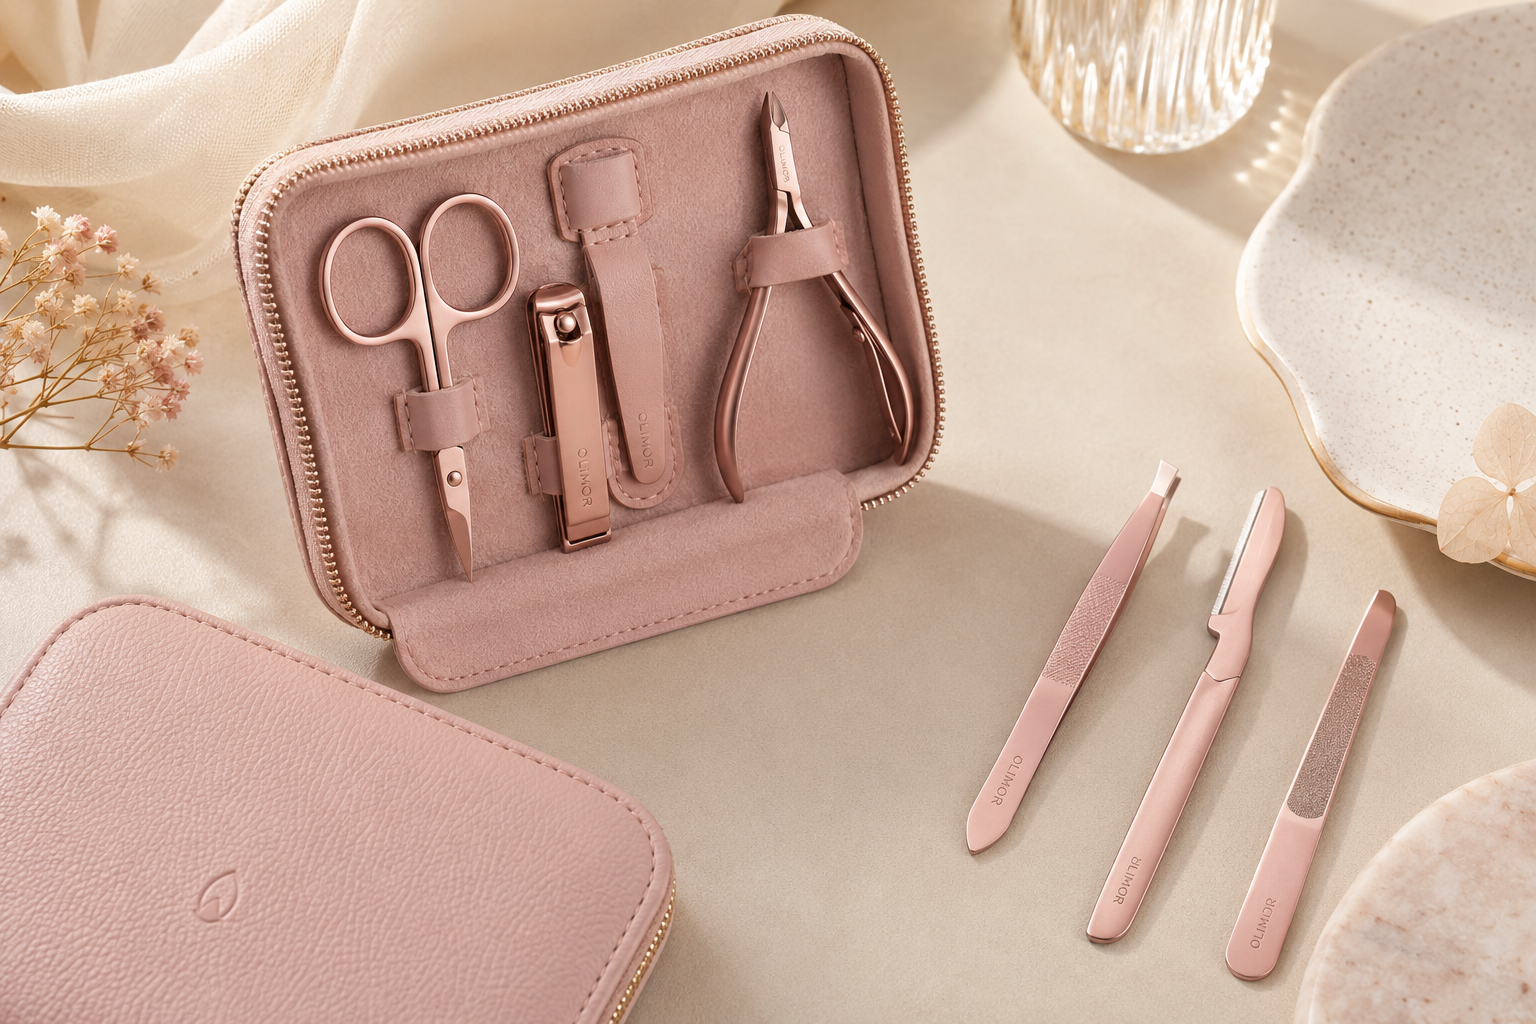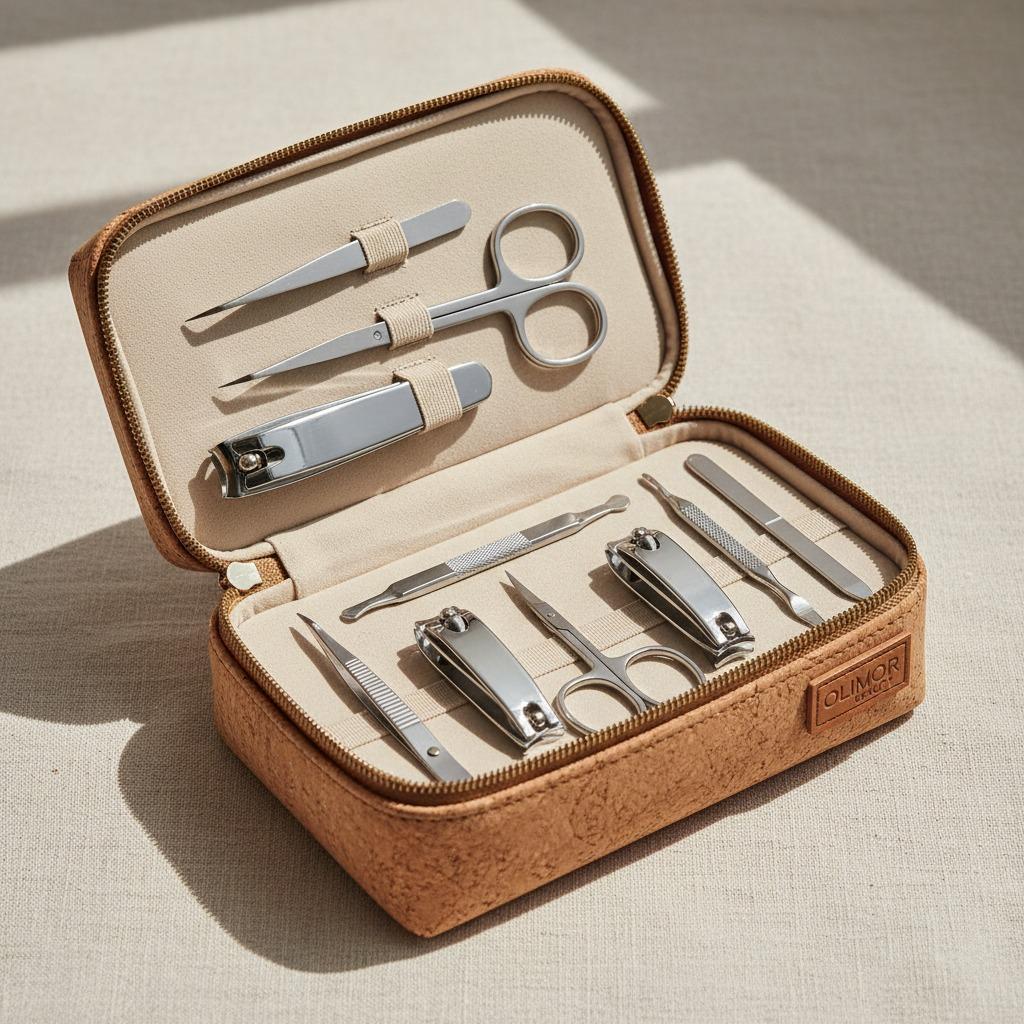











An eyelash curler is a small beauty tool, but its design has a large effect on comfort, curl shape, and lash safety. A good curler should lift the lashes without pinching the eyelid, pulling at the roots, or creating a sharp bend. For makeup users, salons, beauty retailers, and sourcing teams, the right eyelash curler is not simply the one that looks polished in packaging. It needs to match common eye shapes, apply even pressure, and remain hygienic through repeated use.
This guide explains how to evaluate an eyelash curler from a practical point of view: frame shape, pad feel, hinge movement, user technique, care, and buyer inspection points. If you are comparing beauty tools for retail shelves, promotional sets, or professional kits, you can also explore related beauty tool products and product collections from Olimor Beauty.
Why an Eyelash Curler Still Matters
Mascara can darken and define lashes, but it does not always create lift on its own. Straight or downward-facing lashes can visually narrow the eyes, especially when mascara adds weight. An eyelash curler works before mascara by gently shaping the lashes upward, making the eye area appear more open.
The tool is especially useful for users who want a cleaner everyday makeup look without applying false lashes. It can also help mascara coat the lashes more evenly because lifted lashes are easier to reach from root to tip. However, results depend heavily on the curler’s fit and the user’s technique. A poorly matched curler may miss the outer lashes, press unevenly, or cause discomfort near the inner corner of the eye.
Key Features to Check Before Choosing a Curler
When evaluating an eyelash curler, focus on how the tool contacts the lash line and how consistently it applies pressure. The following factors are more important than decorative details.
- Frame curve: The upper arc should suit the user’s eye shape. A curve that is too flat may miss lashes at the corners, while a curve that is too deep may pinch or sit awkwardly.
- Opening width: The curler should open wide enough to position lashes comfortably without forcing the eyelid into the frame.
- Pad softness and resilience: The cushion should compress smoothly and rebound after use. A pad that is too hard can create a crimp; one that is too soft may not provide enough lift.
- Hinge control: Smooth hinge movement allows gradual pressure. A stiff or loose hinge makes the tool harder to control, especially for beginners.
- Grip comfort: Finger loops or handles should give stable control without requiring excessive force.
- Finish quality: Edges should feel smooth. Any rough contact point near the eye is a quality concern.
For sourcing decisions, these details should be checked with physical samples whenever possible. Product photos can show the silhouette, but they cannot fully confirm pressure feel, pad recovery, or pinch resistance.
Matching the Curler to Eye Shape and Lash Type
There is no single eyelash curler that fits every person equally well. The best choice depends on the distance between the inner and outer corners, eyelid shape, and lash length. Retailers and beauty brands often need a curler that works for a broad range of users, so fit testing is important.
For rounder eyes, a curler with a more pronounced curve may reach the lash line naturally. For flatter or longer eye shapes, a less curved frame can provide more even contact across the lashes. Users with shorter lashes need a frame that can sit close to the lash roots without pinching the lid. Users with long lashes may prefer a curler that allows multiple gentle presses along the lash length to create a soft curve instead of a single bend.
Hooded eyes can require extra care because the eyelid skin may sit closer to the lash base. In this case, slow positioning matters more than pressure. A comfortable curler should allow the user to see and feel where the frame is placed before squeezing.
How to Use an Eyelash Curler Correctly
Correct technique reduces lash breakage and gives a more natural-looking curl. The most important rule is to curl clean lashes before applying mascara. Mascara can make lashes tacky or rigid, increasing the chance that they stick to the pad or snap under pressure.
- Start with a clean tool. Check that the pad is seated correctly and free from old mascara, oil, or dust.
- Look slightly downward. This position helps expose the upper lash line while keeping the eyelid relaxed.
- Place the curler near the base. Get close to the roots without catching skin. If you feel a pinch, release immediately and reposition.
- Apply gentle pressure. Hold for a few seconds. Avoid hard squeezing; the goal is lift, not a crease.
- Move to the middle of the lashes. Press lightly again to build a gradual curve.
- Finish near the tips if needed. A final light press can soften the curl shape for longer lashes.
- Apply mascara afterward. Mascara can help hold the lifted shape once the curl is formed.
If the curl looks angular, the pressure may be too strong or the pad may be too firm or worn. If the curl drops quickly, the lashes may be damp, oily, or weighed down by a heavy mascara formula.
Common Mistakes That Damage Lashes
Most eyelash curler problems come from rushing or using a worn tool. Pulling the curler away while it is still clamped can tug lashes from the root. Curling after mascara can cause lashes to stick. Pressing too hard can leave a visible kink rather than a smooth lift.
Another mistake is ignoring the condition of the pad. The cushion is the part that absorbs pressure. When it develops a groove, crack, or hardened surface, it no longer protects the lashes properly. A damaged pad should be replaced before the curler is used again. If replacement pads are not available for a particular tool, that should be considered when evaluating it for long-term use or resale.
Cleaning and Maintenance for Better Hygiene
Because an eyelash curler is used close to the eye, hygiene should be part of the routine. Makeup residue, skin oil, and dust can collect on the pad and metal frame. This buildup may affect performance and can also be unpleasant for users who share tools in professional settings.
After regular personal use, wipe the pad and frame with a clean tissue or soft cloth. For deeper cleaning, use a suitable cosmetic tool cleanser or a small amount of mild soap on a damp cloth, then dry the tool fully. Avoid soaking the hinge area for long periods, as trapped moisture may affect movement or finish over time.
Professional makeup artists should clean tools between clients and avoid using a curler if the pad is split or visibly worn. For retail kits, include clear care instructions so customers understand how to keep the tool in usable condition.
Buyer Checklist for Beauty Brands and Retailers
When sourcing an eyelash curler, the sample review should include both visual inspection and hands-on testing. The table below summarizes practical checkpoints that can help compare options without relying on vague claims.
| Checkpoint | What to Look For | Why It Matters |
|---|---|---|
| Frame alignment | Upper and lower parts meet evenly | Uneven pressure can crimp or miss lashes |
| Pad fit | Pad sits securely without shifting | A loose pad affects safety and curl consistency |
| Edge finish | No sharp or rough areas near the eye | Comfort and user confidence depend on smooth contact |
| Hinge movement | Opens and closes smoothly | Controlled pressure helps prevent pulling |
| Packaging compatibility | Tool is protected and easy to display | Reduces deformation during handling and transport |
Packaging, instructions, and replacement pad planning can also influence customer satisfaction. A curler that performs well but arrives with unclear usage guidance may lead to misuse. Clear, concise instructions are especially helpful for first-time users.
When to Replace an Eyelash Curler
An eyelash curler does not need to be replaced after every small sign of use, but it should not be used indefinitely without inspection. Replace the pad when it is cracked, deeply grooved, sticky, or no longer rebounds. Replace the full tool if the frame becomes misaligned, the hinge feels unstable, or the surface develops rough spots that cannot be cleaned safely.
For consumers, checking the tool once a week is a simple habit. For beauty businesses, replacement guidance can be included in product education materials. This reduces complaints related to pinching or poor curl results that may actually come from worn parts rather than the original design.
Choosing an Eyelash Curler with Confidence
A reliable eyelash curler should feel controlled, comfortable, and easy to clean. The best choice is not defined by a single feature; it comes from the balance of frame curve, cushion quality, hinge smoothness, and fit for the intended user group. For beauty brands and retailers, sample testing across different eye shapes is one of the most useful steps before final selection.
If you are planning a beauty tool range, comparing eyelash curlers with other grooming tools, or preparing a sourcing brief, Olimor Beauty can help you organize the right questions before production decisions are made. To discuss product options or project requirements, contact Olimor or send an inquiry.