










An eyelash curler looks simple, but the results depend on fit, pressure, pad shape and how the tool is positioned along the lash line. This is especially true for tiny lashes, straight lashes, hooded eyes or lashes that grow in different directions. A good curl should open the eye without leaving a sharp bend, pulling at the roots or weakening the lash hair.
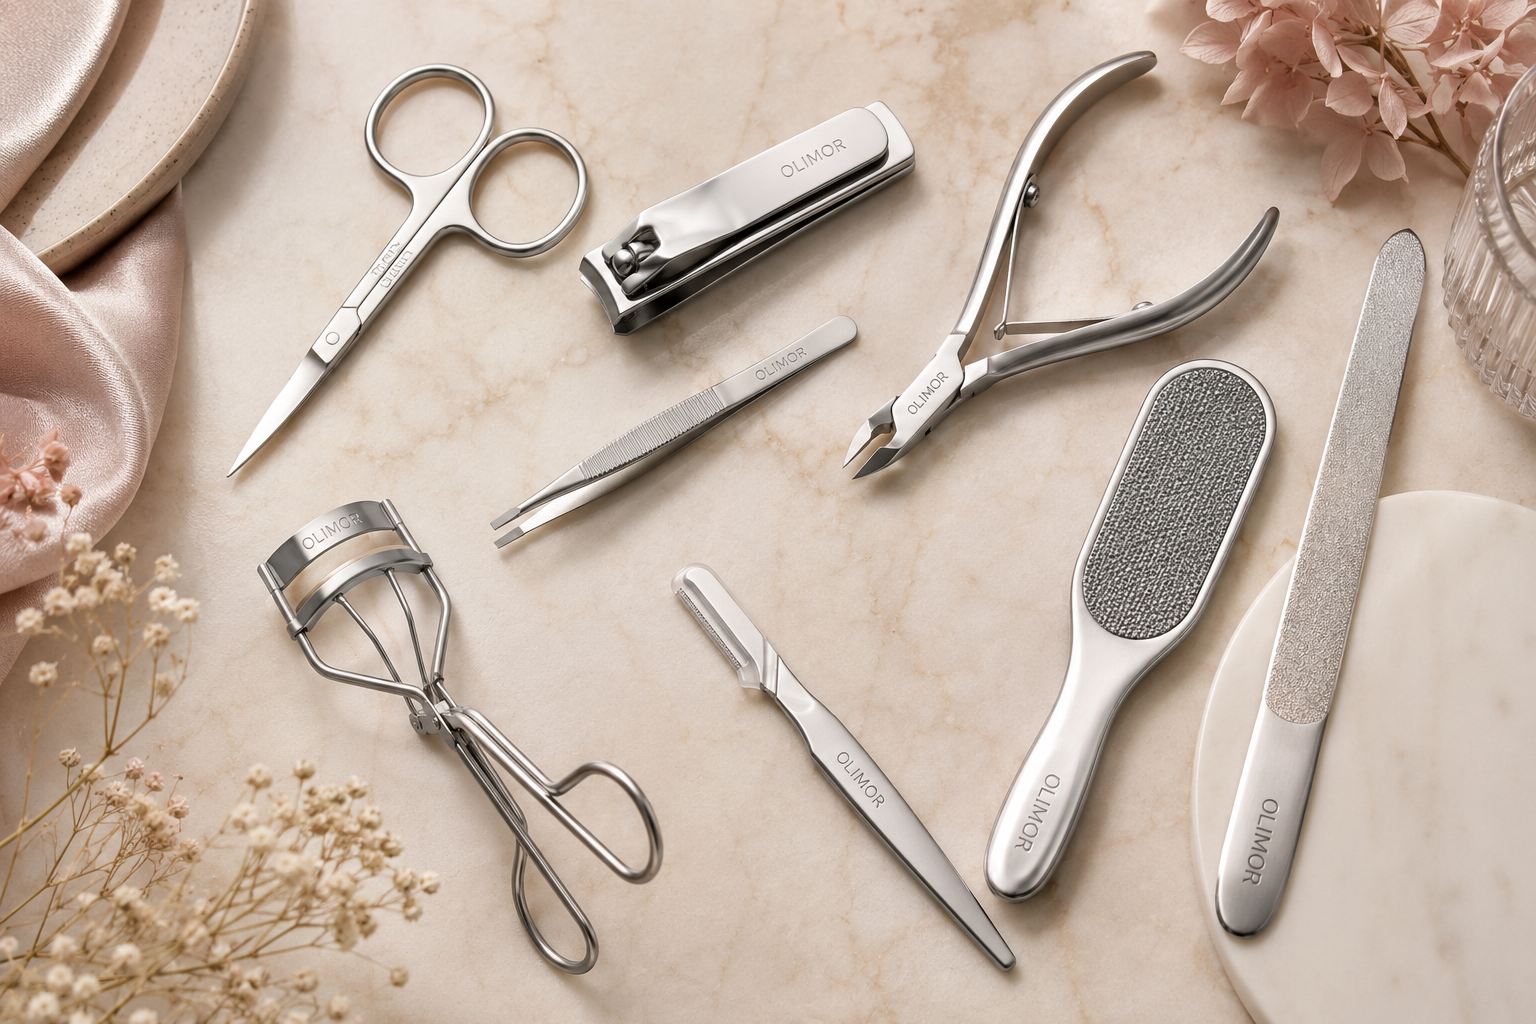
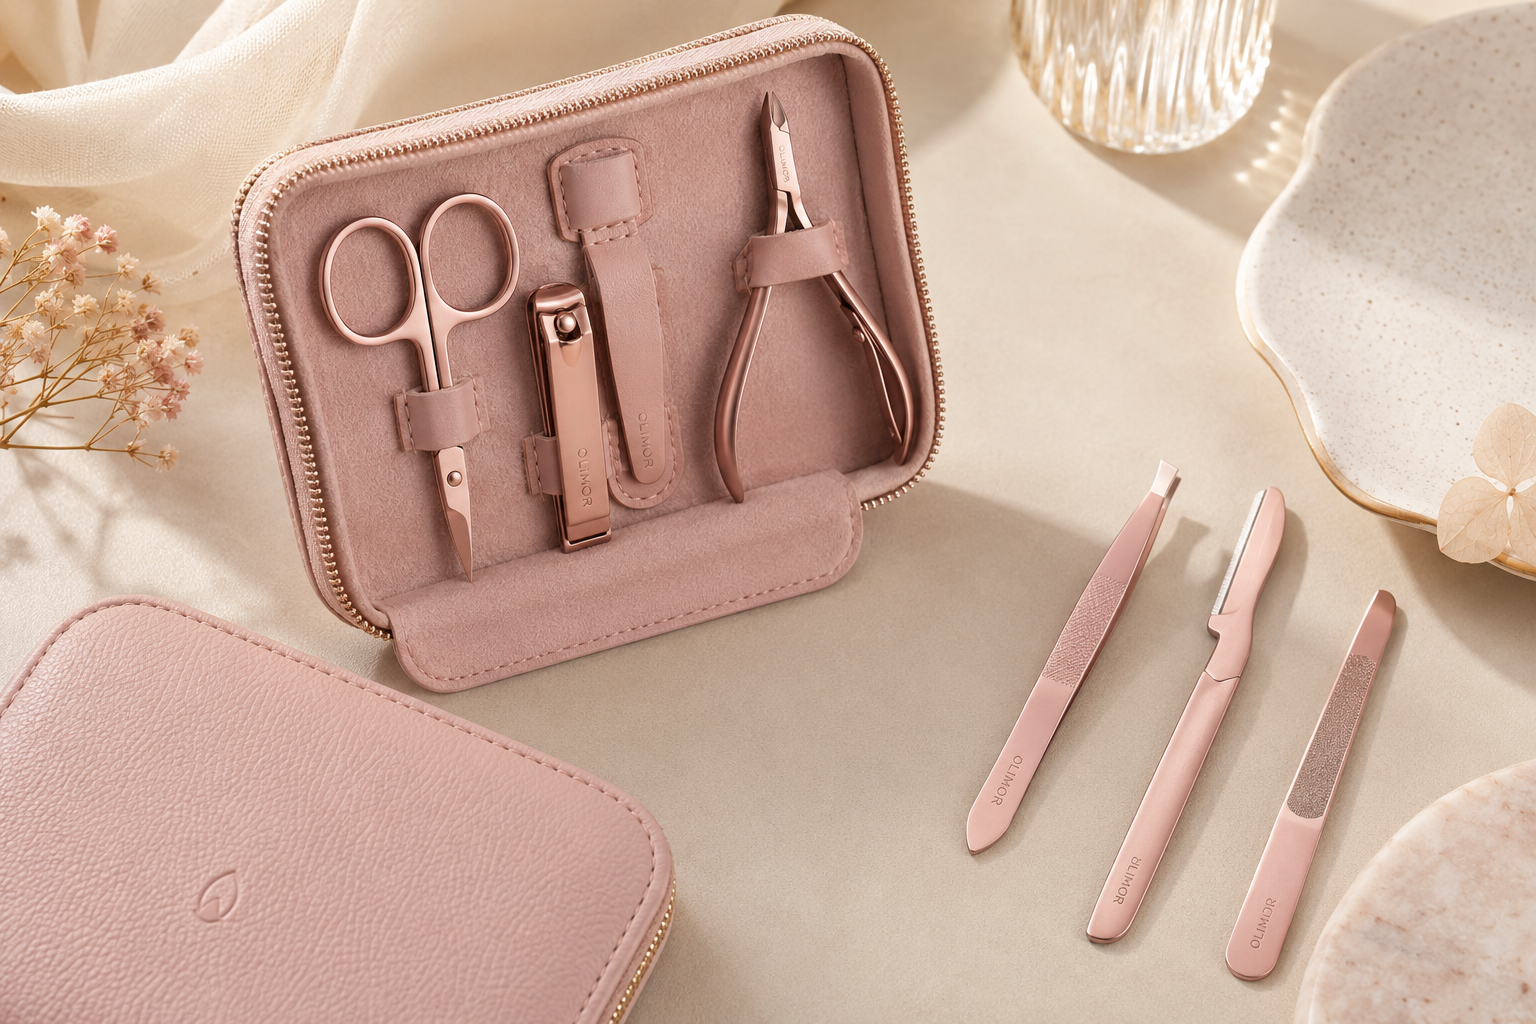
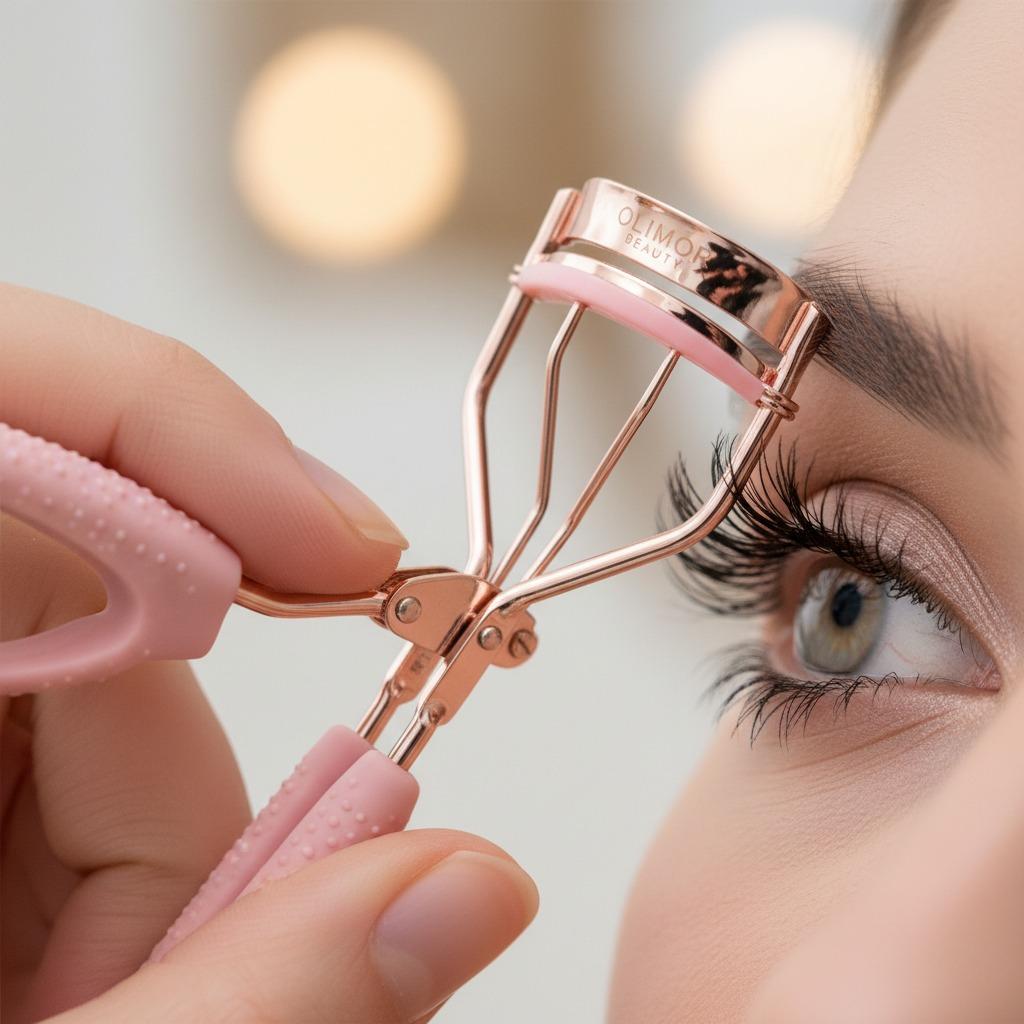
Olimor Beauty’s eyelash curler shown here features a sleek metallic frame, blush pink grips, glitter accents and a rounded silicone pad. Those details matter because a lash curler is not only a cosmetic accessory; it is a contact tool used near the eye. Buyers, salon operators and beauty retailers should look beyond color and packaging and evaluate how the tool performs on different eye shapes, how easily it can be cleaned and whether the pad gives controlled compression. You can browse related beauty tool products or send an inquiry if you are sourcing eyelash curlers for a retail or promotional project.
Why tiny lashes need a different curling method
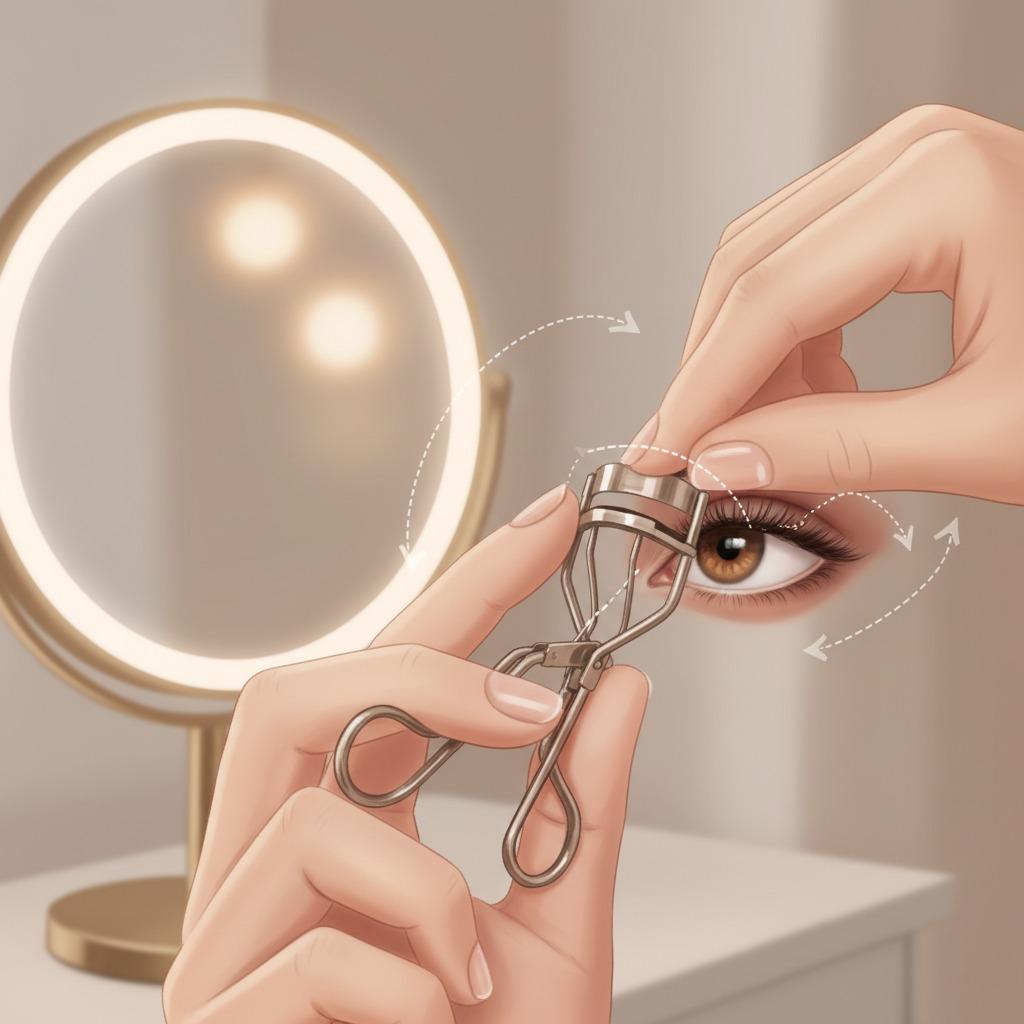
Short lashes are often treated with too much force because they are harder to see and harder to catch between the pad and upper bar. That is the main reason many people get a crease instead of a curve. Tiny lashes need smaller movements, lighter pressure and more attention to placement. The aim is to lift the lash from the base first, then soften the shape through the middle and tips.
For straight lashes, the base curl is the most important stage. If the curler sits too far from the lid, the lashes may bend in the middle while the root remains flat. If the curler is pressed too hard at the base, the result can look angular. A rounded silicone pad helps distribute pressure more gently than a hard or flattened pad, but technique still matters. Keep the wrist steady, look slightly downward into a mirror and move slowly enough to feel where the lashes enter the curler.
How to choose an eyelash curler that fits the eye
The best eyelash curler is not the same for every person. Eye width, lid curve, lash length and hand comfort all influence how well the tool works. When comparing curlers for personal use or product sourcing, focus on practical construction details rather than decorative finish alone.
- Frame curve: The upper curve should sit close to the lash line without pinching the eyelid. A mismatch can leave inner or outer lashes uncurled.
- Pad shape: A rounded silicone pad supports a softer curl and helps reduce harsh crimp marks when used with light pressure.
- Grip stability: Blush pink grips and a lightweight ergonomic hold, as shown on this curler, can make controlled pressure easier, especially for beginners.
- Frame material and finish: The original product description notes durable stainless steel construction and a metallic frame. Buyers should still check finish consistency, hinge movement and edge smoothness during evaluation.
- Hinge resistance: The curler should close smoothly and evenly. A loose hinge can reduce control, while a stiff hinge may encourage excessive pressure.
- Replacement pad planning: Any curler used regularly needs pad inspection. A worn pad can expose the lash to uneven pressure.
Retailers building an assortment may want one general-purpose curler and one smaller or more targeted option for customers with very short lashes, deep-set eyes or uneven lash lines. To compare other beauty accessories, visit Olimor product collections.
Step-by-step technique for a natural curl
Start with clean, dry lashes. Curling after mascara is risky because mascara can make lashes stiffer and more likely to stick to the pad. If you use skincare or sunscreen around the eyes, allow it to set first so the curler does not slide.
- Position the mirror below eye level. Looking slightly downward exposes the lash base while keeping the eyelid relaxed.
- Open the curler fully. Bring it toward the eye slowly rather than pushing it into the lid.
- Catch the lashes at the base. The tool should be close to the root but not pinching skin. If you feel the lid, release and reposition.
- Apply light pressure for 5 to 10 seconds. This timing comes from the product guidance and works better than one hard squeeze.
- Move to the middle of the lashes. Open the curler, shift outward slightly along the lash length and press gently again for a few seconds.
- Finish near the tips if needed. Use very light pressure at the ends to create a curve rather than an upright bend.
- Check both eyes from the front. Adjust only the areas that need more lift instead of repeating the full curl unnecessarily.
This three-point method is useful for tiny lashes because it avoids overloading one section. For daily makeup, a single base press may be enough. For photography, events or very straight lashes, the base-middle-tip sequence can give more visible lift while still looking natural.
Partial curler methods for uneven lash lines
Partial curling means targeting one section instead of clamping the full lash line. You do not always need a separate mini tool to use this idea; careful angle control with a standard curler can help refine the outer corner, inner corner or a flat center section. The technique is most useful when one eye curls more easily than the other or when outer lashes grow downward.
To lift outer corners, rotate the curler very slightly outward and catch only the last third of the lashes. Press lightly for a shorter time than you would at the full base. For inner corners, work with extra caution because the lashes are often finer and closer to sensitive skin. If the curler does not comfortably reach the area, do not force it. A poor fit is a product selection issue, not a pressure issue.
Uneven lashes often need less correction than expected. Over-curling one side can make the asymmetry more obvious. Instead, curl the full lash line once, then use partial pressure only where the lashes still appear flat. This controlled approach is also helpful for clients or customers who want a subtle daytime look rather than a dramatic upward curl.
Safe heat use and what to avoid
Some users warm an eyelash curler briefly with a hairdryer to help set the curl. If you choose this method, temperature control is essential. The curler should feel only slightly warm on the inside of your wrist before it goes near the eye. Hot metal can irritate skin, and excessive heat can dry or weaken lashes over time.
Avoid curling when the eye area is irritated, after applying wet mascara or when the silicone pad is cracked. Do not tug the curler away from the eye while it is closed. Always open the tool completely before moving it. If lashes stick to the pad because of product buildup, stop and clean the curler before continuing.
Cleaning, pad care and replacement checks
Maintenance is part of performance. Oils, eyeshadow, eyeliner and mascara residue can collect on the pad and frame. This buildup reduces grip and may transfer debris back to the eye area. For personal use, wipe the pad after each use with a clean tissue or soft cloth. For professional or shared environments, follow a stricter hygiene process appropriate to the setting.
Inspect the silicone pad often. A healthy pad should look smooth and evenly seated in the channel. Replace it if you see grooves, cracks, stickiness, flattening or exposed edges where the frame could press directly into lashes. Also check that the handles close evenly and that the hinge does not wobble. A curler can look attractive on the shelf but still fail if the closure is misaligned.
Buyer checklist for sourcing eyelash curlers
For wholesale buyers, private-label planners or promotional beauty programs, the sourcing decision should combine appearance, usability and quality control. The blush pink grips and glitter accents may help the tool stand out visually, but repeat purchase and customer satisfaction depend on comfort and reliable curling results.
- Test the curler on different eye shapes before confirming a bulk order.
- Check whether the silicone pad stays secure during repeated opening and closing.
- Review frame finish for burrs, rough edges or uneven coating near the lash area.
- Confirm packaging protects the curler shape during transport and storage.
- Assess grip comfort for both small and larger hands.
- Compare sample units for consistent hinge tension and alignment.
- Plan clear consumer instructions for safe pressure, cleaning and pad replacement.
If you are selecting eyelash curlers for a store range, kit, gift set or beauty campaign, it is useful to evaluate samples with the same checklist your customers will unconsciously use: Does it fit the eye, feel controlled in the hand, curl without crimping and stay easy to clean? For product questions or sourcing support, contact Olimor.
The key to better lash curling
Better curling is not about squeezing harder. It comes from a well-fitting curler, a smooth rounded pad, clean lashes and controlled placement. Tiny lashes respond best to patient base positioning, short gentle presses and selective partial curling where extra lift is needed. With the right technique, an eyelash curler can make short or straight lashes look more open while keeping the result soft and wearable.