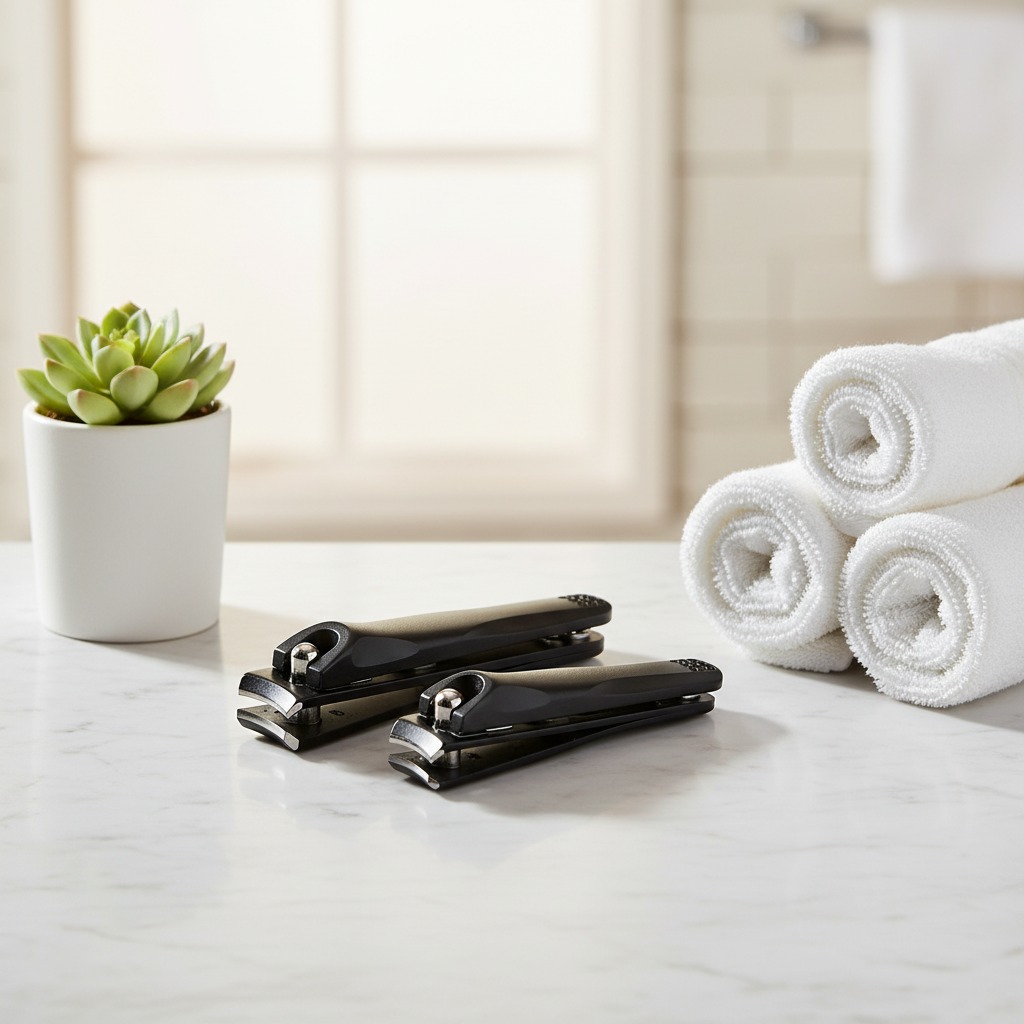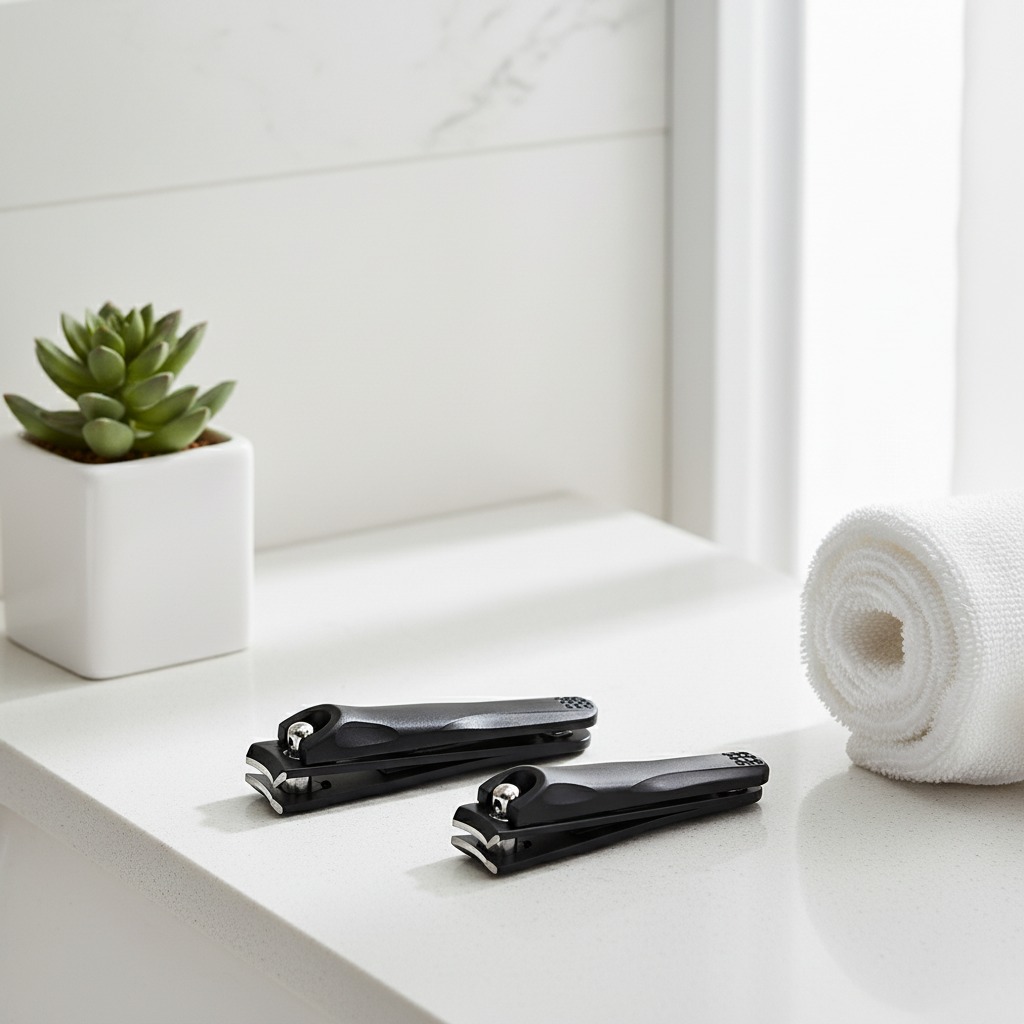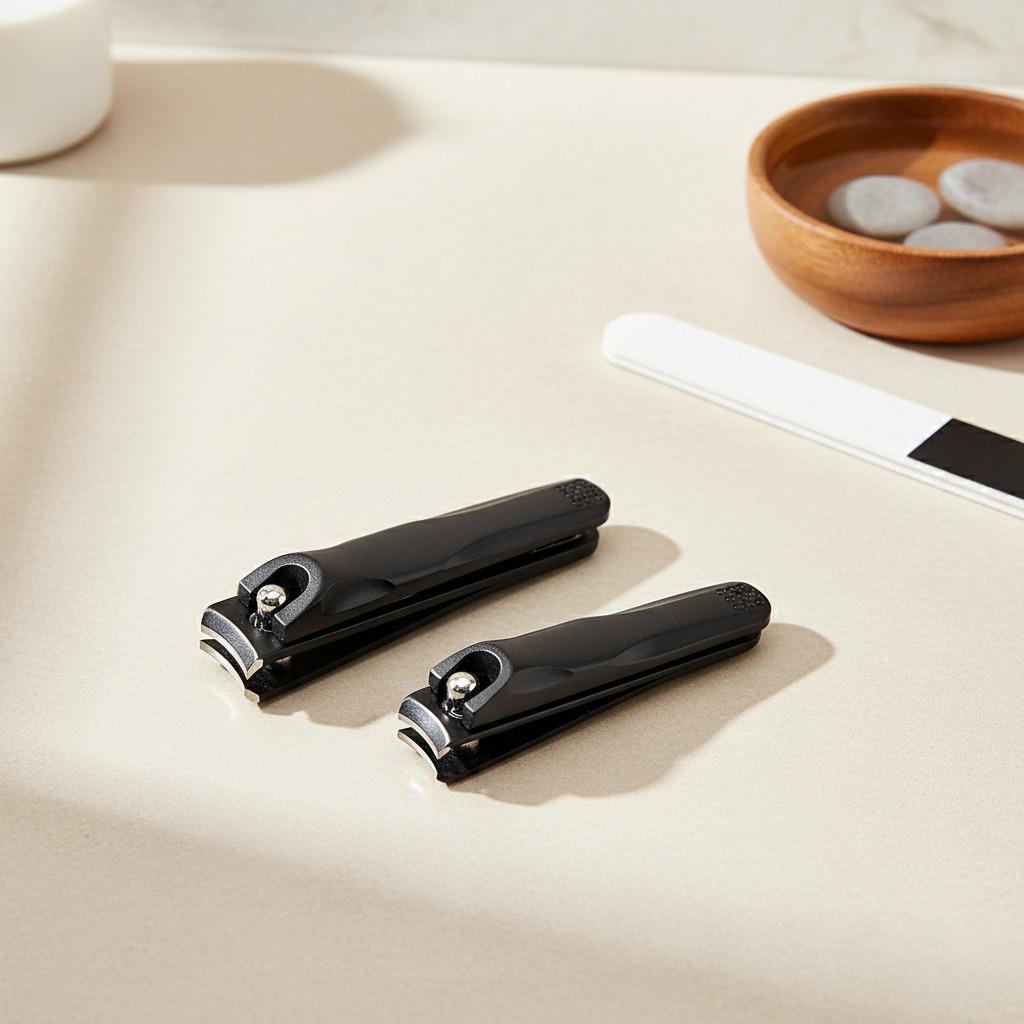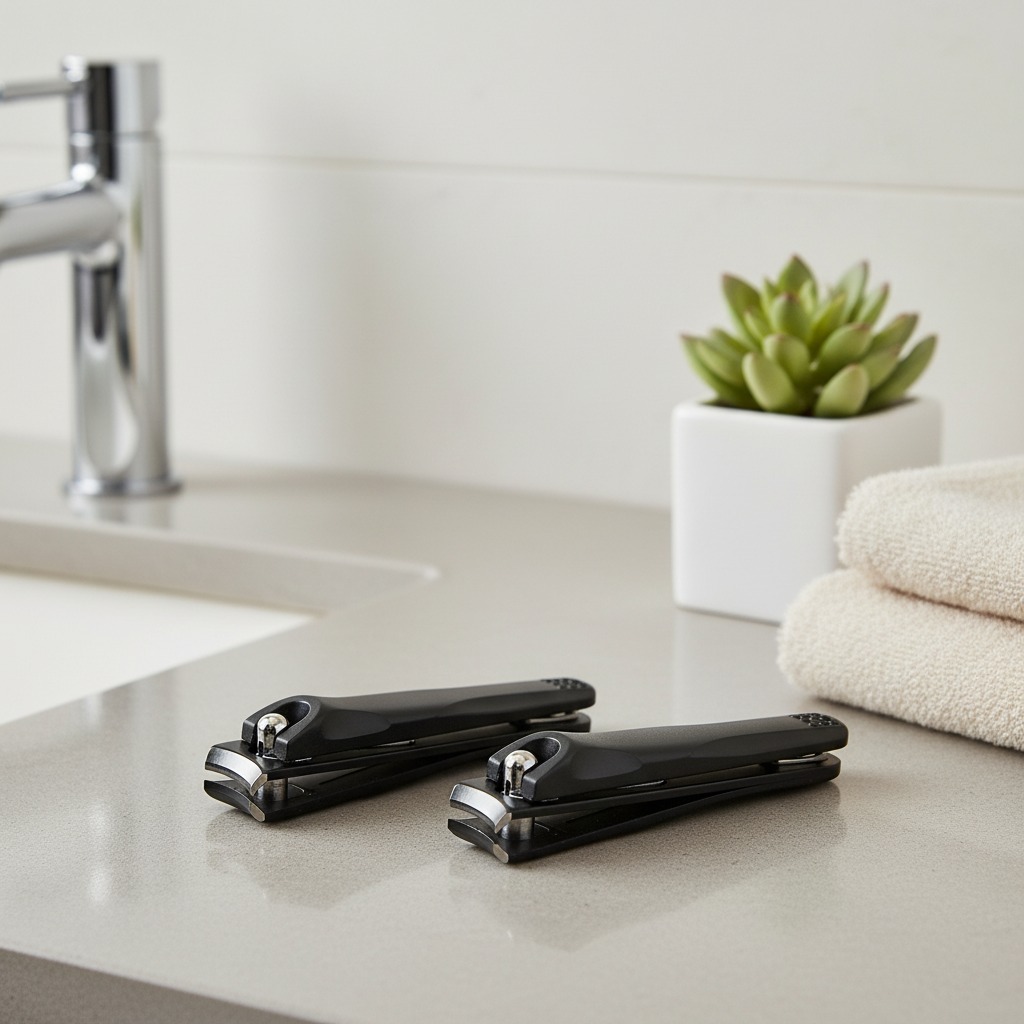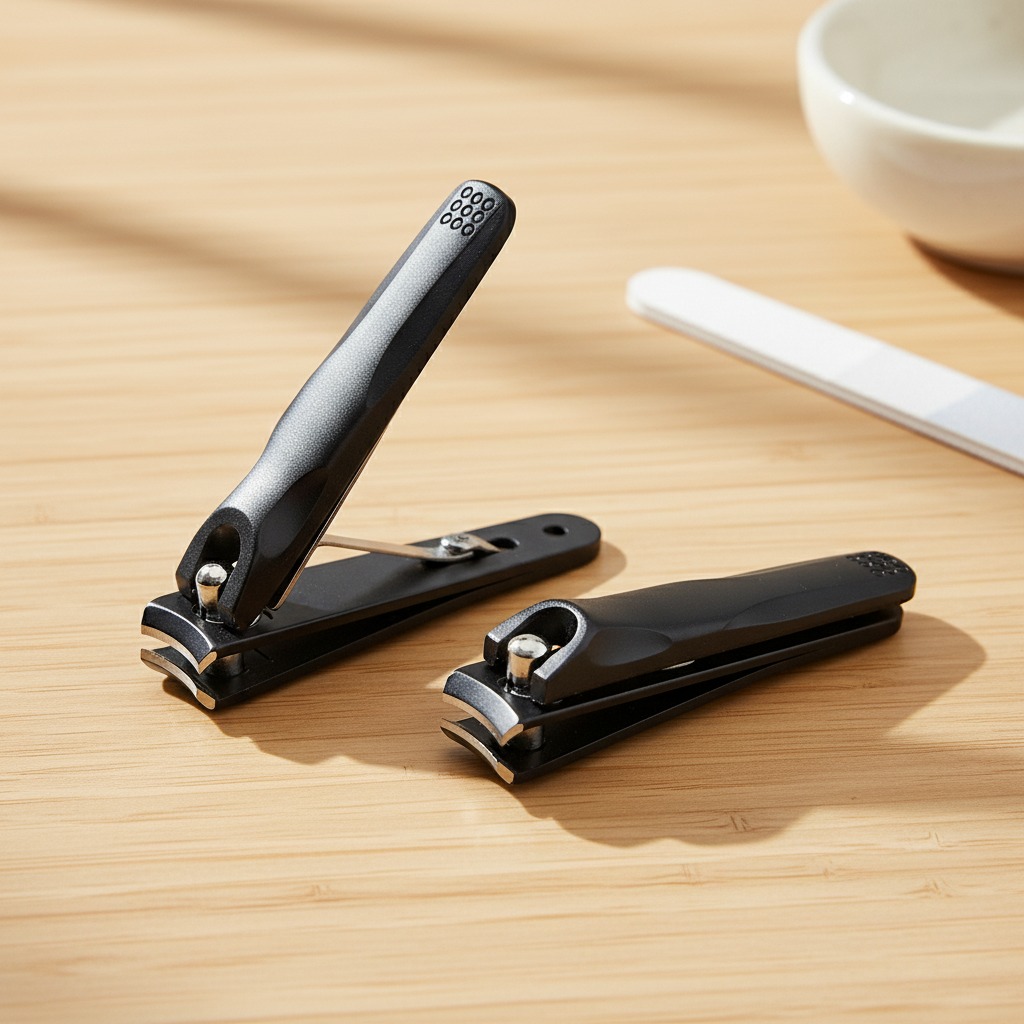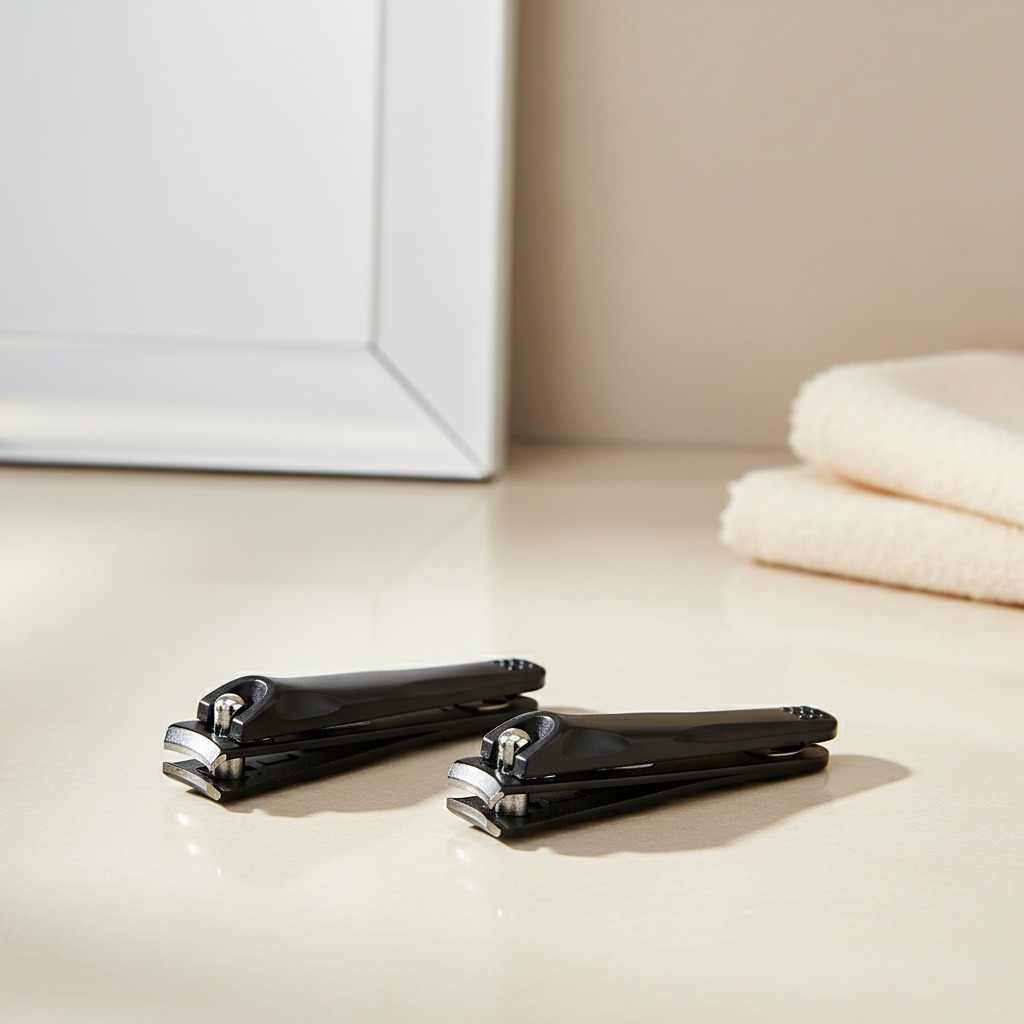











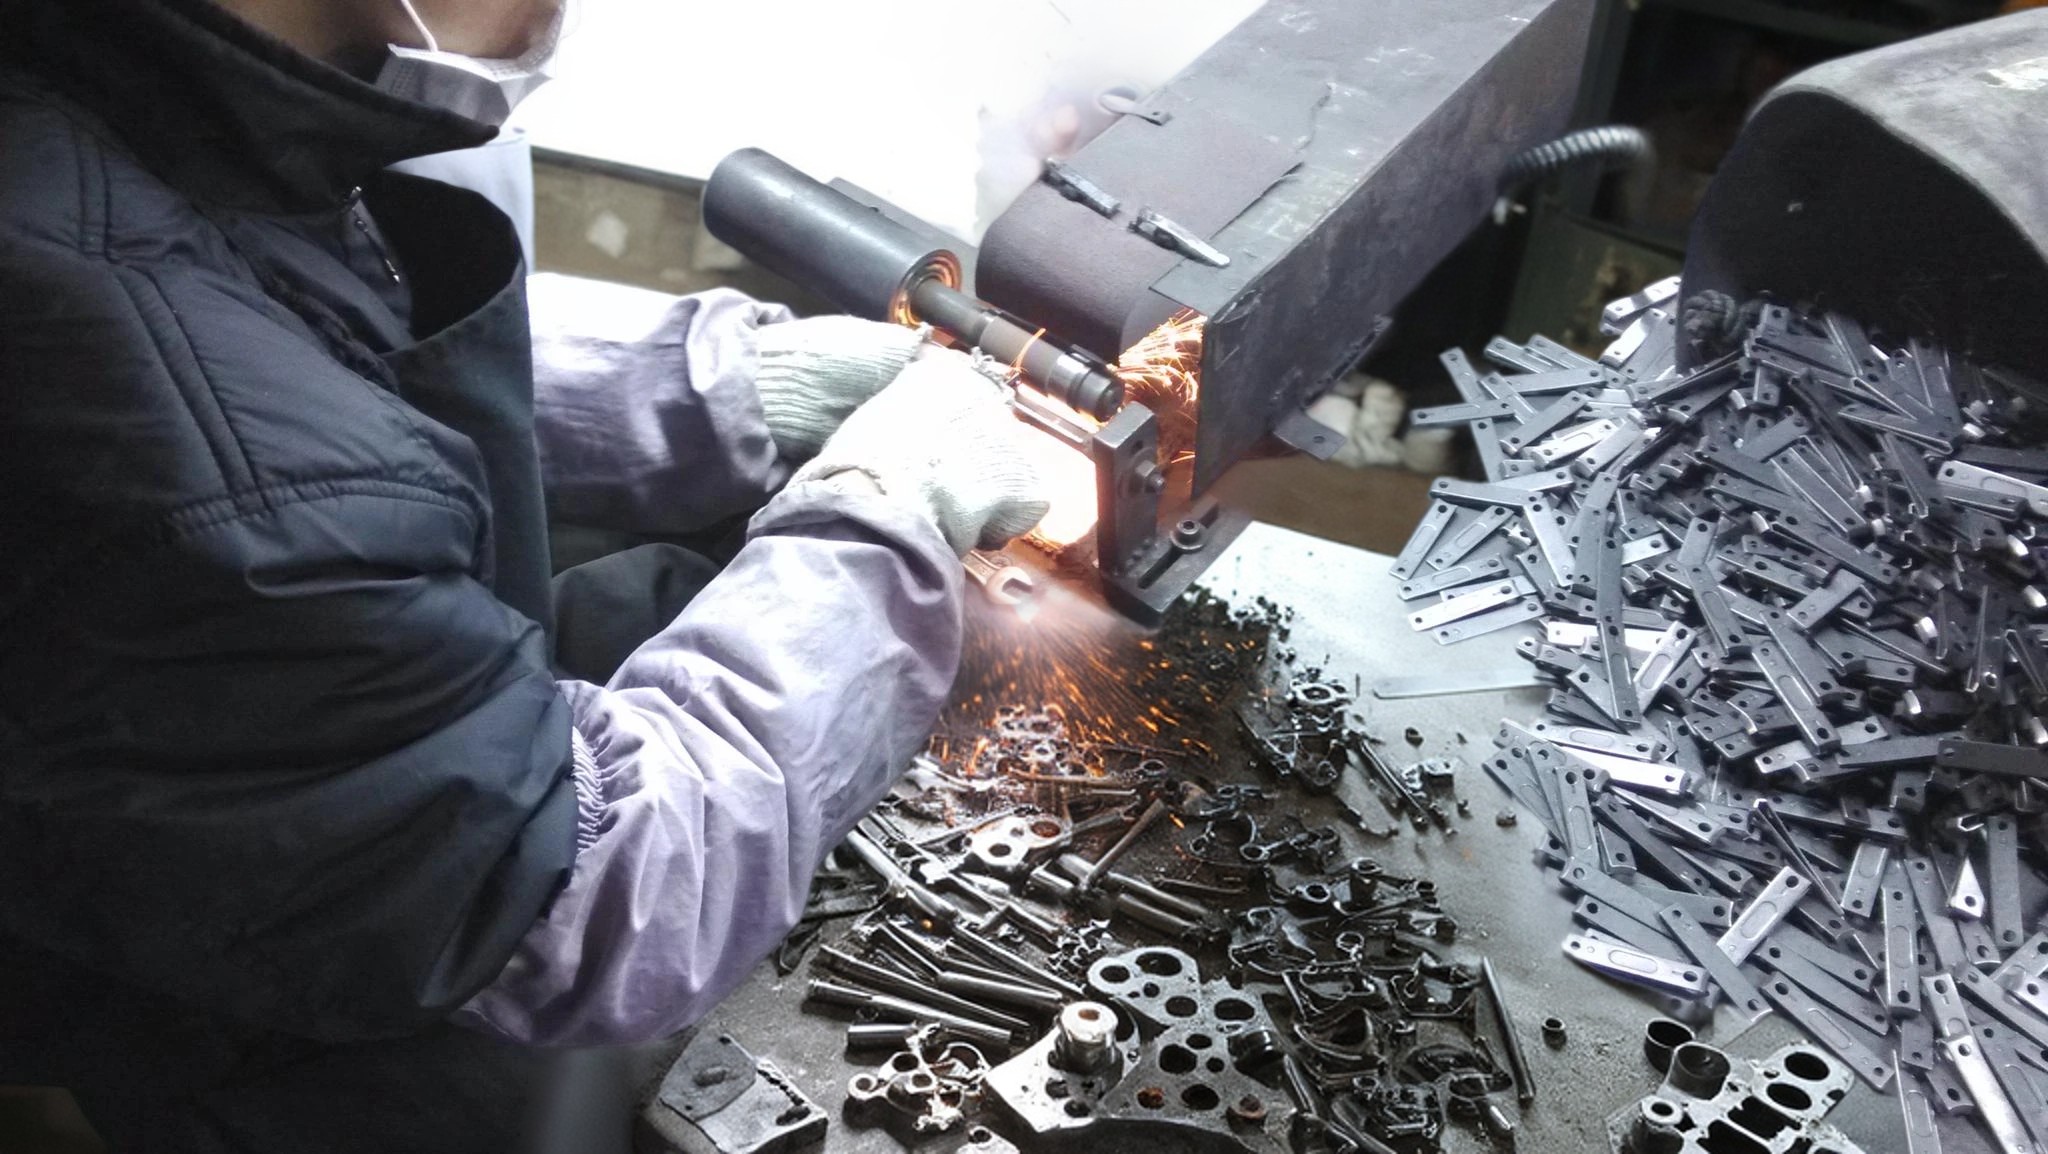
For a nail clipper, the difference between a clean trim and a crushed, uneven cut often comes down to the cutting edge. Manual grinding is one of the finishing steps used to refine that edge after forming, shaping, and assembly-related processes. It is not simply about making the blade sharp. It is about creating a consistent contact line between the upper and lower cutting jaws so the clipper closes smoothly and cuts without excessive pressure.
This matters to retailers, distributors, salons, and private-label buyers because nail clippers are small tools with very visible performance expectations. A customer may not know how a clipper was made, but they will immediately notice if it pulls, bends the nail, leaves a ragged edge, or feels stiff in the hand. When comparing nail clippers or broader beauty tool products, understanding the role of manual grinding helps buyers ask better production and quality questions before placing an order.
What Manual Grinding Does in Nail Clipper Production
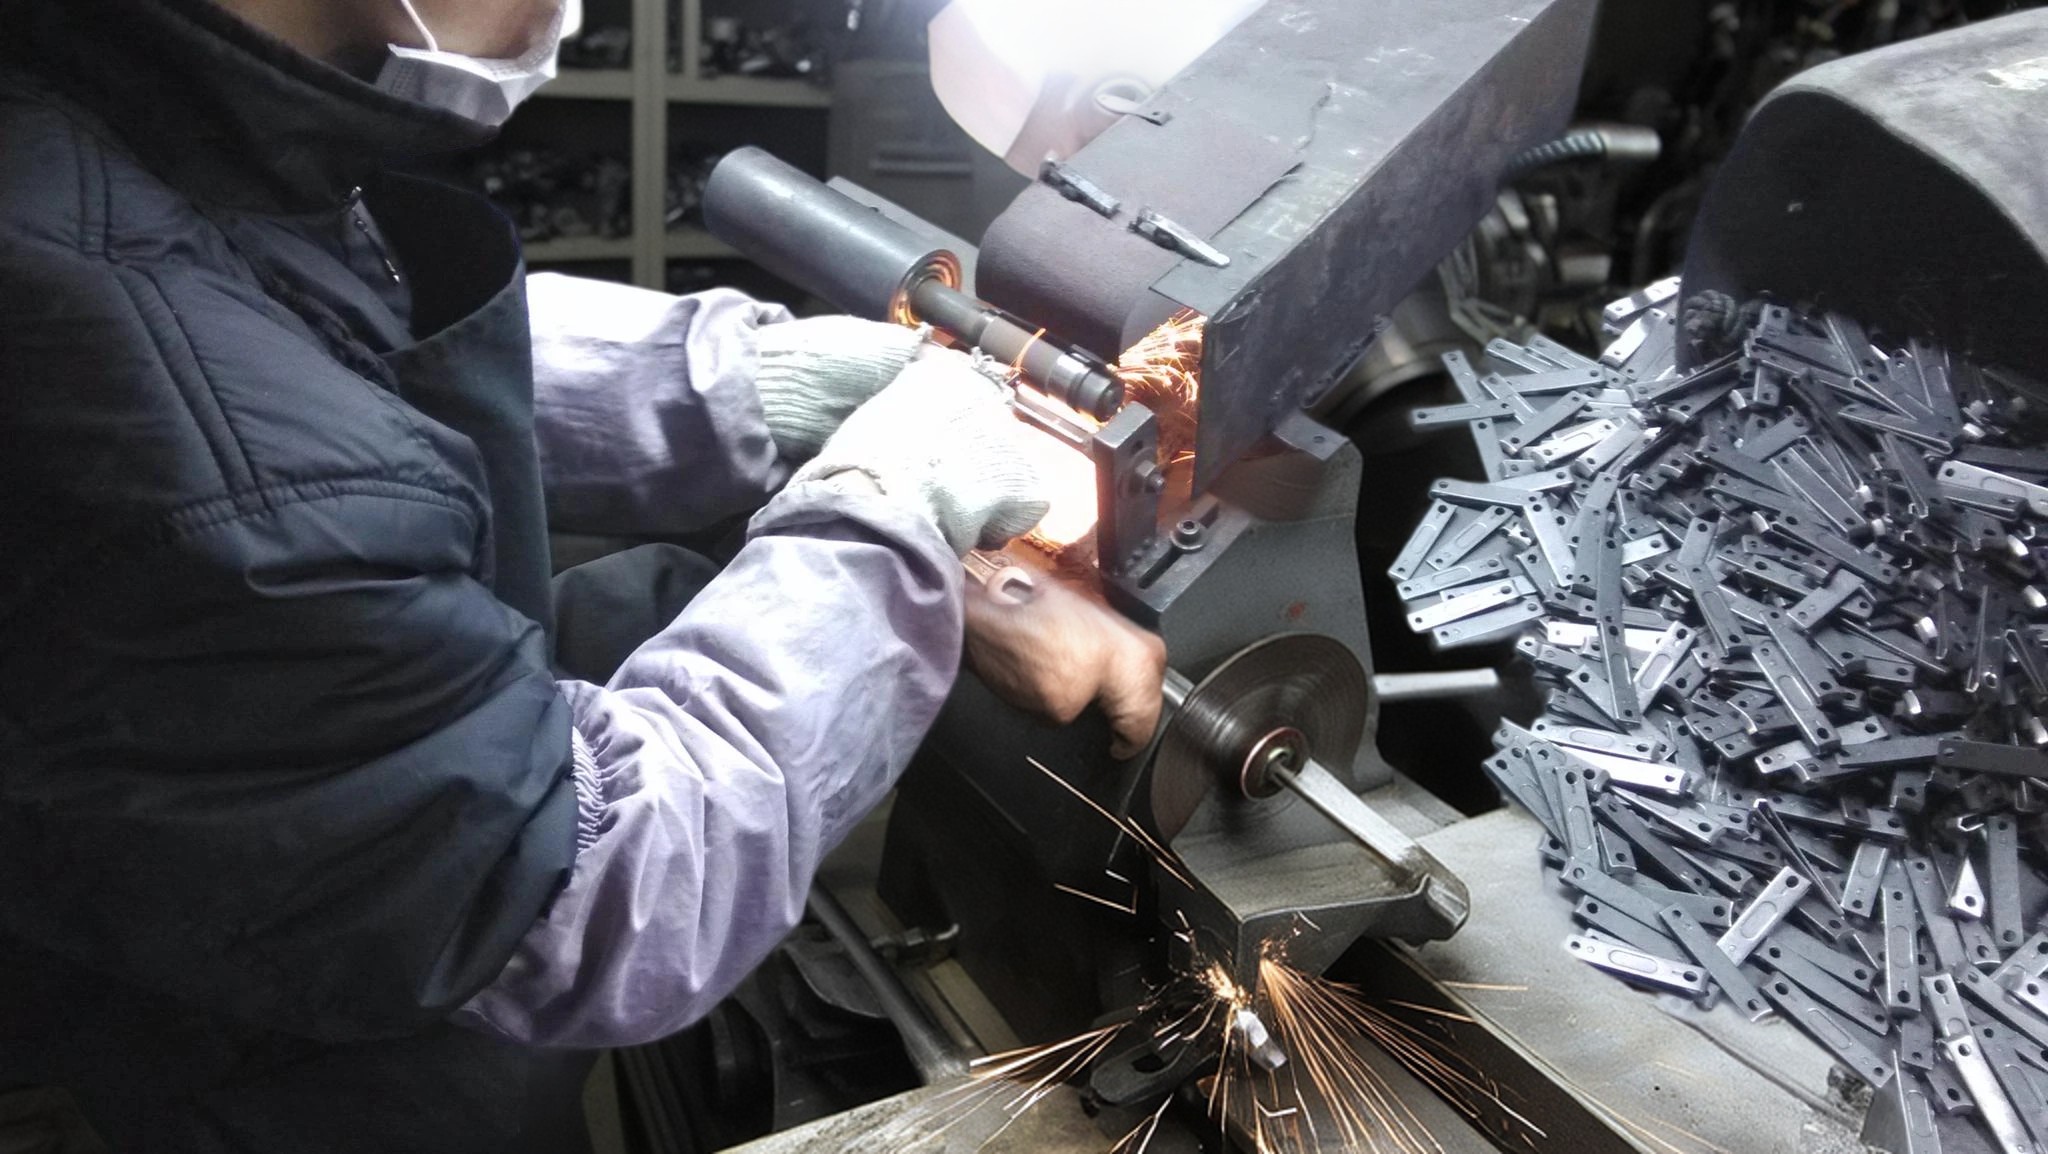
Manual grinding is a controlled finishing process where an operator refines the cutting surfaces by hand using abrasive equipment such as a grinding wheel or diamond-coated tool. The goal is to adjust the cutting edge so the clipper can shear the nail cleanly when pressure is applied through the lever.
Unlike a purely automated step, manual grinding relies on judgment and handling. The technician must control contact angle, pressure, stroke direction, and time on the abrasive surface. Too little grinding may leave the edge dull or uneven. Too much grinding can remove unnecessary material, affect the cutting geometry, or create an edge that is sharp but fragile.
For nail clippers, the two cutting jaws must work together. A single sharp edge is not enough if the upper and lower edges do not meet correctly. Manual grinding helps refine both sides so they close with proper alignment. This is especially important because nail clippers cut a curved, hard surface rather than a flat sheet. Edge shape, jaw curvature, spring-back, and lever force all influence the user experience.
Why Edge Geometry Matters More Than Sharpness Alone
Many buyers describe a good clipper as “sharp,” but sharpness is only one part of performance. A nail clipper also needs stable edge geometry. The angle of the cutting face, the smoothness of the honed surface, and the contact between the jaws all affect how the tool behaves during use.
If the edge angle is too blunt, the clipper may require more hand force and can compress the nail before cutting. If the edge is too thin, it may feel sharp at first but lose its cutting quality sooner. If the two cutting edges meet unevenly, the clipper may cut at one side but leave part of the nail attached at the other. These problems are small in measurement but large in user perception.
A carefully ground nail clipper should close with a consistent bite along the cutting line. When tested on a suitable nail-like sample or through standard inspection methods, the cut should be controlled, not jagged. The lever should not need excessive force, and the jaws should not slip sideways. For buyers comparing product samples, this is why several test cuts are more meaningful than a quick visual check.
Buyer Checklist for Evaluating Manual Grinding Quality
When sourcing nail clippers, buyers do not need to become grinding technicians, but they should know what to examine. A practical inspection routine can reveal whether the grinding and finishing process is consistent enough for retail or professional use.
- Cutting consistency: Test several cuts across the full width of the jaw. The clipper should not cut well on one side and poorly on the other.
- Edge alignment: Close the clipper slowly and look at how the upper and lower edges meet. Large gaps or uneven contact can indicate poor fitting or finishing.
- Surface finish near the edge: Grinding marks should be controlled, not rough or gouged. Irregular surfaces can affect smooth cutting and cleaning.
- Lever feel: The clipper should cut without requiring uncomfortable pressure. Stiffness can come from assembly, spring tension, or poor edge geometry.
- Repeat performance: One sample may perform well, but consistency across multiple pieces is more important for wholesale and private-label orders.
- Safety of touch points: Edges intended for cutting should be precise, while non-cutting areas should not feel sharp or abrasive to the user.
This checklist is useful when reviewing samples from product collections or when comparing different beauty tool suppliers. It keeps the discussion focused on measurable product experience rather than vague claims about quality.
Common Grinding and Sharpening Issues to Watch For
Several problems can appear when the manual grinding step is rushed or poorly controlled. The most obvious is a dull edge, but other issues can be harder to identify until the tool is used. Uneven grinding may create a jaw that contacts at the tips but not in the center. Overheating during abrasive work can discolor or weaken the edge area. Excessive burrs may make the clipper feel rough or cause small snags during cutting.
Another common issue is inconsistent curvature. Nail clipper jaws are usually curved to follow the natural shape of fingernails or toenails. If grinding changes that curve unevenly, the cutting experience becomes unpredictable. The user may need to reposition the clipper multiple times to complete a trim, which reduces confidence in the product.
For professional channels, small inconsistencies can lead to higher return rates or negative reviews. For personal-care brands, they can also affect brand trust because clippers are often purchased as repeat-use grooming essentials. A low-priced clipper still needs to perform reliably; customers rarely excuse a tool that damages the nail just because it is small.
How Manual Grinding Fits Into Broader Quality Control
Manual grinding should not be treated as an isolated craft step. It works together with material selection, forming accuracy, heat treatment where applicable, assembly, polishing, plating or surface finishing, and final inspection. A beautifully ground edge cannot fully compensate for poor jaw alignment or weak leverage. Likewise, good assembly can be undermined by rough edge finishing.
For sourcing teams, it helps to separate product questions into categories. This makes supplier communication clearer and helps avoid relying on a single sample impression.
| Quality area | What to evaluate | Why it matters |
|---|---|---|
| Cutting edge | Sharpness, burr control, contact line, smoothness | Determines whether the nail is cut cleanly or crushed |
| Jaw alignment | Upper and lower jaw meeting position | Prevents partial cuts and uneven trimming |
| Lever action | Opening, closing, pressure required | Affects comfort and perceived quality |
| Finish | Polishing, coating uniformity, rough spots | Influences appearance, hygiene, and handling |
| Batch consistency | Performance across multiple samples | Reduces risk in retail and wholesale orders |
Before confirming a nail clipper program, buyers can prepare a simple sample review sheet using these categories. This is more effective than only approving product photos, because edge quality is a functional detail that must be tested in hand.
Maintenance Tips for Longer Nail Clipper Performance
Even well-ground nail clippers need basic maintenance. Cutting edges gradually dull with repeated use, especially if the tool is used on very thick nails or stored in humid conditions. Dirt, nail dust, and moisture can also collect around the pivot and cutting area, making the clipper feel less precise over time.
For end users, salons, or retailers creating care instructions, the following steps are practical and easy to understand:
- Clean after use: Remove nail debris from the jaws and pivot area with a dry brush or soft cloth.
- Keep the tool dry: After washing or disinfecting, dry the clipper fully before storage to reduce the chance of corrosion.
- Avoid cutting hard non-nail materials: Using a nail clipper on wire, plastic tags, or other objects can damage the edge.
- Store separately: Do not leave the cutting edge rubbing against other metal tools in a drawer or kit.
- Check cutting feel: If the clipper begins crushing instead of cutting, the edge may be dull or the jaws may be misaligned.
Sharpening a nail clipper at home is possible in some cases, but it is difficult to restore the original jaw geometry without proper tools and experience. For consumer products, replacement is often more practical once the edge is significantly worn. For professional environments, maintenance routines should also follow local hygiene practices and service standards.
Choosing Nail Clippers for Retail, Salon, or Private-Label Use
The right nail clipper depends on the intended user. A compact everyday clipper should be easy to carry and comfortable for quick trimming. A salon-oriented clipper may need a stronger feel, consistent cutting action, and a finish that is easy to clean. A toenail clipper may require a different jaw opening and leverage expectation than a smaller fingernail clipper. These choices should be made before evaluating grinding quality, because the edge must match the product’s purpose.
When building a sourcing brief, define the use case first: fingernails or toenails, personal or professional use, standard retail pack or kit component, basic or premium positioning. Then evaluate samples for cutting performance, finish consistency, packaging compatibility, and user comfort. If you are comparing options or preparing a new grooming tool line, you can send an inquiry with your preferred product direction, or contact Olimor for product discussion.
Manual grinding is a small detail in appearance but a major factor in performance. A well-finished cutting edge helps the clipper do its job cleanly, comfortably, and repeatedly. For buyers, understanding this process leads to better sample reviews, clearer quality expectations, and nail clipper products that meet real user needs instead of relying on appearance alone.