










Nail clippers are small tools, but they collect residue in places that are easy to overlook: the cutting groove, the underside of the jaw, the lever and the hinge. After repeated use, a clipper can hold nail fragments, dead skin, oils, soap film, lint and moisture. If the tool is shared, used on toenails, packed into a damp travel pouch or stored without drying, the hygiene risk increases and the cutting action can become rough.
The practical answer is simple: remove visible debris first, wash with warm water and mild soap, scrub the cutting edge and hinge, rinse, disinfect with a suitable surface disinfecting step such as rubbing alcohol for household use, then dry completely before storage. Disinfection works best after cleaning, not instead of cleaning.
This guide is written for home users, beauty professionals, retailers, gift-set buyers and B2B sourcing teams who need a realistic nail clipper care routine and a clearer way to evaluate hygiene-friendly tool design. It does not replace local salon rules, product labels or supplier documentation. Professional users should verify current requirements from local regulators, health departments or cosmetology boards, and buyers should request current product information directly from suppliers.
Why Nail Clipper Hygiene Matters
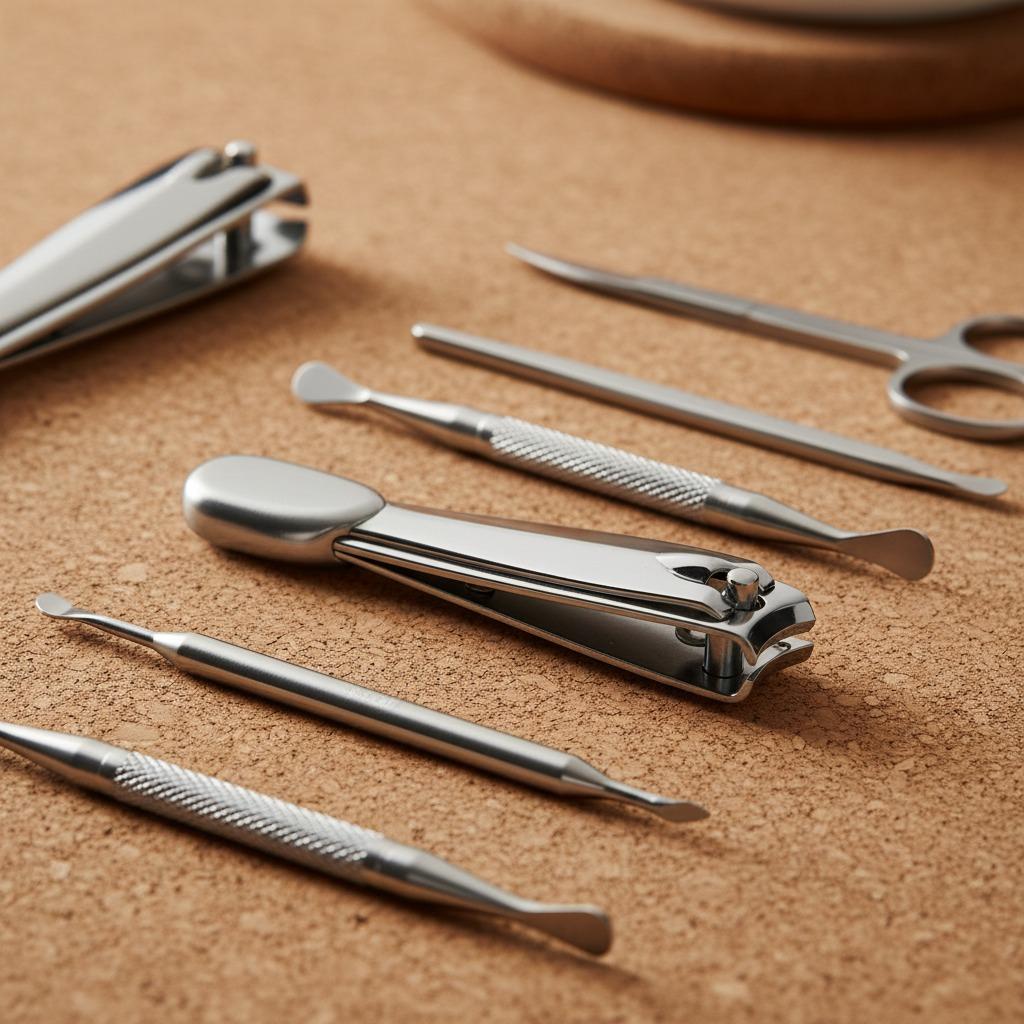
A nail clipper touches the nail plate, the cuticle area and sometimes dry skin or small hangnails. Even when the tool looks clean, fine nail dust can remain inside the curved edge or pivot. This buildup can make the tool feel gritty, create odor in a closed pouch and make the clipper harder to open and close.
Cleaning, disinfecting and sterilizing are not the same. Cleaning removes visible debris and buildup. Disinfecting reduces microorganisms on a cleaned surface. Sterilization is a higher-level process used in medical or regulated professional contexts and usually requires validated equipment and procedures. For most personal grooming tools, the realistic routine is thorough cleaning, appropriate disinfection and complete drying.
Clean tools also perform better. A clogged hinge can open slowly. A dirty cutting edge may drag instead of cutting smoothly. Moisture left in the joint can contribute to corrosion, especially on lower-quality metal or damaged surfaces. A regular care routine protects hygiene, cutting feel and tool life.
What You Need Before Cleaning Nail Clippers
Most nail clippers can be cleaned with basic household supplies. The goal is to loosen residue without scratching the edge, damaging surface finishes or leaving fibers in the hinge.
- Warm water: Helps soften residue before brushing.
- Mild soap or detergent: Removes oils, skin debris and soap film.
- Small toothbrush or narrow cleaning brush: Reaches the hinge, jaw and cutting groove.
- Rubbing alcohol: Useful for household surface disinfection after washing.
- Cotton pads, swabs or a clean cloth: Helps wipe tight areas and the lever.
- Lint-free towel: Removes moisture from the metal surface and hinge area.
- Dry case, pouch or drawer: Keeps the clean tool protected after it is fully dry.
Avoid abrasive powders, steel wool, harsh chemical mixtures and metal picks unless the clipper manufacturer confirms compatibility. These can scratch the finish, create burrs, weaken decorative surfaces or leave residue where the tool touches the nail and skin. Be especially careful with clippers that include plastic grips, rubber pads, glued decorations, painted coatings or unknown materials.
Step-by-Step Cleaning and Disinfection Routine
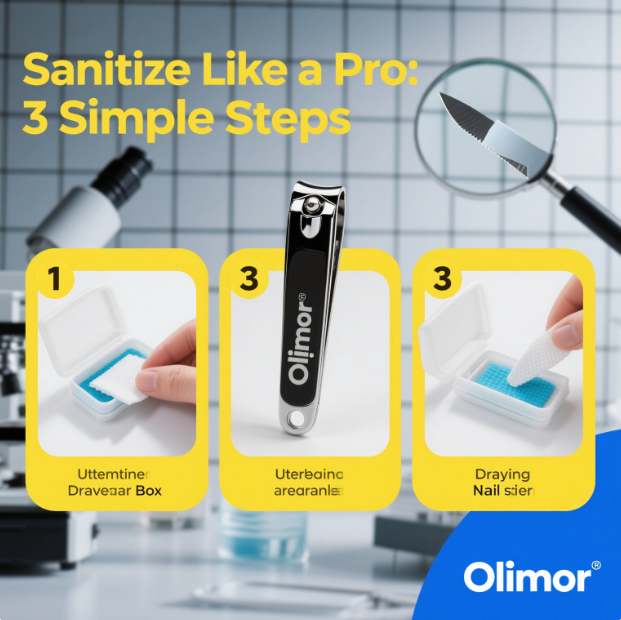
The best routine follows the same order every time: open, remove debris, wash, scrub, rinse, disinfect, dry and store. Do not apply disinfectant over visible dirt and assume the tool is clean. Public health bodies such as the CDC commonly distinguish cleaning from disinfection, and disinfectant labels should be followed carefully. Always verify current guidance and product instructions for your region and setting.
1. Open the clipper fully
Rotate the lever into the open position so the jaw and hinge are exposed. Tap the tool gently over a bin to remove loose nail pieces. If residue is wedged near the cutting edge, do not dig it out with a sharp metal object. Use a brush or swab instead.
2. Soak briefly in warm soapy water
Place the clipper in a bowl of warm water with a small amount of mild soap. A brief soak, such as around ten minutes, is usually enough to loosen nail dust and skin oils without leaving the tool wet for too long. Long soaking is not recommended, especially for tools with coatings, unknown metals or non-metal parts.
3. Scrub the cutting edge and hinge
Use a toothbrush or narrow brush to scrub the top, underside, curved jaw, lever and pivot. The hinge is important because it traps debris and moisture. Brush in several directions so residue is not pushed deeper into the mechanism.
4. Rinse thoroughly
Rinse the clipper under warm running water to remove soap and loosened debris. Soap film can make the tool slippery and can attract more residue later, so rinse until the surface feels clean.
5. Disinfect the cleaned surface
For household use, wipe the metal surfaces with rubbing alcohol using a cotton pad or clean cloth. If the clipper is all-metal and the supplier confirms the material and finish are compatible, a short alcohol soak may be used, followed by prompt removal and drying. Do not soak tools with decorative coatings, plastic inserts or unknown construction unless compatibility is confirmed.
6. Dry immediately and completely
Drying is not optional. Wipe the top plate, underside, lever, sides and hinge. Open and close the clipper several times to release trapped water, then wipe again. Allow it to air-dry fully before placing it in a pouch or drawer.
Choosing the Right Sanitizing Method
The right method depends on who uses the clipper, where it is used and how the tool is built. A personal fingernail clipper used on healthy nails usually needs routine washing and alcohol wiping. A shared family tool, salon demonstration item or travel kit needs more careful handling. Professional environments may require specific procedures and approved disinfectants. In the United States, for example, users should check applicable state cosmetology board rules and current EPA disinfectant label directions where relevant.
| Use situation | Practical cleaning approach | Key caution |
|---|---|---|
| Personal home use | Remove debris, wash with mild soap, brush the hinge, rinse, wipe with alcohol and dry fully. | Do not store in a damp bathroom drawer or sealed pouch while wet. |
| Shared family clipper | Clean and disinfect between users, especially after toenail trimming. | Separate personal clippers are often simpler and more hygienic. |
| Travel grooming kit | Clean before packing and after travel; wipe the case or pouch if dusty or damp. | A clean tool placed into a dirty pouch can pick up residue again. |
| Salon or demonstration use | Follow local professional hygiene rules, product labels and workplace procedures. | Home cleaning routines may not satisfy regulated salon requirements. |
| Retail or gift set evaluation | Check whether the design is easy to brush, dry and protect in packaging. | Attractive packaging should not trap moisture after consumer use. |
Boiling is sometimes discussed for simple all-metal clippers. It may help clean some durable tools, but heat can damage coatings, glued parts, plastic details and unknown finishes. If a supplier does not confirm that boiling is suitable, choose washing, brushing, alcohol wiping and drying instead.
Drying and Storage: The Most Overlooked Step
Moisture is one of the main reasons a nail clipper becomes unpleasant to use. Even a tool made with corrosion-resistant metal should not be left wet on a sink, inside a shower area or in a sealed travel pouch. Water can remain in the hinge after the outer surface looks dry.
After cleaning, dry the clipper with a lint-free towel. Pay attention to the pivot, underside and lever joint. Open and close the tool several times, then dry again. Let it air-dry on a clean surface before storage. If the tool is stored with other grooming accessories, keep the cutting edge from knocking against tweezers, scissors, nail files or other metal items. Repeated impact can affect alignment over time.
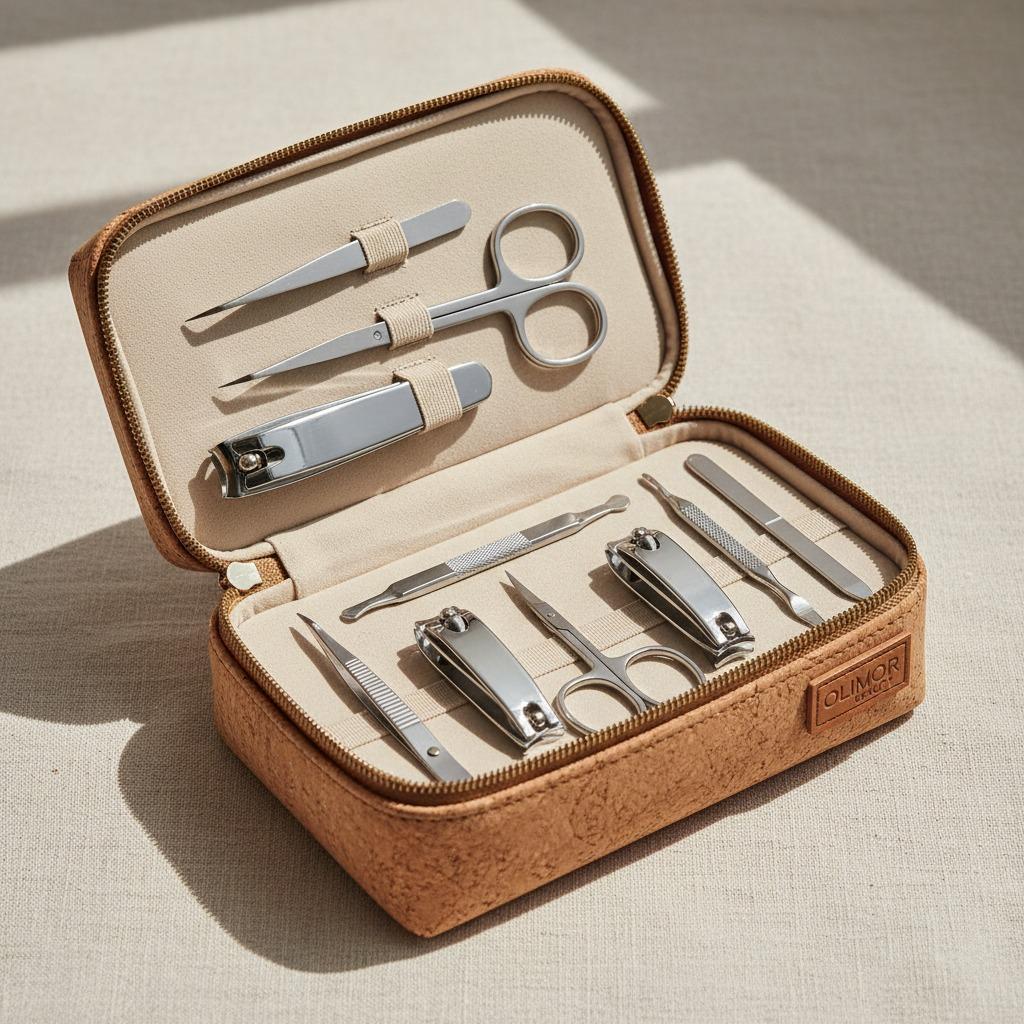
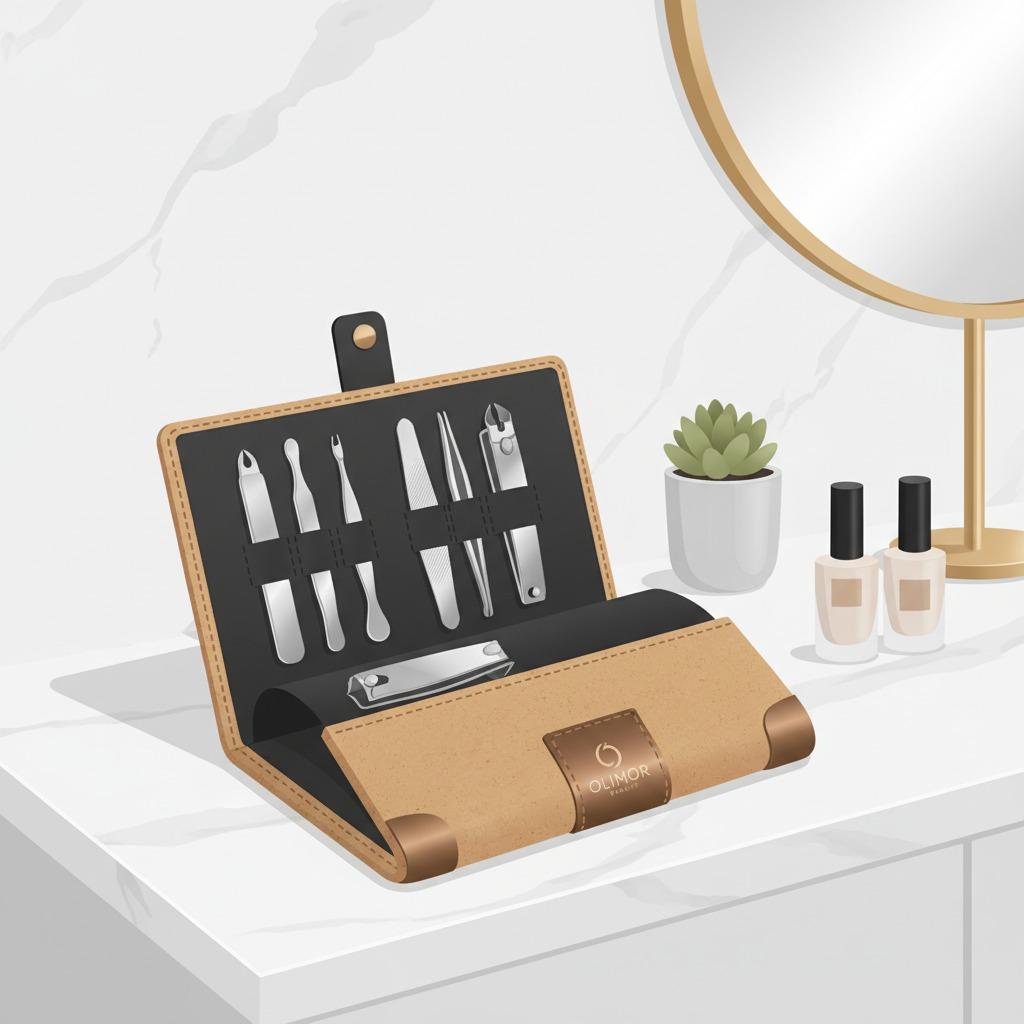
A storage case is useful only when it is clean and dry. If a pouch smells musty, has visible lint or has been stored in a humid wash bag, clean or replace the pouch before returning the clipper. For retail kits, buyers should consider how consumers will store the product after purchase, not only how the tool looks at the point of sale.
How Often Should Nail Clippers Be Sanitized?
For personal use, wipe away visible debris after each use and perform a deeper wash and disinfection every few uses. Toenail clippers often need more frequent cleaning because toenails are thicker and can leave more debris in the jaw. Shared clippers should be cleaned and disinfected between users. If a clipper touches broken skin, clean it immediately and do not share it.
Users with ongoing nail or skin concerns should use separate personal tools and seek appropriate professional advice instead of relying only on home disinfection. If a clipper is rusty, loose, bent, misaligned or no longer cuts cleanly, replace it rather than applying more pressure. A dull or unstable cutting edge can tear the nail and make grooming less controlled.
How to Evaluate Nail Clippers Before Buying in Bulk
For retailers, beauty-kit developers and sourcing teams, hygiene is part of product value. A clipper that looks polished but is difficult to clean may create complaints after use. When comparing nail clippers, evaluate the cleaning experience as well as appearance, hand feel and packaging.
- Accessible jaw opening: The clipper should open enough for users to brush the cutting groove and remove debris.
- Smooth surface finish: Rough areas can hold residue and make wiping less effective.
- Stable hinge action: The lever should move smoothly without feeling loose or gritty.
- Clean edge alignment: The cutting edges should meet evenly so the tool cuts rather than crushes the nail.
- Comfortable handling: A stable grip helps users cut with control, especially on thicker toenails.
- Appropriate packaging: Retail or travel packaging should protect the tool but should not encourage wet storage after use.
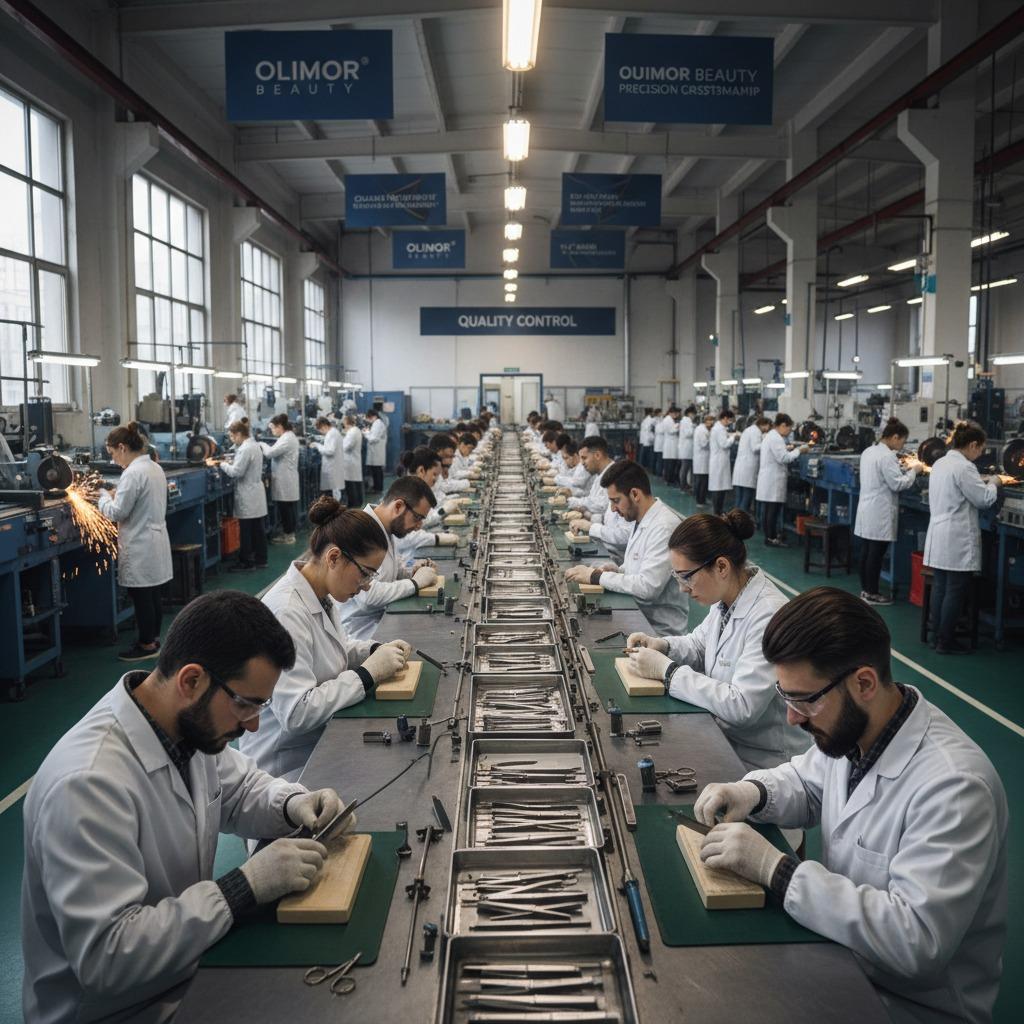
- Clear supplier communication: Buyers should be able to ask about material, finish, care guidance, packaging options and inspection practices.
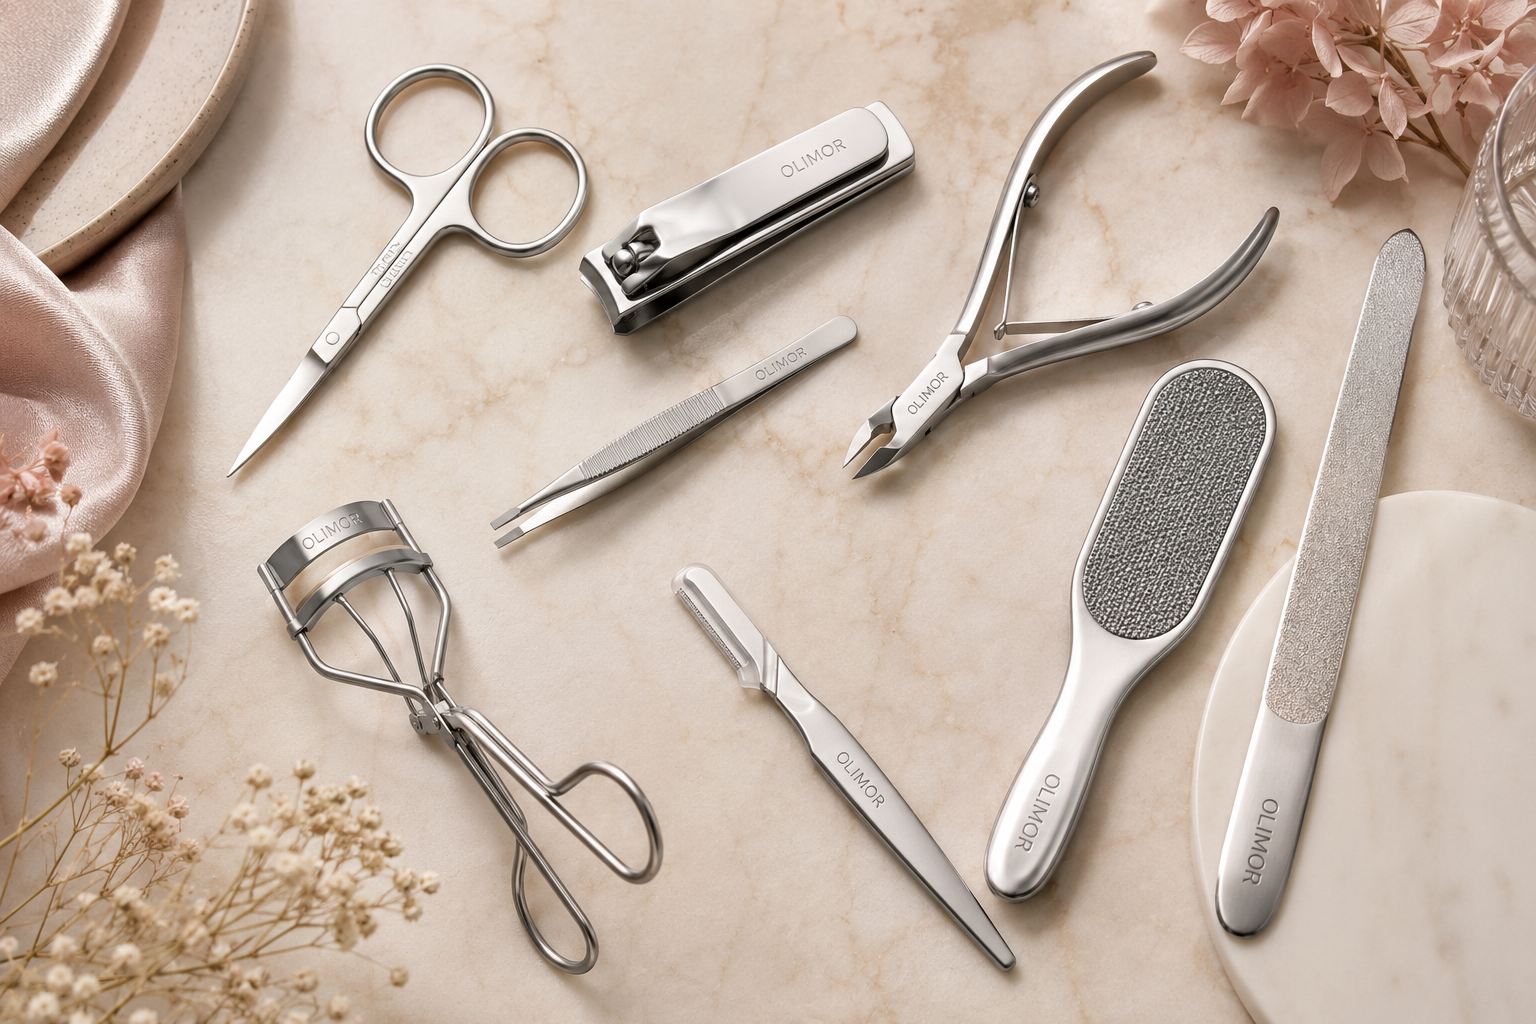
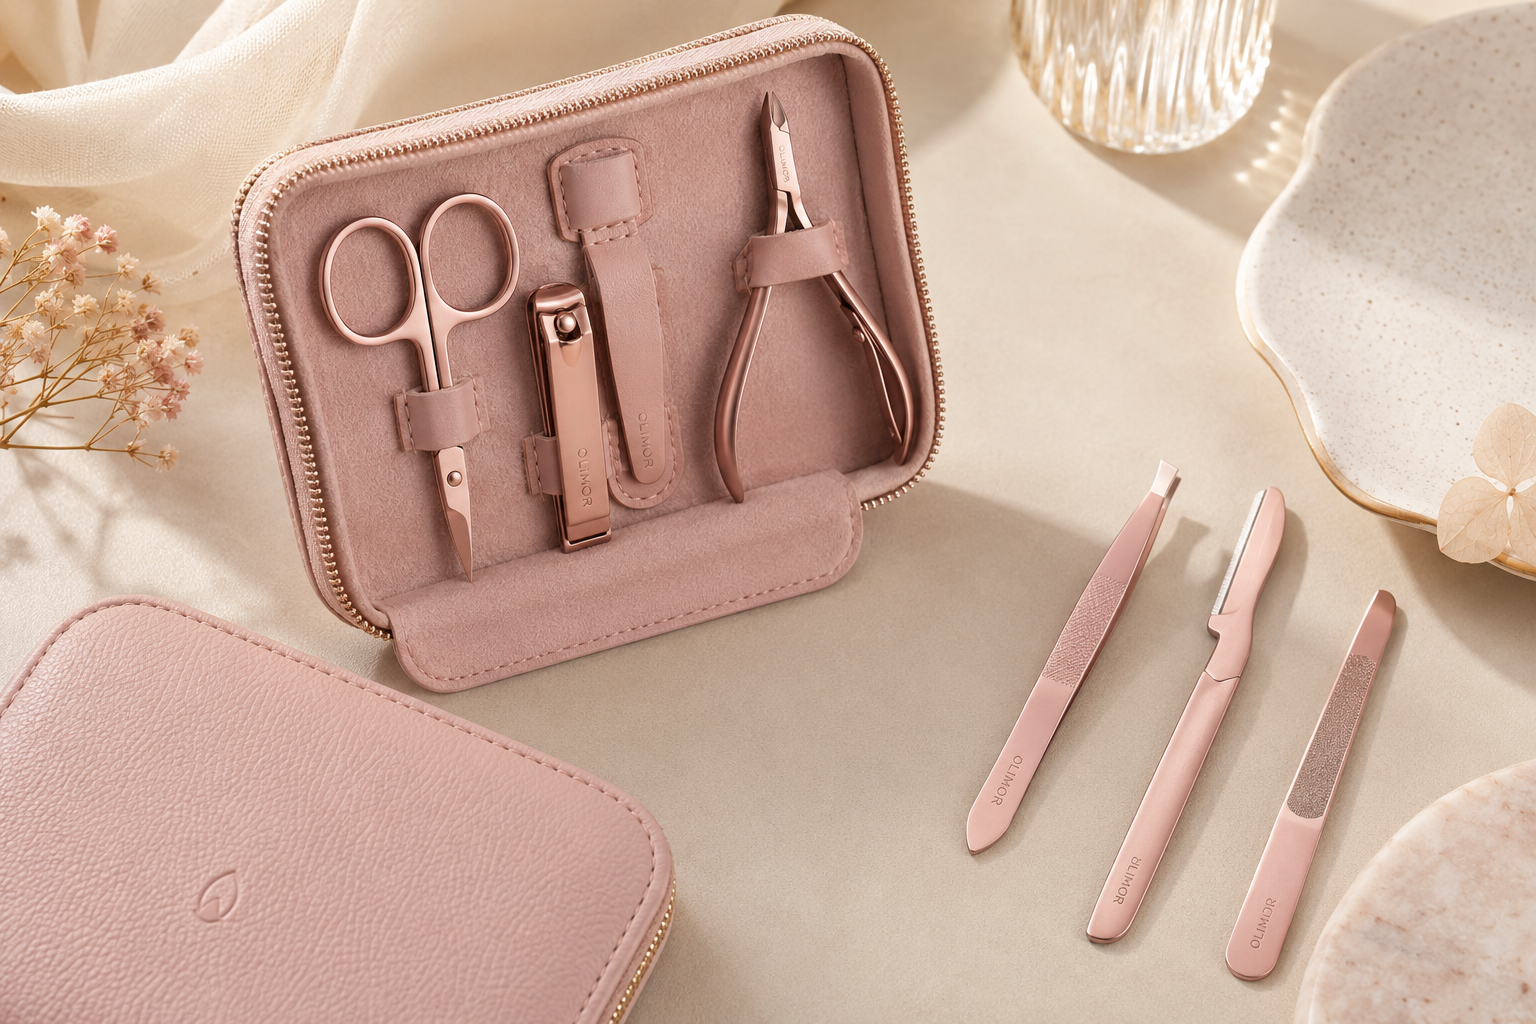
Olimor Beauty supplies beauty tools for everyday grooming and retail programs. Buyers comparing product categories can review beauty tool products or browse Olimor product collections to understand available grooming-tool directions before building a shortlist.
Cost Factors for B2B Nail Clipper Sourcing
Price is only one part of nail clipper sourcing. Without inventing fixed cost numbers, buyers can still compare the factors that usually affect total purchasing value. These include the tool design, surface finish, packaging complexity, decoration method, inspection expectations, order quantity, shipping method and after-sales communication.
A lower unit cost may not be the best value if the hinge feels unstable, the surface is difficult to clean or the packaging does not suit the sales channel. A promotional kit may prioritize compact packaging and broad usability. A salon retail item may need a more premium feel and clearer care instructions. A travel set may require a case that protects the edge while allowing the user to keep the tool dry after cleaning.
Supplier evaluation should include samples where possible. Handle the clipper with dry and slightly damp hands, inspect the edge alignment, open and close the lever repeatedly, brush around the hinge and check whether the tool dries easily. This practical review often reveals more than product photos alone.
Common Problems and How to Solve Them
The clipper smells musty
Clean the tool thoroughly and inspect the case or pouch. Odor often comes from trapped moisture, nail debris or a dirty storage container. Dry the clipper completely before returning it to storage.
The hinge feels gritty
Open the clipper, soak briefly in warm soapy water, brush the hinge from multiple angles, rinse and dry. If the hinge remains rough or loose, the tool may be worn or damaged.
The cutting edge tears nails
Clean the edge first to remove buildup. If tearing continues, check for misalignment, dullness or bending. Do not force the tool through thick nails; replacement may be safer.
There are rust spots
Rust suggests moisture exposure, damaged surface finish or unsuitable storage. Clean and dry the tool, but do not use a heavily rusted or rough-edged clipper on nails. Replace it if the surface cannot be made smooth and clean.
Supplier Checklist for Hygiene-Friendly Nail Clippers
Use this checklist when comparing nail clippers for retail, salon resale, travel kits or promotional beauty sets.
- Can the jaw and hinge be accessed with a small brush?
- Are the surfaces smooth enough to wipe clean easily?
- Do the cutting edges meet evenly without visible gaps?
- Does the lever move smoothly without excessive looseness?
- Is the tool comfortable to hold and control?
- Does the packaging protect the edge without encouraging damp storage?
- Can the supplier provide current product details and care recommendations?
- Are customization, sample review and packaging options clear before ordering?
- Are inspection expectations discussed before production or shipment?
For commercial projects, share the target market, channel, packaging preference and expected use case with the supplier. Olimor Beauty can be contacted through the contact page, or buyers can send a sourcing inquiry with project details for suitable beauty-tool options.
FAQ
Can I request nail clipper samples before placing a bulk order?
Sample availability depends on the product and project requirements. Buyers should ask the supplier which nail clipper styles, finishes or packaging options are available for sample review before confirming an order.
Is there a fixed MOQ for customized nail clippers?
MOQ can vary by product style, customization method, packaging and production plan. Confirm the current requirement with Olimor Beauty before quoting to your own customers or planning a retail launch.
Can nail clippers be customized for retail or promotional sets?
Customization may involve packaging, assortment planning or product presentation depending on the selected item. Provide the intended sales channel, design requirements and compliance expectations so the supplier can advise on suitable options.
How should buyers check quality before shipment?
Buyers should agree on inspection points in advance, such as edge alignment, hinge movement, surface condition, packaging appearance and basic functional checks. Ask for current supplier documents and confirm what inspection process applies to the order.
How long does production or delivery take?
Lead time depends on product availability, order quantity, customization, packaging and shipping arrangements. Confirm the current timeline directly with the supplier before setting launch dates or promotion schedules.
Key Takeaway
Clean nail clippers are safer, more pleasant to use and easier to maintain. The essential routine is to remove debris, wash with mild soap, scrub the edge and hinge, rinse, disinfect appropriately, dry completely and store in a clean, dry place. For B2B buyers, the same hygiene logic should guide product selection: choose clippers that are easy to clean, easy to dry, comfortable to handle and supported by clear supplier communication.