










Using gentle warmth on an eyelash curler can help lashes take a smoother, longer-lasting curve, especially if your natural lashes are straight, downward-facing, or resistant to curling. The idea is similar to using a warm styling tool on hair, but the eye area is far more sensitive. The goal is not to make the curler hot. It should feel comfortably warm, never sharp, burning, or uncomfortable against the skin.
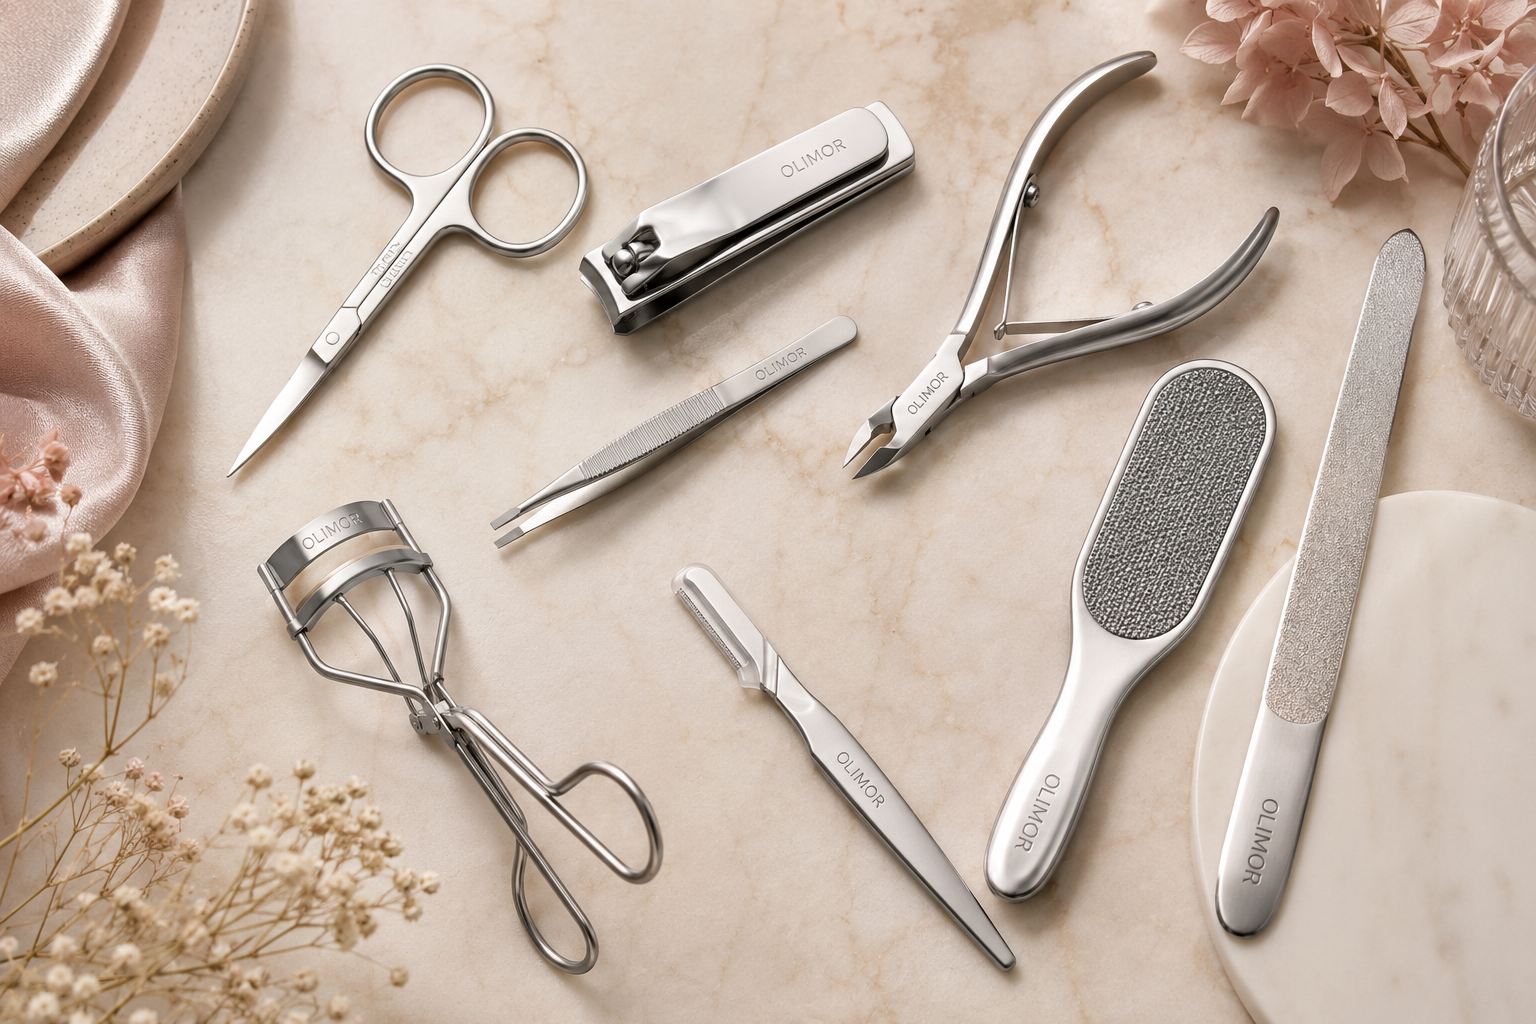
This guide explains how to warm an eyelash curler with a hairdryer in a controlled way, how to test the temperature, and how to curl without tugging or crimping. It is written for everyday users, makeup artists building consistent techniques, and buyers comparing lash tools for retail, salons, or beauty kits. If you are reviewing tool options, Olimor offers a range of beauty tool products, including eyelash curlers designed for practical daily use.
Why Warm an Eyelash Curler?
A standard eyelash curler works by pressing lashes into a curved shape with the help of a soft pad. For many people, that is enough. Warmth can make the process more effective because lashes may become slightly more flexible for a short time. This can help reduce the need for repeated clamping, which is important because over-curling can weaken lashes or create an unnatural bend.
Warming is most useful when you want a lifted look before mascara, when lashes lose their curl quickly, or when you need a more polished result for photos, events, or professional makeup services. It is not necessary for every person or every day. If your lashes already curl easily, a room-temperature curler may be the better choice for speed and comfort.
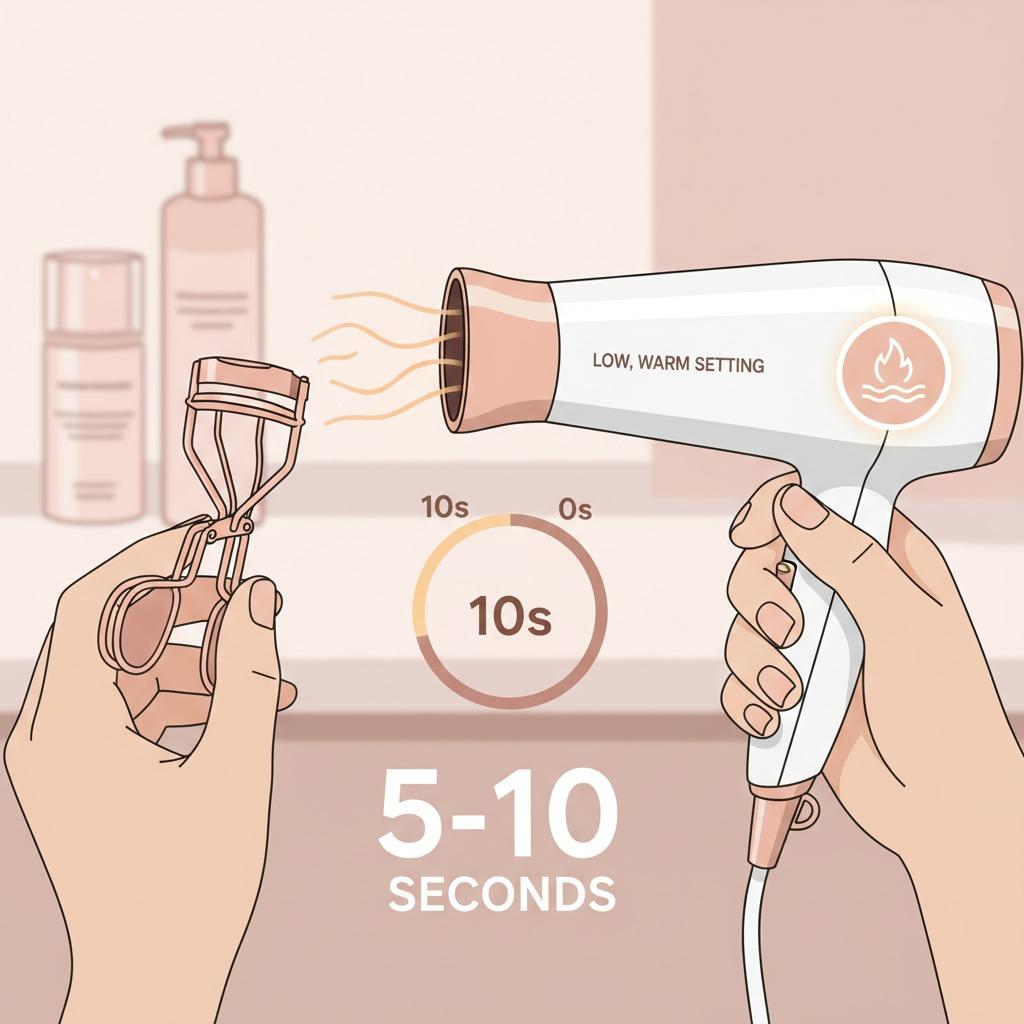
The key is temperature control. A hairdryer can become too hot very quickly, especially on a high setting or when held too close to the curler. A few seconds of warm air is enough. If the curler feels hot on your wrist, it is too hot for the eyelid area.
What to Check Before You Start
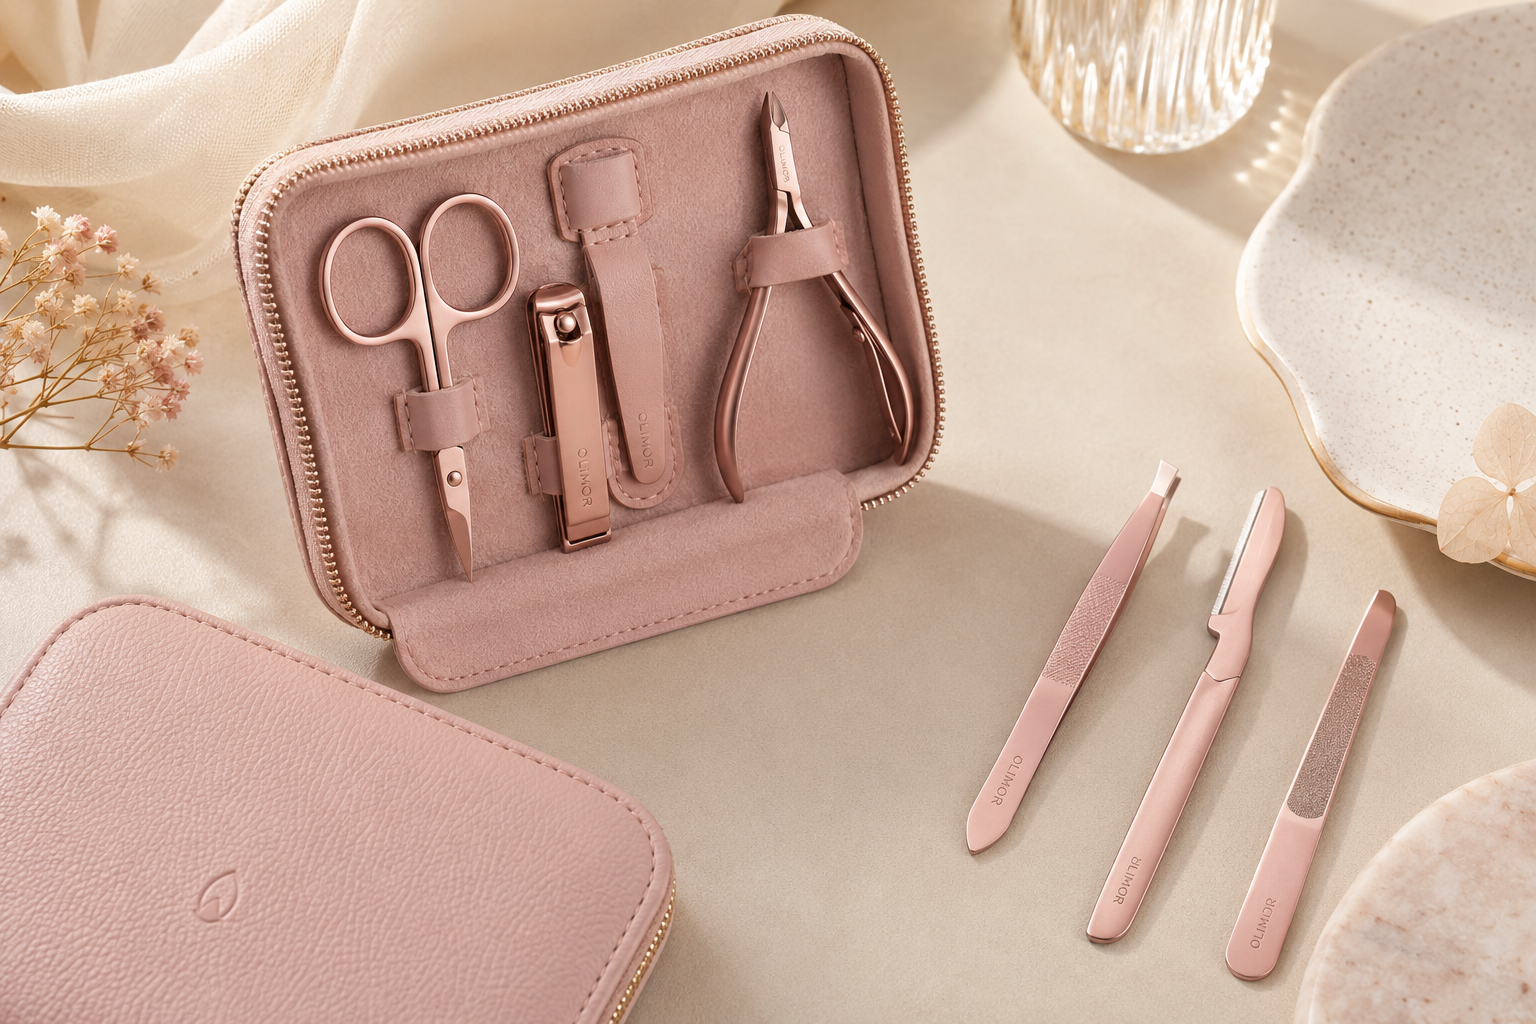
Before adding warmth, inspect the eyelash curler itself. A clean, well-aligned curler is safer and more comfortable than one with a worn pad or uneven hinge. Olimor Beauty eyelash curlers are described with a rose gold finish, stainless steel construction, and silicone pads, but any lash curler should be checked regularly before use.
- Pad condition: The pad should be smooth, seated correctly, and free from cracks, deep grooves, or sticky residue.
- Frame alignment: The top bar should meet the pad evenly. If it presses more on one side, it can create uneven curling or pinching.
- Clean surface: Remove mascara, eyeliner, skincare oils, or adhesive residue before warming the tool.
- Comfortable grip: The handle should open and close smoothly without sudden snapping.
- Dry lashes: Curling should be done on clean, dry lashes. Avoid curling wet lashes, as they can be more fragile.
If you are selecting tools for a salon, gift set, retail assortment, or private beauty program, compare curler shape, pad softness, finish quality, packaging requirements, and replacement pad availability. You can browse related product collections or send an inquiry for sourcing discussions.
Step-by-Step: How to Warm the Curler with a Hairdryer
This method uses controlled, indirect heat. Do not place the curler against the dryer nozzle, do not use a flame, and do not heat the curler for long periods. The safest approach is short warming, temperature testing, and gradual curling.
- Clean the curler first. Wipe the pad and metal frame with a clean tissue or a suitable cosmetic tool wipe. Let it dry fully before heating.
- Set the hairdryer to low or warm. Avoid high heat. If your dryer has a cool-shot button, keep it nearby in case the curler becomes too warm.
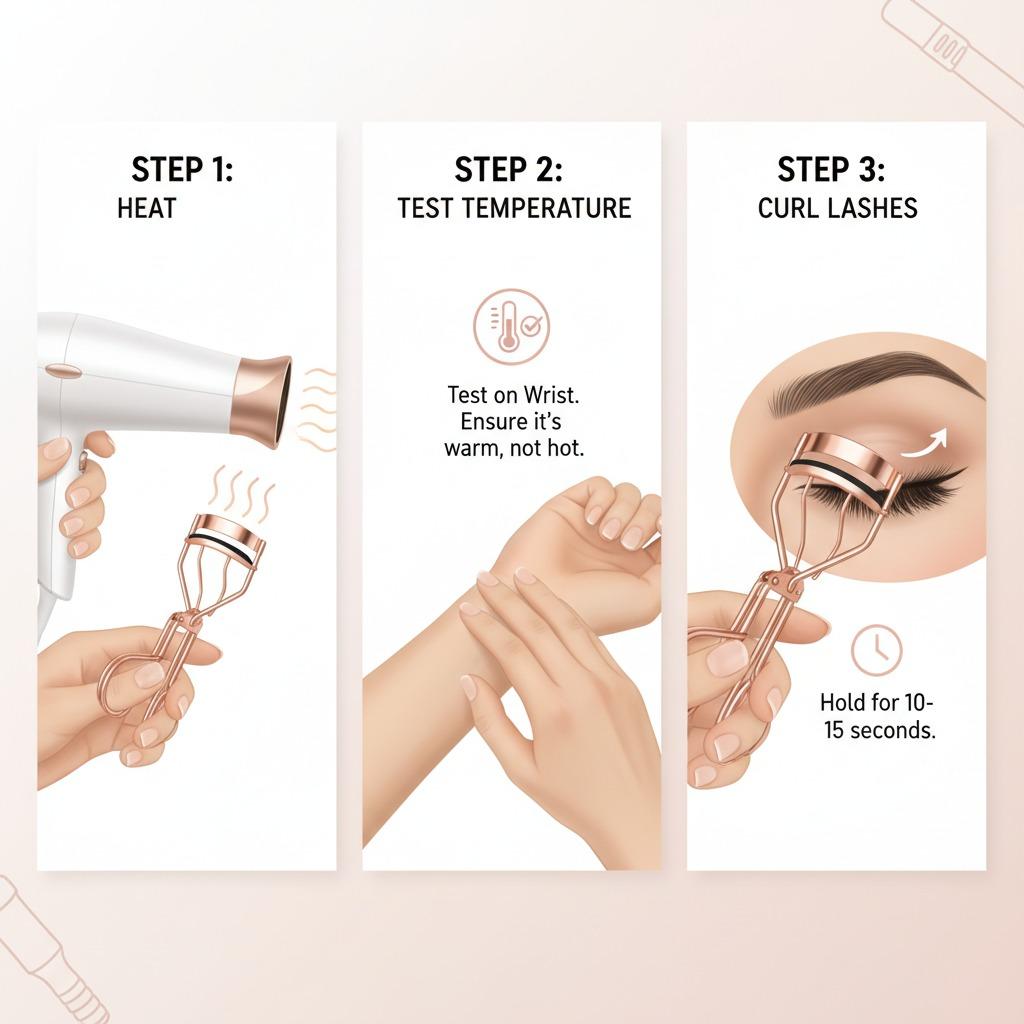
- Hold the curler several inches away. Direct warm air toward the pad and upper bar for about 5 seconds. Rotate slightly so one area does not receive all the heat.
- Test on your wrist or inner forearm. Touch the pad area gently to the skin. It should feel mildly warm. If it feels hot, wait until it cools.
- Position at the lash base. Keep the curler close to the roots but not on the eyelid. Look downward into a mirror to create space.
- Press gently. Hold for 5 to 10 seconds. Do not pump aggressively, as repeated fast squeezing can create bends or stress the lashes.
- Move outward for a natural curve. For longer lashes, curl once near the base, once at the middle, and once lightly near the tips.
- Apply mascara after curling. Mascara can make lashes stiffer, so curling after mascara may cause sticking, pulling, or breakage.
Temperature and Timing Guide
The right temperature is not measured by how warm the curler looks, but by how it feels against skin. Because hairdryers vary, use the guide below as a practical starting point, not a strict rule.
| Situation | Suggested warming time | Safety check |
|---|---|---|
| Fine or delicate lashes | 3 to 5 seconds | Must feel barely warm on wrist |
| Straight or curl-resistant lashes | 5 to 8 seconds | Warm, not hot; wait if unsure |
| Professional makeup use | Warm briefly between clients only after cleaning | Sanitize, dry, then test temperature every time |
| Older pad or visible residue | Do not heat | Clean or replace pad before use |
If the curler cools before you finish both eyes, warm it again for a shorter period and test again. Never assume the second heating will behave the same way. Metal can retain warmth unevenly, and the pad may feel different from the frame.
Common Mistakes That Can Damage Lashes
The most common mistake is using too much heat. A curler does not need to feel like a hot styling iron. Excess heat can irritate the eyelid, dry the lashes, or make the experience uncomfortable enough that you press too quickly or pull away suddenly.
Another mistake is curling after mascara. Mascara-coated lashes can stick to the pad, especially if the mascara is not fully dry. If you need to refresh curl later in the day, use caution and avoid clamping hard. For best results, curl first, then apply mascara in thin layers.
Do not clamp the same section repeatedly. If the curl is not strong enough, it is usually better to adjust placement and pressure rather than squeeze harder. Place the curler at the base for lift, then use lighter pressure through the mid-lengths for shape. A single hard clamp in the middle of the lash can create a visible corner instead of a soft curve.
Finally, do not ignore pad wear. A compressed or split silicone pad can expose lashes to a sharper edge of the frame. If the pad has a deep groove, replace it before continuing. This is especially important for makeup artists, beauty retailers, and anyone using curlers frequently.
Cleaning and Maintenance for Better Results
A warmed curler should be clean because heat can soften makeup residue and transfer it back to the eye area. After use, wipe the pad and frame to remove mascara dust, oils, and skin products. For deeper cleaning, use a cosmetic-safe wipe or a small amount of mild cleanser on a cloth, then dry the tool completely.
Store the curler in a dry location away from loose powder, damp towels, and direct bathroom moisture. If the hinge becomes stiff or the pad no longer sits securely, stop using it until the issue is corrected. Good maintenance supports comfort, hygiene, and consistent lash shape.
For business buyers, maintenance considerations are also product selection criteria. Look at how easily the curler can be wiped, whether the pad is simple to inspect, whether the finish resists visible residue, and how the tool will be packaged for transport and display. If you need to discuss beauty tool sourcing for a specific market or assortment, you can contact Olimor with your requirements.
When Not to Use a Warmed Curler
Skip the heated method if your eyes are irritated, if you have a recent eye infection, or if the skin around the eyelid is sensitive that day. Avoid using a warmed curler immediately after applying lash serum, oil-based skincare, or eye cream, as residue can make lashes slippery and affect grip. If you wear lash extensions, follow the extension technician’s guidance; many extension sets should not be clamped with a traditional curler.
You should also stop if you feel pinching, burning, pulling, or if lashes stick to the pad. Comfort matters more than curl strength. A well-used curler should lift lashes smoothly without forcing the eyelid or bending the lash line.
Choosing an Eyelash Curler for Warm Styling
When choosing an eyelash curler for this technique, prioritize control over decoration. A rose gold finish can look attractive in a beauty kit, but performance depends on frame alignment, pad quality, handle stability, and how naturally the curve suits the user’s eye shape. Stainless steel construction is valued in many beauty tools because it is sturdy and easy to wipe clean, while silicone pads can provide a softer contact surface when properly maintained.
For individual users, the best curler is the one you can position confidently without pinching. For professional or wholesale buyers, selection should include both user comfort and commercial practicality: consistent finishing, reliable packaging, clear product information, and suitability for the intended customer group. A warmed eyelash curler can produce a refined curl, but only when the tool, technique, and temperature are all managed carefully.
Used thoughtfully, a hairdryer-warmed eyelash curler can be a simple way to improve lash lift without adding complicated steps. Keep the heat low, test every time, curl before mascara, and maintain the pad. Those small habits make the technique safer, cleaner, and more consistent.