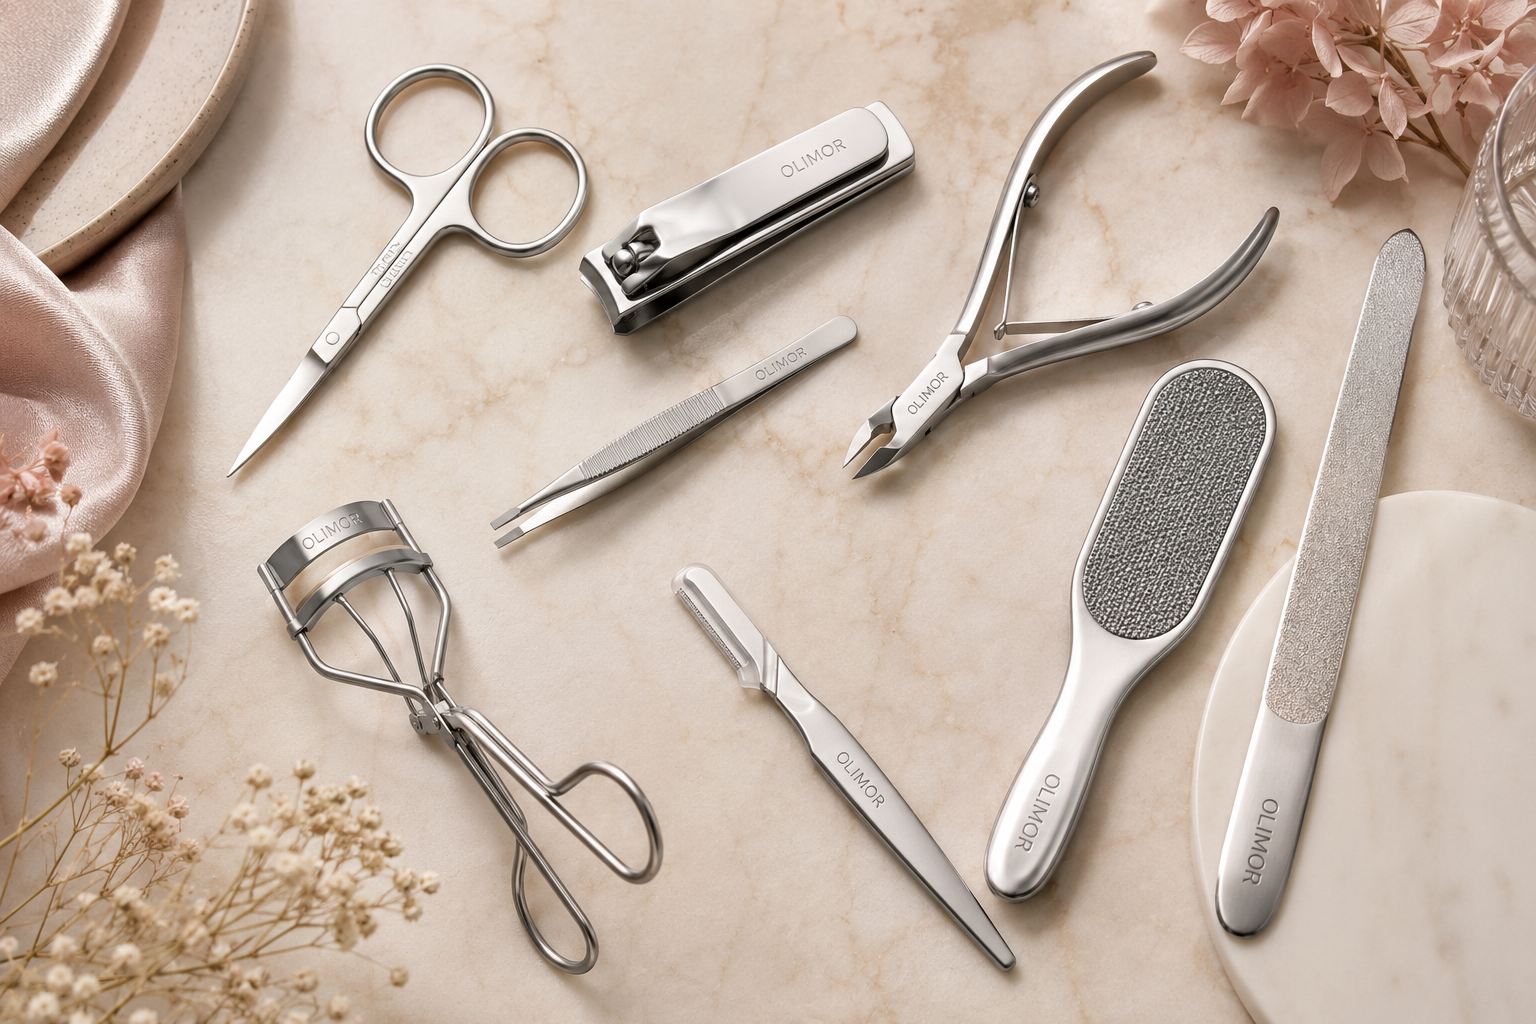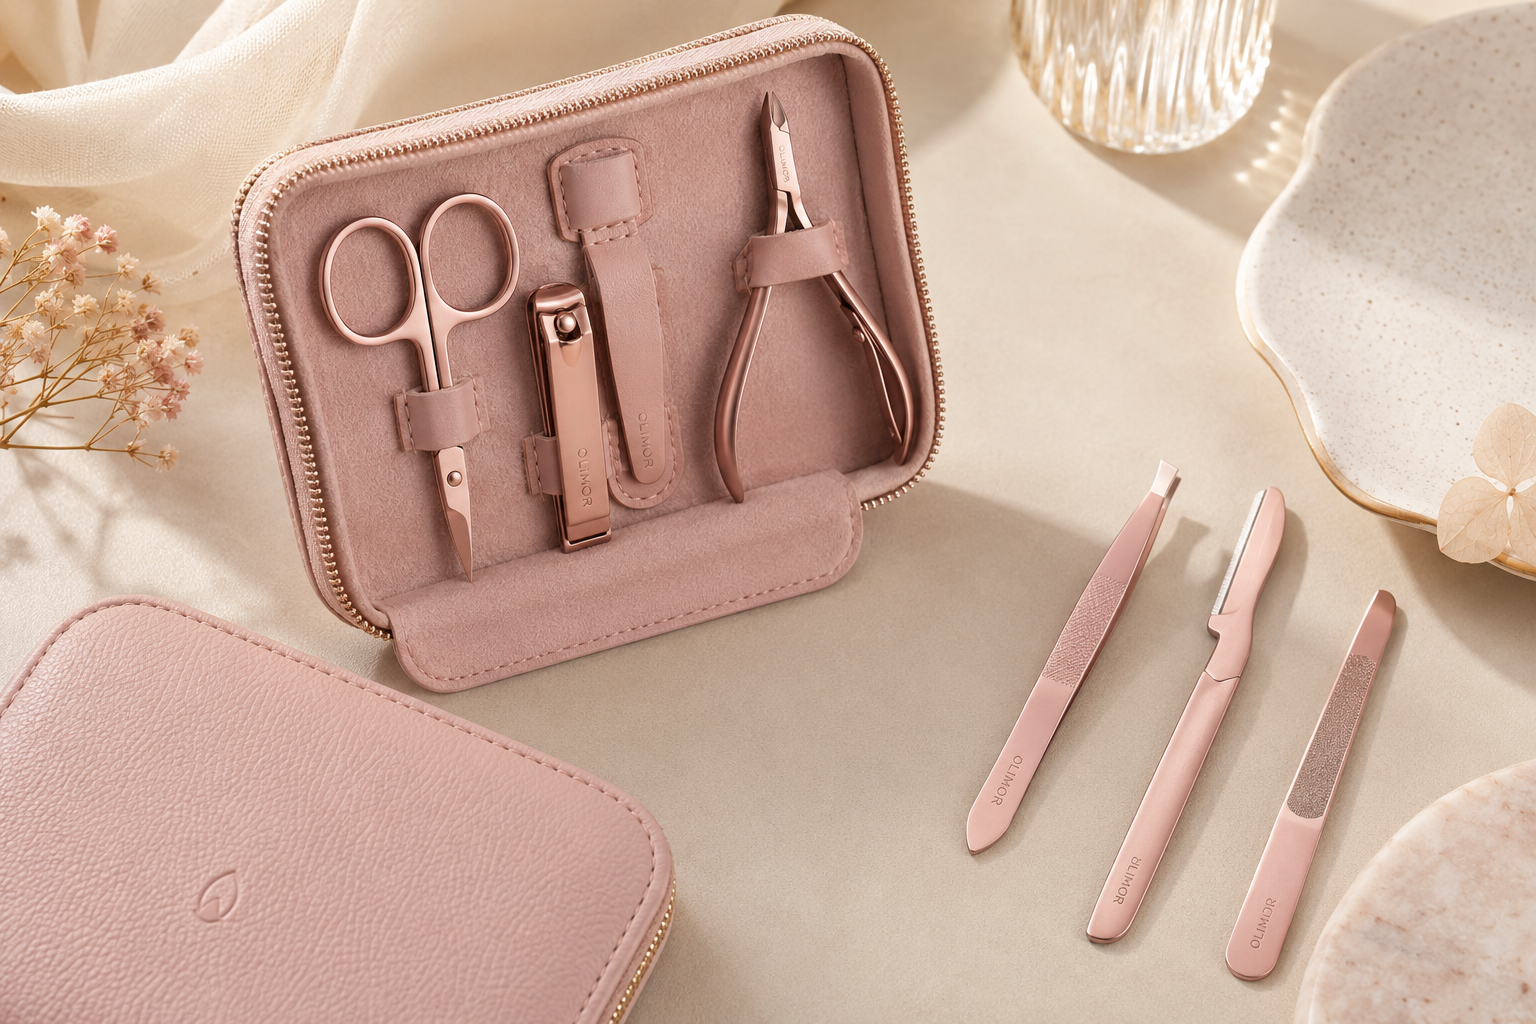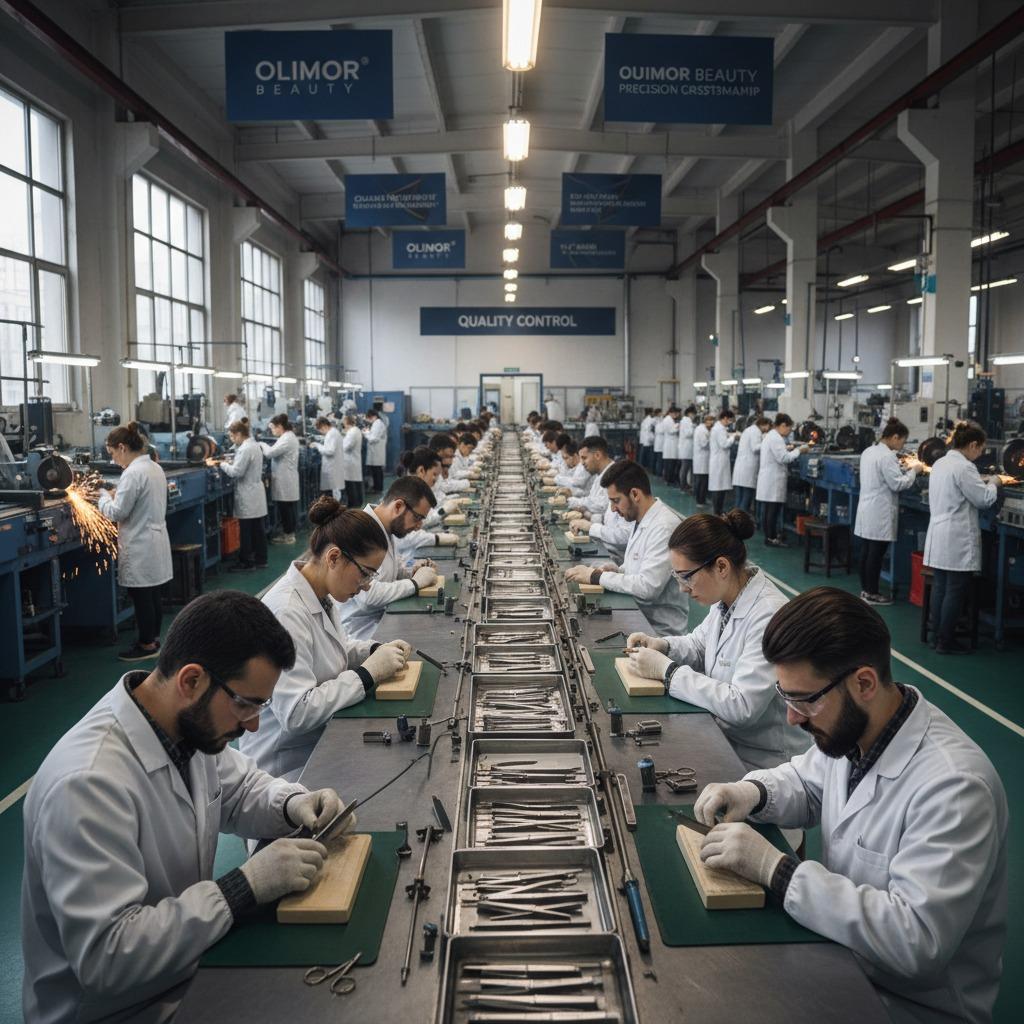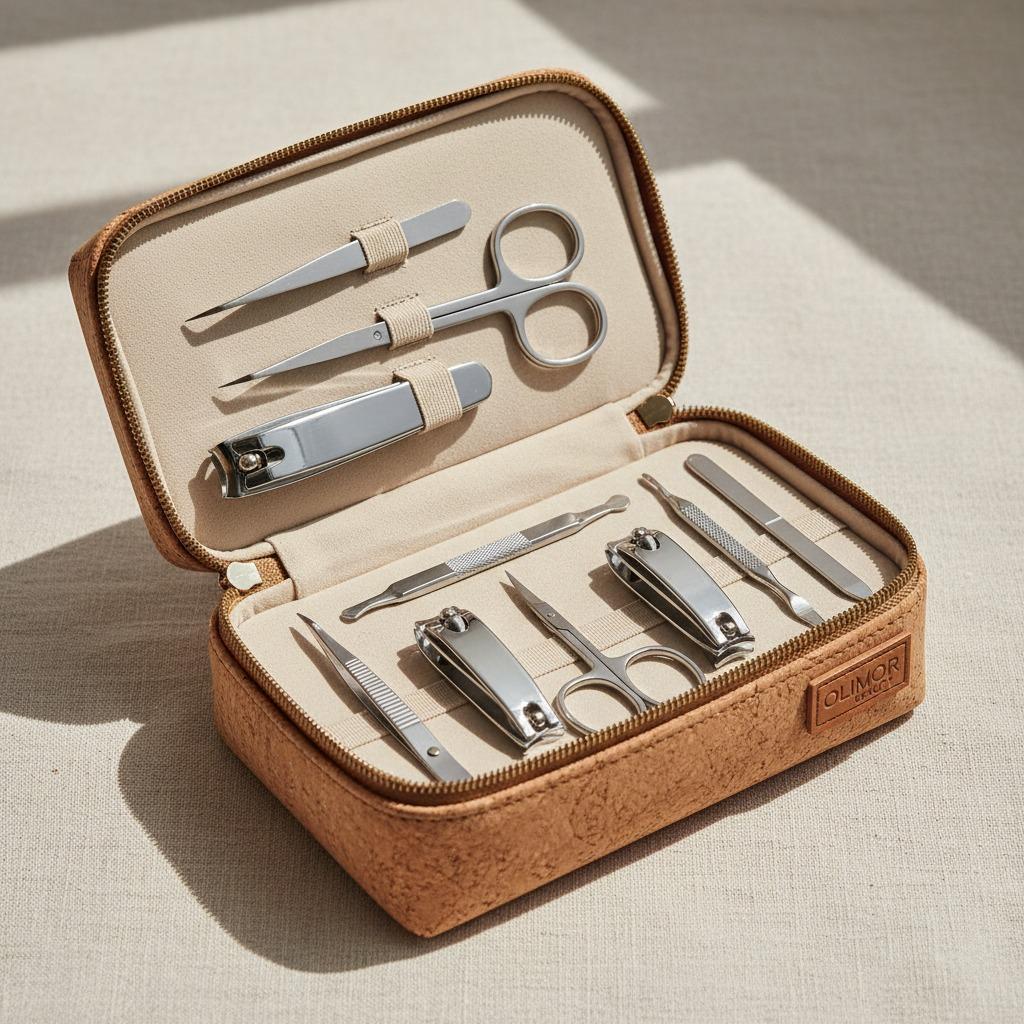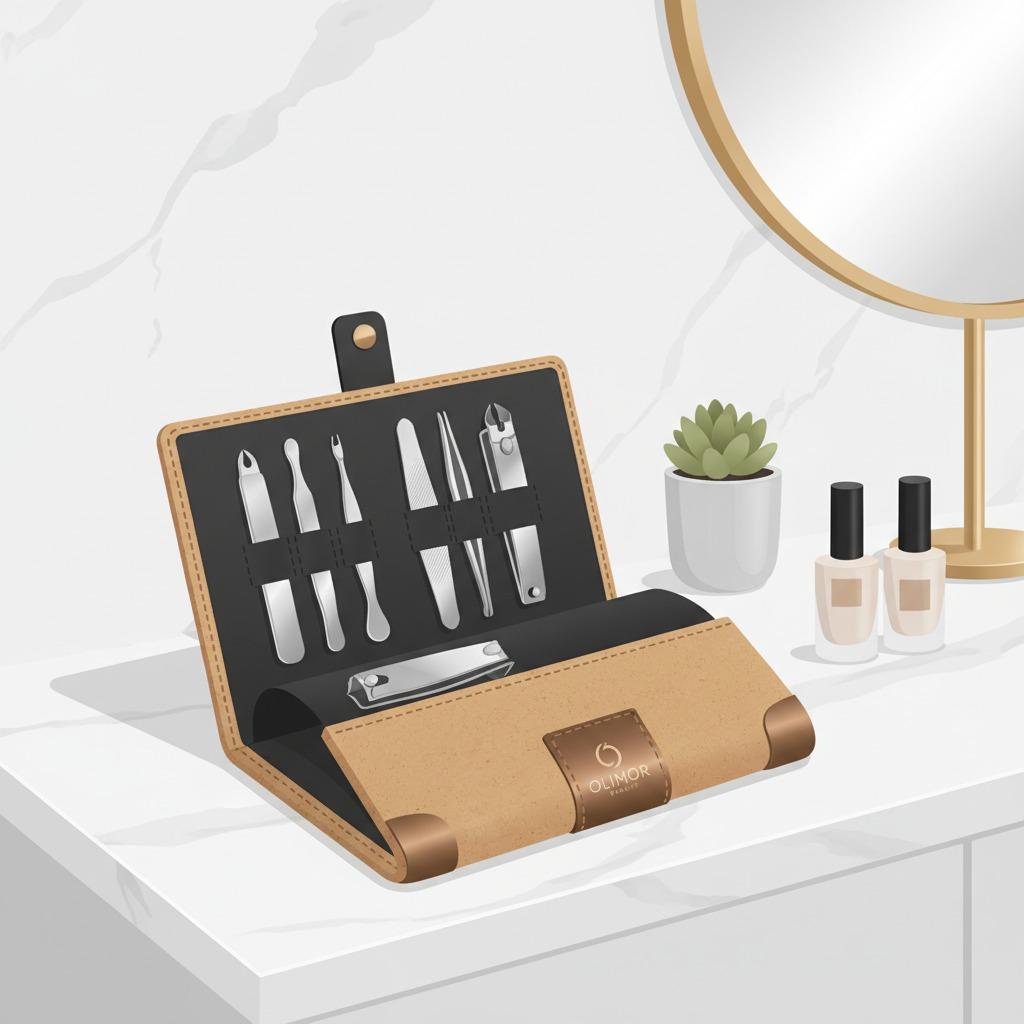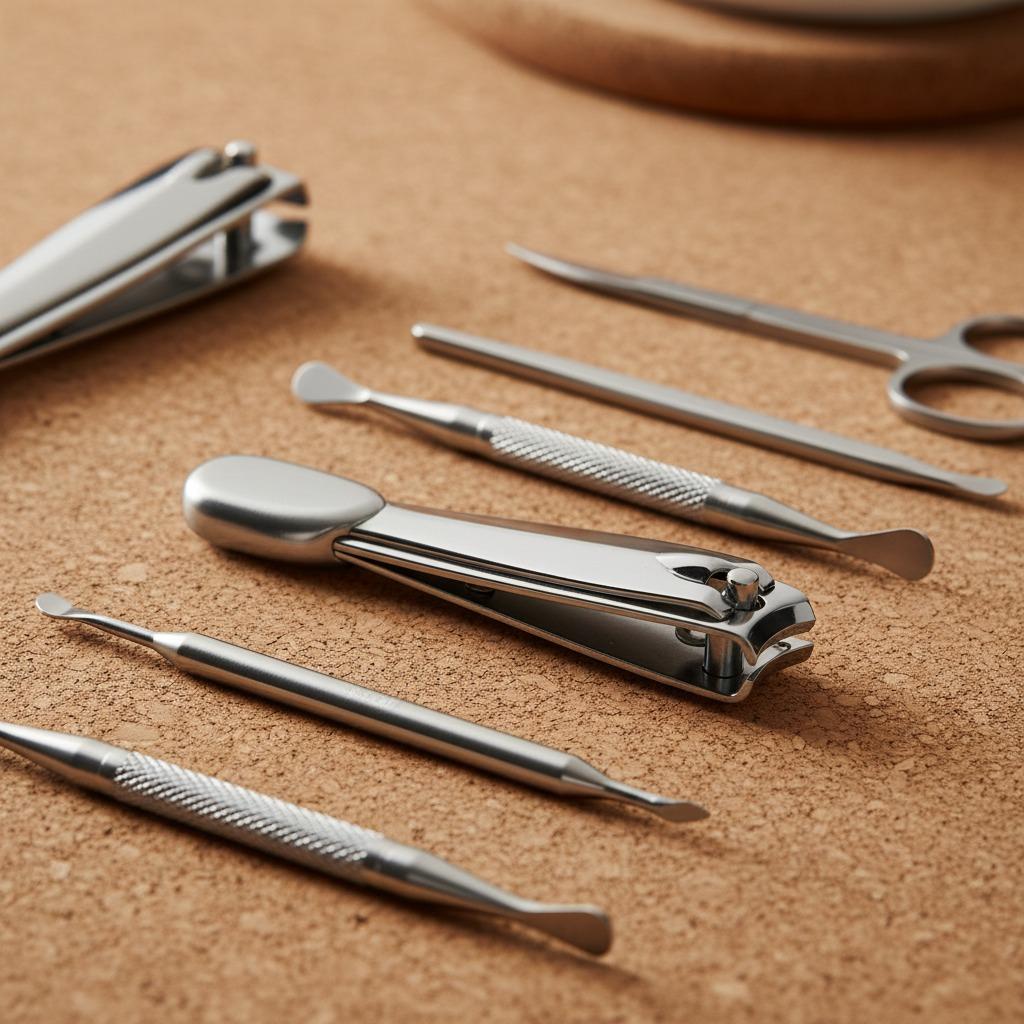











Nail clippers look simple, but small finishing details decide whether they feel clean, safe, and reliable in daily use. The cutting edge must be sharp enough to trim without tearing, while the surrounding surfaces should be smooth enough to avoid scratching skin, catching on packaging, or collecting residue. That is why nail clipper polishing methods are not only about appearance. They are part of the manufacturing process that helps create burr-free edges, consistent movement, and a professional-looking grooming tool.
For beauty brands, wholesalers, salons, and retailers comparing beauty tool products, polishing quality is a practical sourcing issue. A highly reflective surface may look attractive in product photos, but the more important questions are: are the edges smooth, does the lever move cleanly, does the jaw close evenly, and are there any burrs around the cutting area or finger contact points? This guide explains what polishing and deburring can do, where defects usually appear, and how to evaluate polished nail clippers before placing an order.
Why Polishing Matters on a Nail Clipper
A nail clipper works through pressure, alignment, and edge geometry. When the upper and lower cutting edges meet correctly, the nail is trimmed with less crushing and fewer rough fragments. Polishing supports this result by removing tiny surface defects left from forming, grinding, or stamping. It also improves how the tool feels in the hand, especially around the lever, body corners, nail file area if present, and side edges.
Poor finishing can create several problems. A burr near the cutting jaw may scratch skin or snag a nail. Rough side edges may feel unpleasant during use. Unpolished recesses can hold dust, polishing compound, or nail debris. In retail, uneven finish quality also affects customer perception; buyers often judge a small grooming tool by its weight, smoothness, shine, and first cut.
Different product positions may require different finishes. A basic clipper can still be acceptable if it is cleanly deburred and safe to use. A premium grooming tool usually needs a more uniform surface, more controlled edge finishing, and more careful cosmetic inspection. The right polishing method should match the target market, packaging style, and expected user experience.
Common Nail Clipper Polishing and Deburring Steps
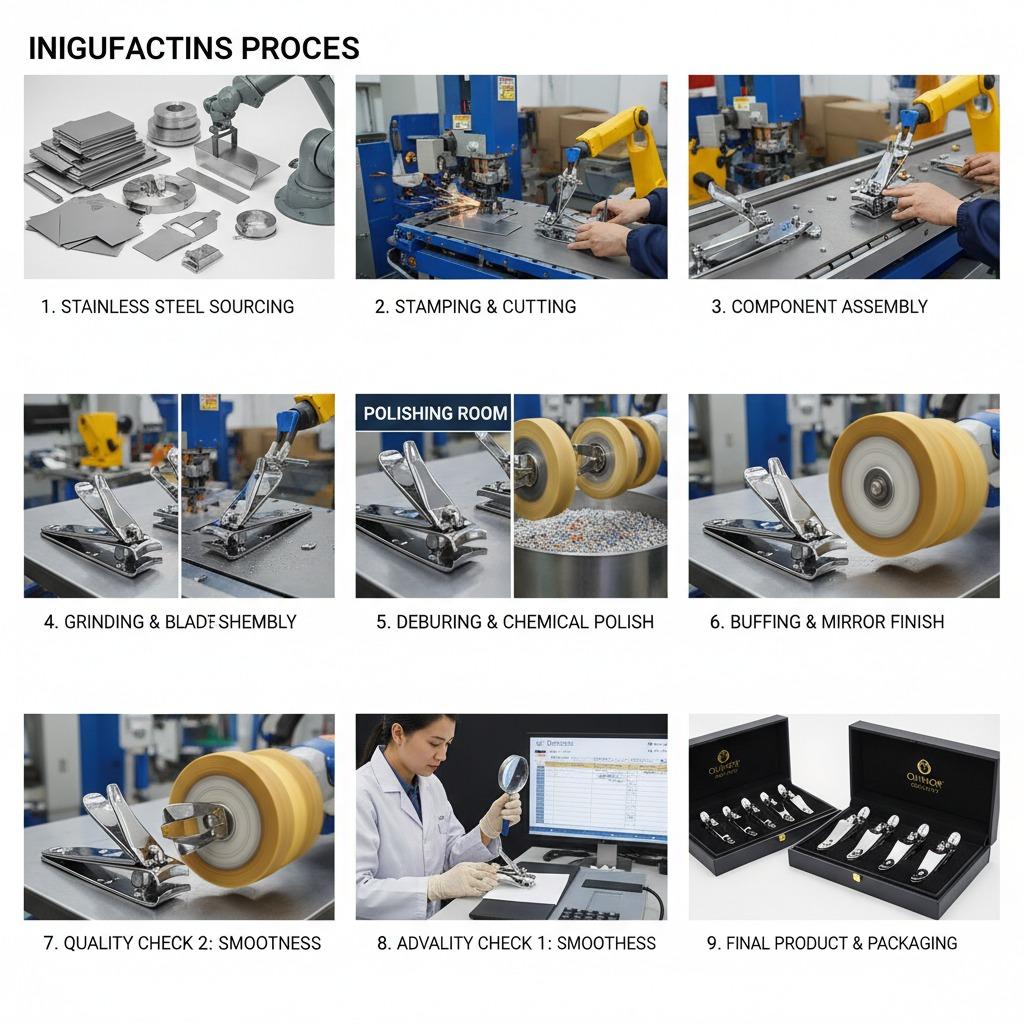
Manufacturers may use different equipment and process sequences, but polishing typically happens after the main shaping and grinding stages. The goal is to reduce roughness without damaging the functional geometry of the cutting edge. Over-polishing can round areas that should remain precise, while under-polishing leaves burrs and visible tool marks.
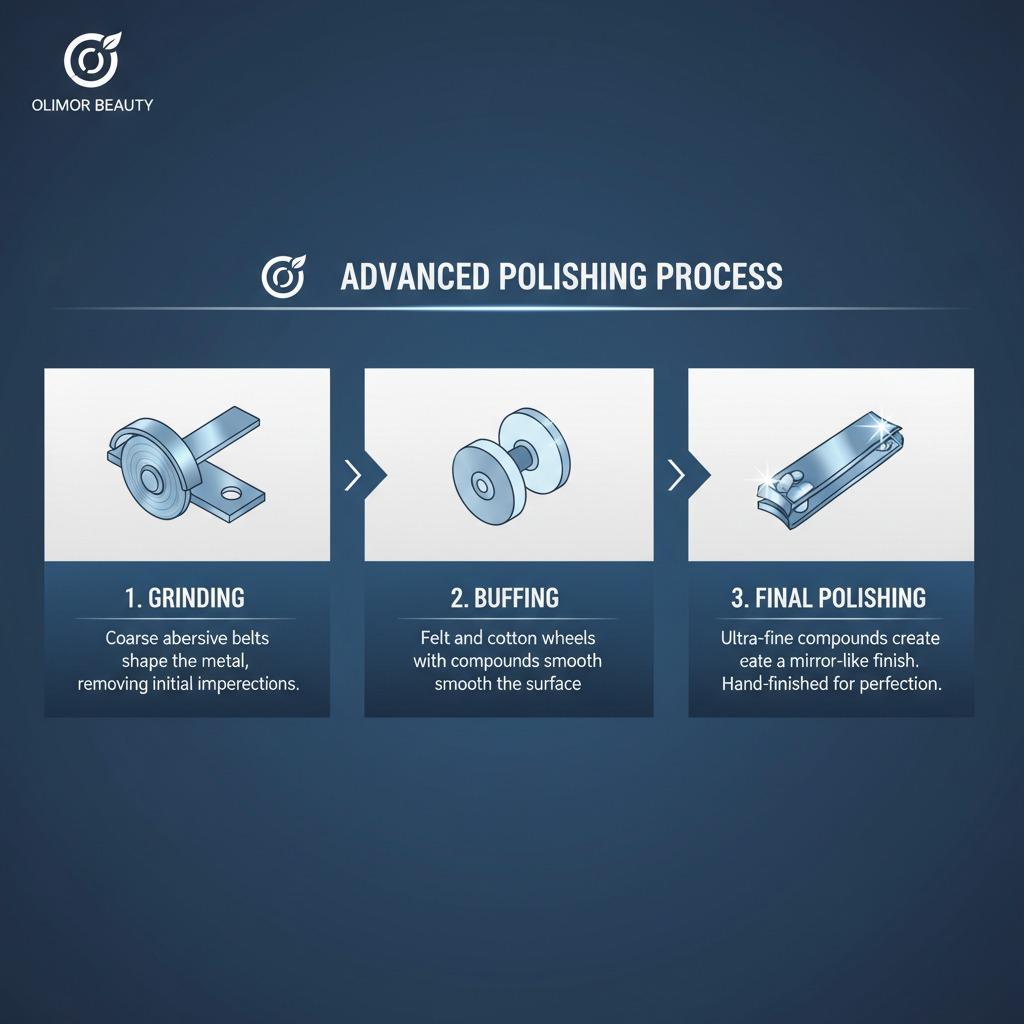
Typical finishing stages may include:
- Initial grinding: Removes larger marks and prepares the surface for finer finishing. This step must be controlled carefully around the cutting jaw.
- Deburring: Targets sharp fragments along stamped edges, holes, corners, lever contact areas, and the cutting opening.
- Progressive polishing: Uses finer abrasives or buffing media to create a smoother surface and reduce visible scratches.
- Surface cleaning: Removes polishing residue, metal dust, and oils so the tool is ready for inspection or further assembly.
- Final visual and touch inspection: Checks whether the clipper feels smooth and whether the finish is consistent across visible surfaces.
For nail clippers, deburring is especially important because users hold the tool close to the fingertip. A cosmetic scratch may be acceptable in some economy markets, but a sharp burr is a functional defect. If you are building a product line across multiple price points, define which surfaces require mirror-like polishing and which only require safe deburring. This helps control cost without lowering user safety.
Where Burrs and Rough Edges Usually Appear
When inspecting polished nail clippers, do not only look at the top surface. Many finishing defects appear in small transition areas where metal has been cut, bent, stamped, or assembled. A quick inspection plan should cover both functional and touch-contact zones.
- Cutting jaws: Check the upper and lower cutting edges for rough fragments, uneven grinding, or misalignment.
- Jaw corners: The side ends of the cutting mouth can feel sharp if not deburred properly.
- Lever edges: Users press this area repeatedly, so it should not have sharp corners or raised burrs.
- Pin or rivet area: Movement should feel stable, and surrounding surfaces should not show loose particles or rough machining marks.
- Body sidewalls: These edges often contact fingers and packaging inserts, making smoothness important.
- Underside and inner surfaces: Hidden areas should still be clean enough to avoid residue and snagging.
A good inspection method combines sight, touch, and simple use testing. Under bright light, rotate the clipper and look for inconsistent reflections, scratches, dark residue, or raised edges. Then run a fingertip lightly along non-cutting surfaces, avoiding direct pressure on the sharpened edge. Finally, test the open-close action and make several trims on an appropriate sample nail material or approved test medium to assess cut feel.
Comparing Finish Options for Different Markets
Not every nail clipper needs the same surface finish. The best choice depends on the customer group, retail channel, branding expectations, and maintenance needs. A highly polished surface can support a premium look, but it may show fingerprints or handling marks more easily. A softer satin appearance may hide minor marks better and create a practical everyday finish. The key is to decide finish expectations before sampling so suppliers can make consistent samples and production pieces.
| Finish focus | What to evaluate | Best suited for |
|---|---|---|
| Burr-free functional finish | Smooth contact points, safe edges, clean jaw opening | Basic retail, promotional sets, travel grooming tools |
| Bright polished finish | Uniform shine, minimal visible scratches, clean reflection | Premium packaging, gift sets, salon retail displays |
| Satin or brushed appearance | Even directional texture, reduced glare, controlled surface marks | Modern grooming lines, unisex personal care products |
| Detailed edge finishing | Extra attention to lever, sidewalls, jaw corners, and underside | Products positioned around comfort and long-term use |
When comparing samples, use the same lighting and background for each item. A clipper can look acceptable in dim warehouse light but reveal scratches under retail lighting. If the product will be sold online, macro photography may also highlight surface defects, so cosmetic standards should reflect how the product will be presented.
How Polishing Affects Hygiene and Maintenance
A smoother surface is generally easier to wipe clean because there are fewer grooves where residue can collect. This matters for any tool used around nails, where small particles are common. Polishing does not replace cleaning, but it can make regular maintenance easier for the end user. After use, a nail clipper should be cleared of nail fragments and stored dry. If the tool becomes wet, it should be dried before storage to reduce the chance of surface staining or unwanted buildup.
For brands creating user instructions, keep maintenance language practical. Explain that the cutting area should be kept clean and dry, the lever should not be forced beyond its designed movement, and the tool should be stored away from loose abrasive items that may scratch the finish. If the clipper is part of a set, packaging should hold it securely so polished surfaces do not rub continuously against harder accessories during transport.
Buyers should also evaluate how polishing interacts with packaging. A highly polished clipper placed in a tight plastic tray may show rub marks if it moves during shipping. A pouch, card slot, blister, or tray should be checked through transit simulation appropriate to the sales channel. Surface quality is not only created in production; it must be protected through packing, shipping, and retail handling.
Sourcing Checklist for Polished Nail Clippers
Before confirming a nail clipper order, create a written finish standard. Verbal descriptions such as “good polish” or “high quality” are easy to misunderstand. A better approach is to define inspection zones and acceptable limits. Olimor Beauty works with buyers looking for practical grooming tools, and clear requirements help align samples with commercial expectations. You can browse related product collections to compare the type of tool range that fits your brand direction.
- Define the visible surfaces: Identify which parts require the most consistent polish, such as the top body, lever, and side profile.
- Set burr requirements: State that non-cutting contact edges must feel smooth and that cutting jaws must be cleanly finished without loose fragments.
- Check jaw alignment: Polishing should not compensate for poor cutting geometry. The upper and lower jaws still need to meet correctly.
- Review sample consistency: Compare several samples, not just one, to see whether finishing is repeatable.
- Inspect after packaging: Confirm that the chosen packaging does not scratch or dull the polished finish.
- Confirm cleaning expectations: Finished goods should not contain visible polishing compound, metal dust, or oily residue.
If your project requires a specific appearance or packaging plan, prepare reference photos, target market details, and expected inspection priorities before requesting samples. For product development support, you can contact Olimor or send an inquiry with your nail clipper requirements.
Choosing Nail Clippers with Better Finish Quality
Advanced nail clipper polishing methods are valuable because they improve both the practical and visual qualities of a small grooming tool. The best results come from balanced processing: enough grinding and buffing to remove defects, careful deburring to protect the user, and controlled inspection to avoid inconsistent surfaces. For buyers, the most useful approach is to evaluate finish quality through real handling, cutting feel, packaging compatibility, and repeatability across multiple samples.
A polished nail clipper should not simply look shiny. It should open smoothly, close evenly, feel comfortable at every touch point, and arrive cleanly finished without burrs or rough fragments. By treating polishing as a functional quality factor rather than a decorative afterthought, brands can select nail clippers that better meet customer expectations and support a more dependable grooming product line.