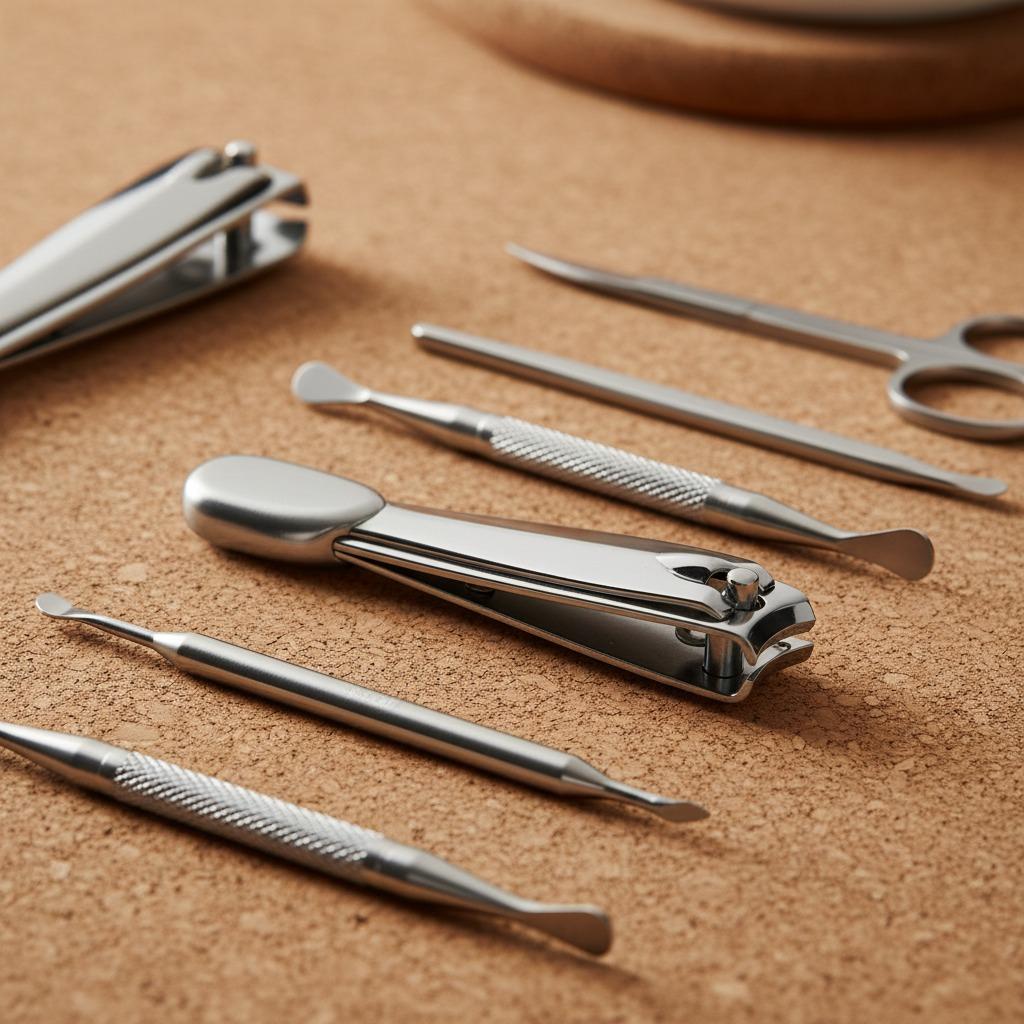











A cuticle nipper is a small beauty tool, but it has a direct effect on comfort, nail appearance and hygiene. Used correctly, it removes small pieces of loose, dry skin around the nail fold and helps create a clean manicure finish. Used aggressively, it can cause soreness, ragged edges or irritation. The goal is not to cut living skin or make the nail plate look unnaturally exposed; the goal is precise grooming where trimming is genuinely needed.
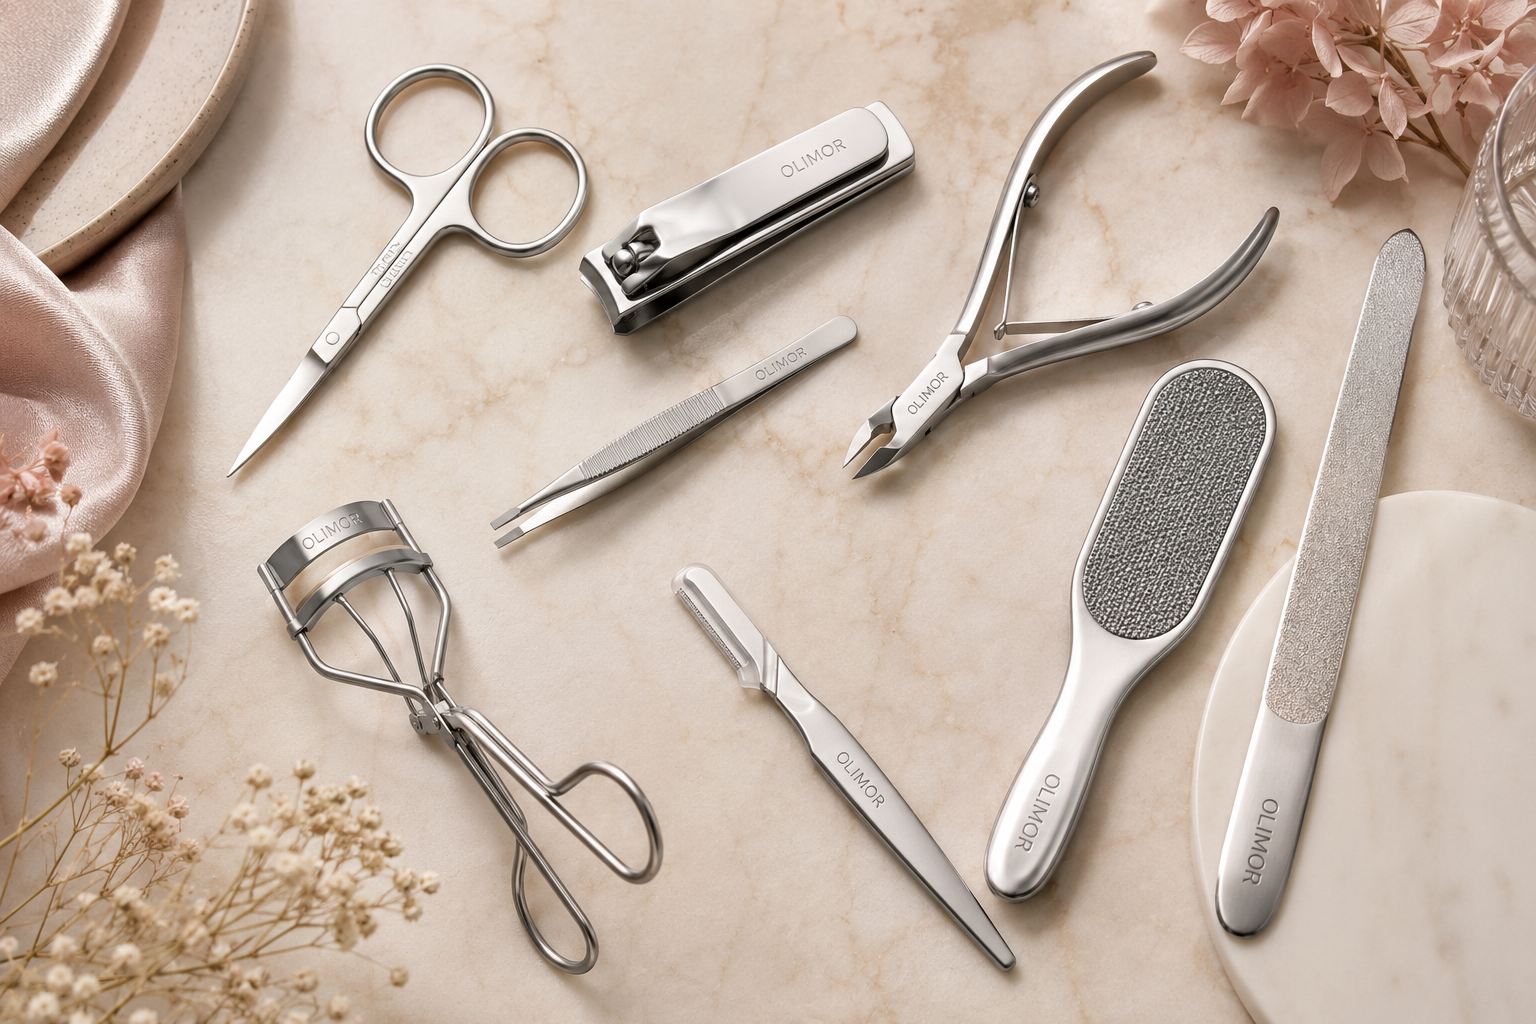
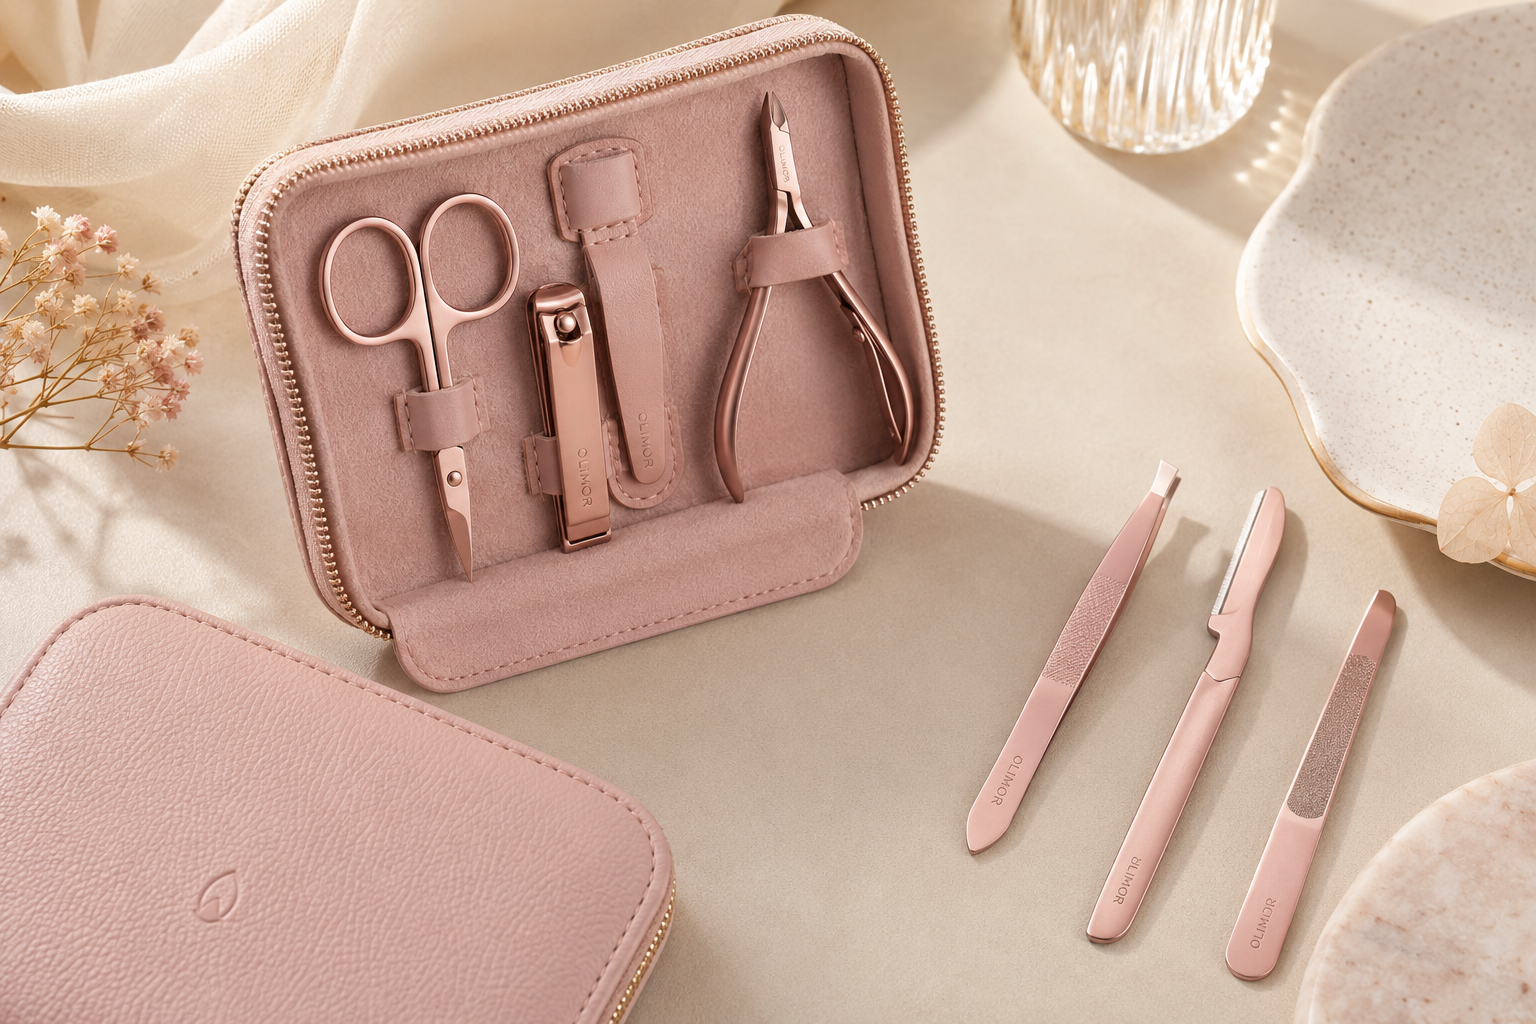
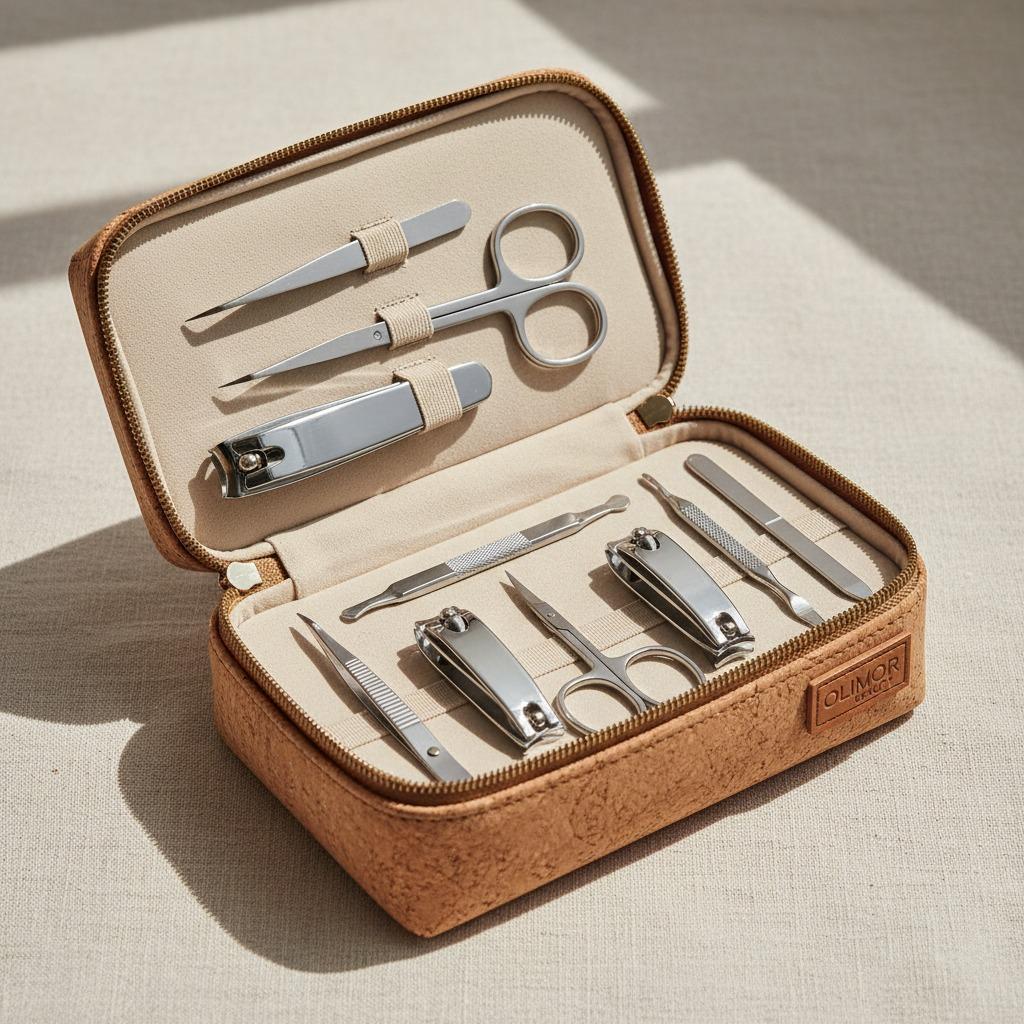
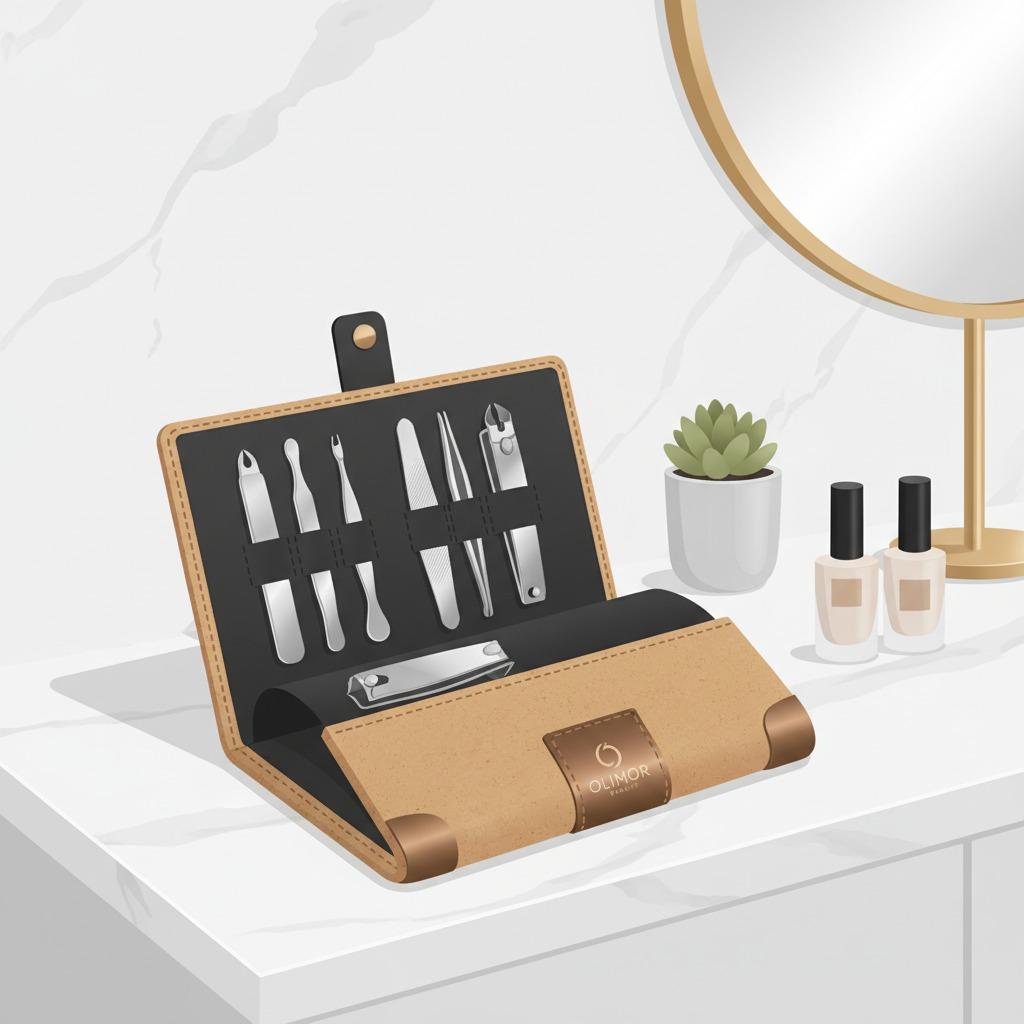
For buyers, salons and personal-care users comparing beauty tool products, a cuticle nipper should be evaluated as a precision hand tool rather than a simple accessory. Blade alignment, spring response, grip comfort, cleaning access and consistent finishing all matter. Olimor Beauty cuticle nipper tools are presented for professional nail-care use and at-home grooming, with an emphasis on controlled trimming and reliable handling.
What a Cuticle Nipper Is Actually For
A cuticle nipper is designed to trim small, lifted areas of dead skin around the nail, especially hangnails or dry excess tissue that cannot be smoothed by pushing alone. It is not intended to remove the entire cuticle barrier or cut deep into the sidewalls. That distinction is important because the skin around the nail helps protect the new nail growth area from dirt and bacteria.
Many manicure problems come from using the nipper as the first step. In most cases, the better process is to soften, gently push, assess, and then trim only what remains loose. If the skin lies flat and does not lift away, it usually does not need to be cut. This approach gives a tidier finish while reducing the chance of redness or broken skin.
Trimming vs. Pushing: When Each Method Makes Sense
Pushing and trimming solve different problems. A cuticle pusher repositions softened skin and clears the visible nail plate. A cuticle nipper removes excess skin that is already detached, dry or uneven. For regular nail care, pushing is often enough. Trimming becomes useful when there are hangnails, small dry tags or a rough edge that catches on towels, hair or gloves.
The safest routine is conservative. Soak or soften the area first, push gently with a suitable tool, then use the nipper only where a small piece of skin clearly lifts away. If cutting causes pain, resistance or bleeding, the trim is too deep. Good results come from many small, controlled cuts rather than one large cut that follows the entire nail curve.
- Push first: Use this step to expose what is actually loose and what should remain intact.
- Trim second: Remove only dry, lifted or ragged pieces that can be snipped without pulling.
- Do not tear: If skin stretches, stop and soften again rather than forcing the cut.
- Leave a natural margin: A healthy manicure should look neat, not over-cut.
How to Use a Cuticle Nipper Correctly
Correct technique makes a visible difference. Before using any cutting tool, hands and tools should be clean. The nail area should be softened with warm water or an appropriate cuticle softening step, then dried enough that the tool does not slip. Good lighting is also essential, especially for salon work or detailed grooming at the sidewalls.
- Clean the hands and tool. Wash hands and make sure the nipper is free from old residue before touching the nail area.
- Soften the cuticle area. Warm water helps reduce resistance and makes it easier to identify dry, loose skin.
- Push gently. Do not scrape aggressively. The objective is to reveal the nail plate and locate excess skin.
- Hold the nipper steadily. Keep your hand supported on a table and avoid trimming in the air.
- Cut tiny sections. Place the blades around only the loose skin and make short snips instead of long continuous cuts.
- Check the edge. Stop when the skin looks even. More cutting is rarely the answer after the loose pieces are gone.
- Finish with care. Rinse or wipe the area, then apply a suitable nail or cuticle care product if part of your routine.
A common instruction is to approach the area at a controlled angle rather than pressing the tool straight down into the skin. The exact angle can vary with hand position, but the principle is consistent: the blades should meet the lifted skin, not dig into the nail fold. Olimor Beauty nipper designs focus on practical handling, helping users maintain control during small, precise cuts.
Selection Criteria for Personal, Salon and Wholesale Buyers
Choosing a cuticle nipper should start with how it will be used. A personal grooming tool may be selected for comfort and easy cleaning. A salon tool must withstand repeated handling, disinfection routines and different hand sizes. A retail or distribution buyer may need to compare finish consistency, packaging suitability and the range of related nail tools available within product collections.
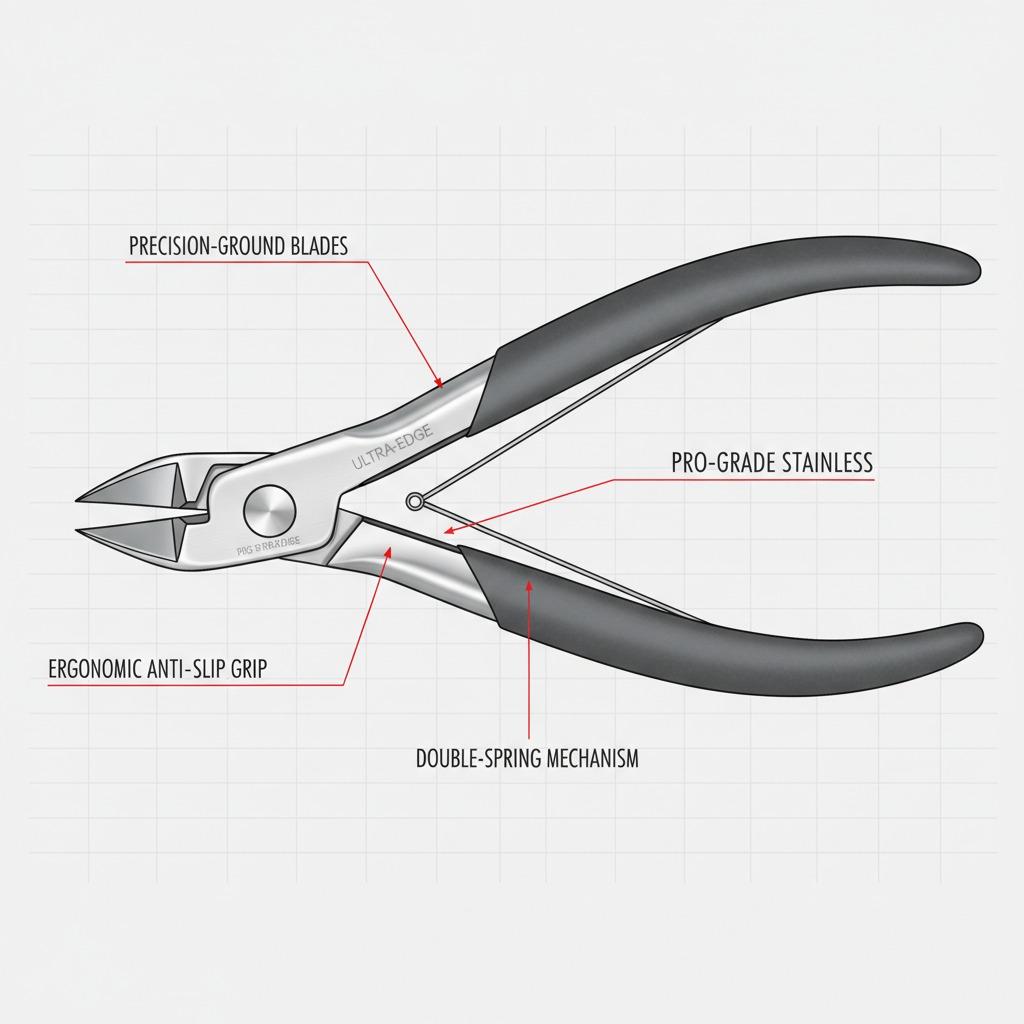
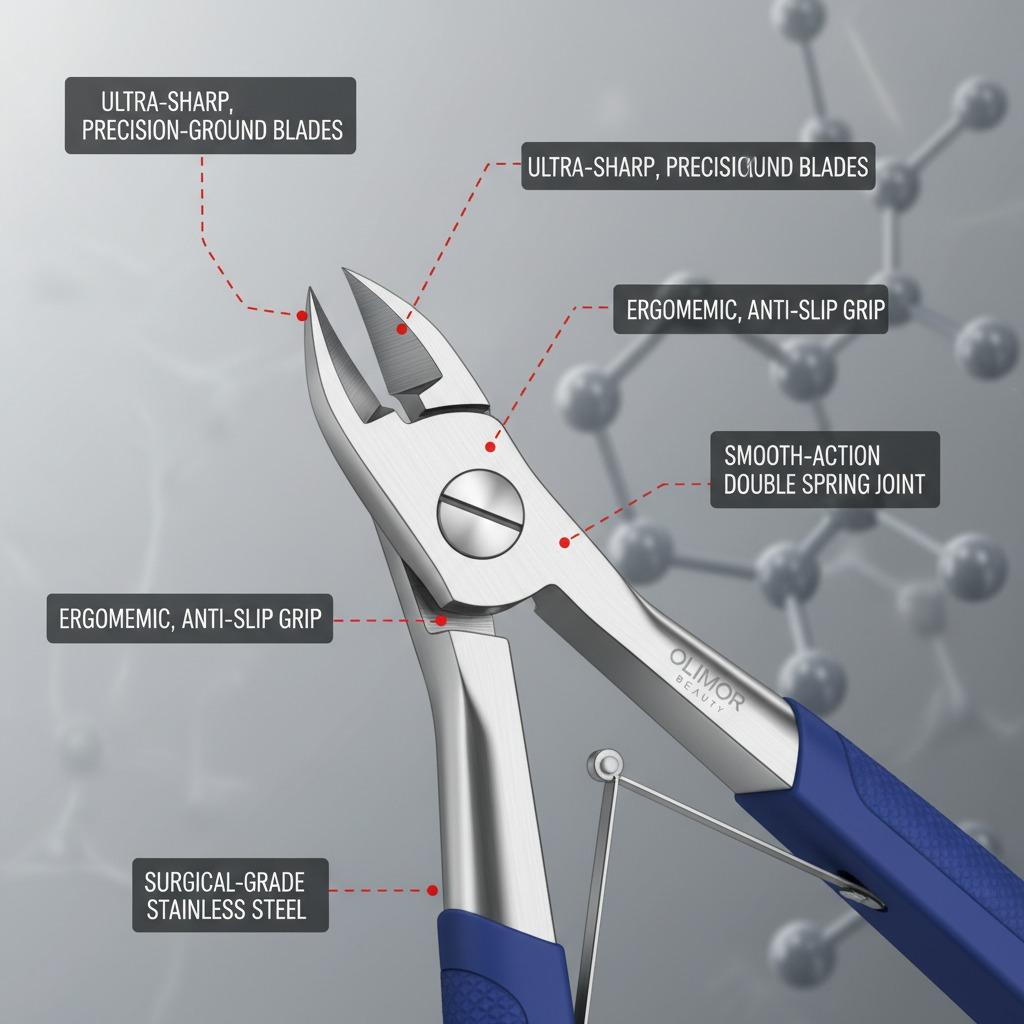
The original product description highlights stainless steel construction, sharp blades and ergonomic design. Those points are relevant because a dull or poorly aligned nipper can crush skin instead of cutting it cleanly. However, buyers should still inspect samples carefully and make decisions based on the actual tool in hand, not only on appearance.
| Check point | Why it matters | What to look for |
|---|---|---|
| Blade alignment | Clean cuts depend on the two cutting edges meeting evenly. | Close the nipper slowly and check that the tips meet without visible offset. |
| Tip precision | The tip controls small hangnail trimming and sidewall work. | Look for a neat point that is sharp enough to cut, not so rough that it scratches. |
| Spring action | Smooth reopening reduces hand fatigue and supports repeat use. | The handles should return smoothly without sticking or snapping harshly. |
| Grip comfort | Control is easier when the tool sits securely in the hand. | Test the handle shape with dry hands and slightly damp hands if possible. |
| Surface finish | A clean finish supports appearance, handling and cleaning. | Check for burrs, rough edges or areas where residue could collect. |
Maintenance and Hygiene After Each Use
A cuticle nipper works close to delicate skin, so cleaning is not optional. After each use, remove visible skin fragments and residue from the blade area. Dry the tool thoroughly after washing or disinfecting according to the hygiene process used in your home or workplace. Moisture left in joints or around the spring can shorten the useful life of many metal tools.
Storage also matters. Do not drop the nipper loosely into a drawer with files, scissors and metal accessories, because the cutting tips can become nicked or misaligned. A cap, sleeve or separate compartment helps protect the blade edge. For salons, it is good practice to separate cleaned tools from used tools and to keep a consistent inspection routine so damaged nippers are removed from service.
- Wipe away visible residue immediately after trimming.
- Keep the blade area dry before storage.
- Protect the tips from impact and contact with other hard tools.
- Inspect alignment regularly, especially after drops.
- Replace tools that pull, crush or leave ragged cuts.
Common Mistakes That Lead to Ragged Results
The most common mistake is cutting too much. Over-cutting may look clean for a short time, but it often causes dryness, sensitivity and peeling as the skin repairs itself. Another mistake is trimming without softening. Dry cuticle tissue is harder to control and more likely to tear. Users also sometimes chase every tiny uneven point after the main trim is complete, which can turn a simple manicure into irritation.
Tool condition is another overlooked factor. If a nipper requires extra force, makes a clicking scrape when closing or leaves a crushed edge, the problem may be blade alignment or dullness rather than user technique. For business buyers, this is why sample review is important before adding a nipper to a product assortment or salon kit.
Sourcing Questions for Beauty Tool Buyers
When purchasing cuticle nippers for retail, private-label planning, salon supply or promotional beauty kits, the best discussions are specific. Rather than focusing only on price, compare the practical features that affect end-user satisfaction: how the nipper closes, how consistent the finish is, how the tool is packed, and whether related nail-care items can be sourced together. If you need to compare options or confirm product details, you can send an inquiry or contact Olimor with your intended use case.
A useful buyer checklist includes intended market, preferred finish, packaging requirements, inspection expectations, cleaning guidance for end users and whether the tool will be sold alone or as part of a manicure set. Avoid assuming that every nipper is suitable for every channel. A salon-focused tool may prioritize handling and repeated use, while a retail product may also need clear consumer instructions and protective packaging.
A Practical Tool When Precision Comes First
A cuticle nipper is most effective when it is treated as a precision trimming tool, not a shortcut for removing all cuticle skin. The best results come from softening first, pushing gently, cutting only loose tissue and maintaining the tool carefully between uses. For consumers, that means a neater manicure with less discomfort. For salons and beauty tool buyers, it means fewer complaints, better handling and a product that supports professional-looking nail care.
Olimor Beauty focuses on beauty tools for practical grooming needs, including cuticle nippers designed for controlled trimming. Whether you are choosing one tool for personal care or reviewing options for a product line, prioritize blade alignment, comfort, hygiene and realistic usage instructions. Those details make the difference between a tool that simply looks sharp and one that performs reliably in everyday nail care.