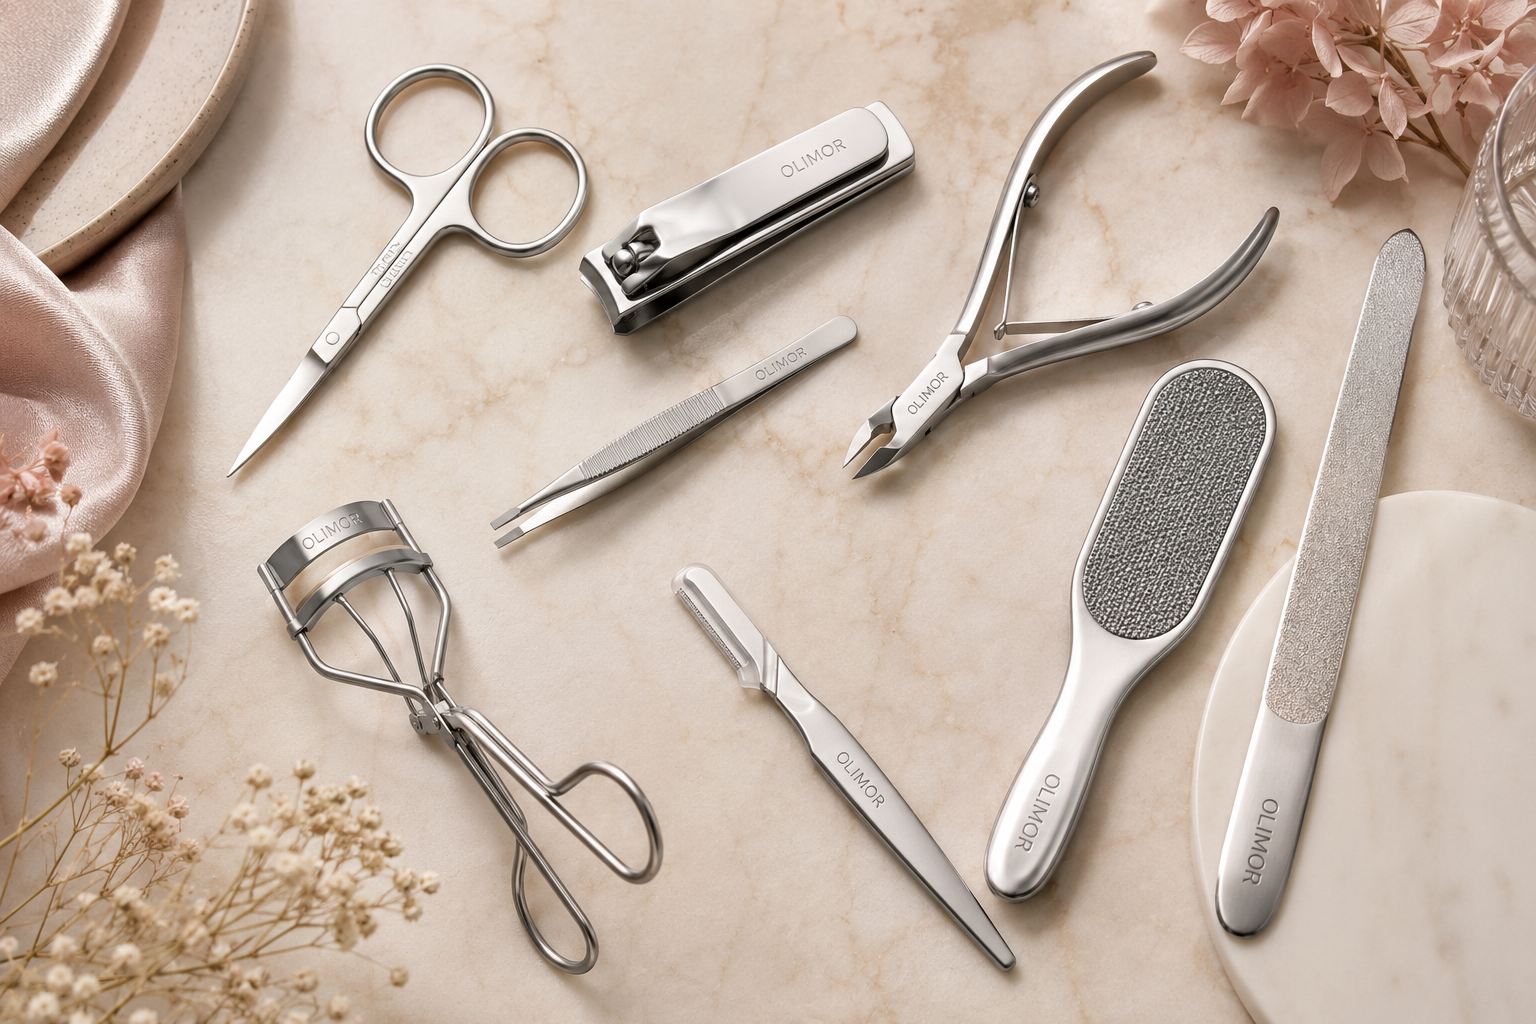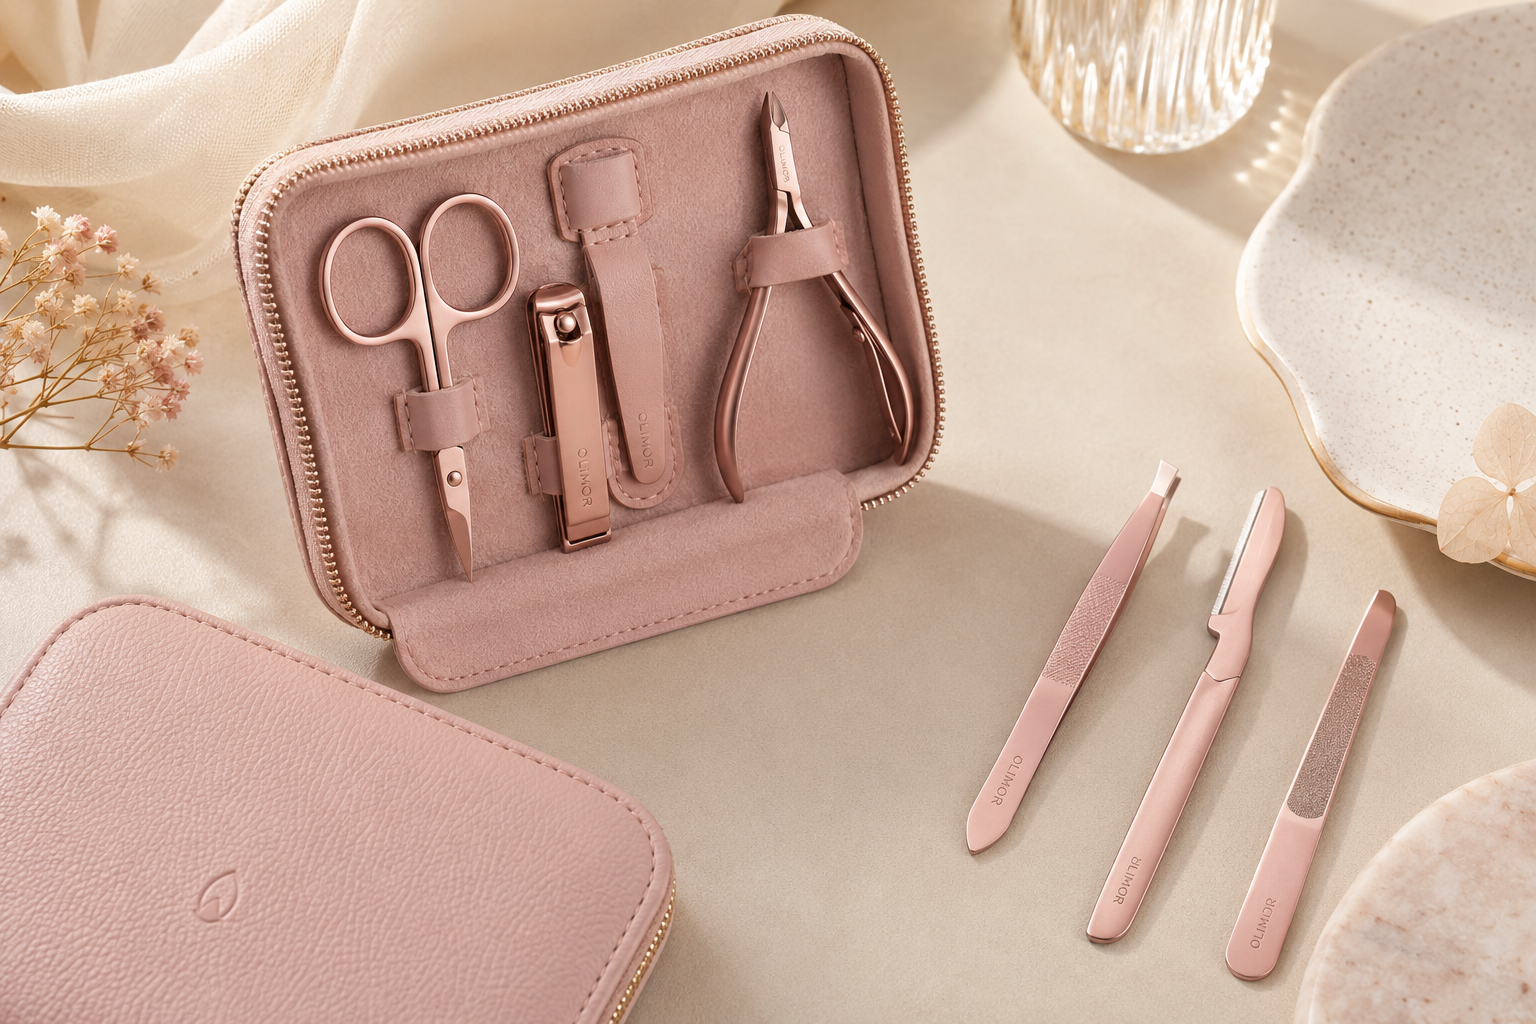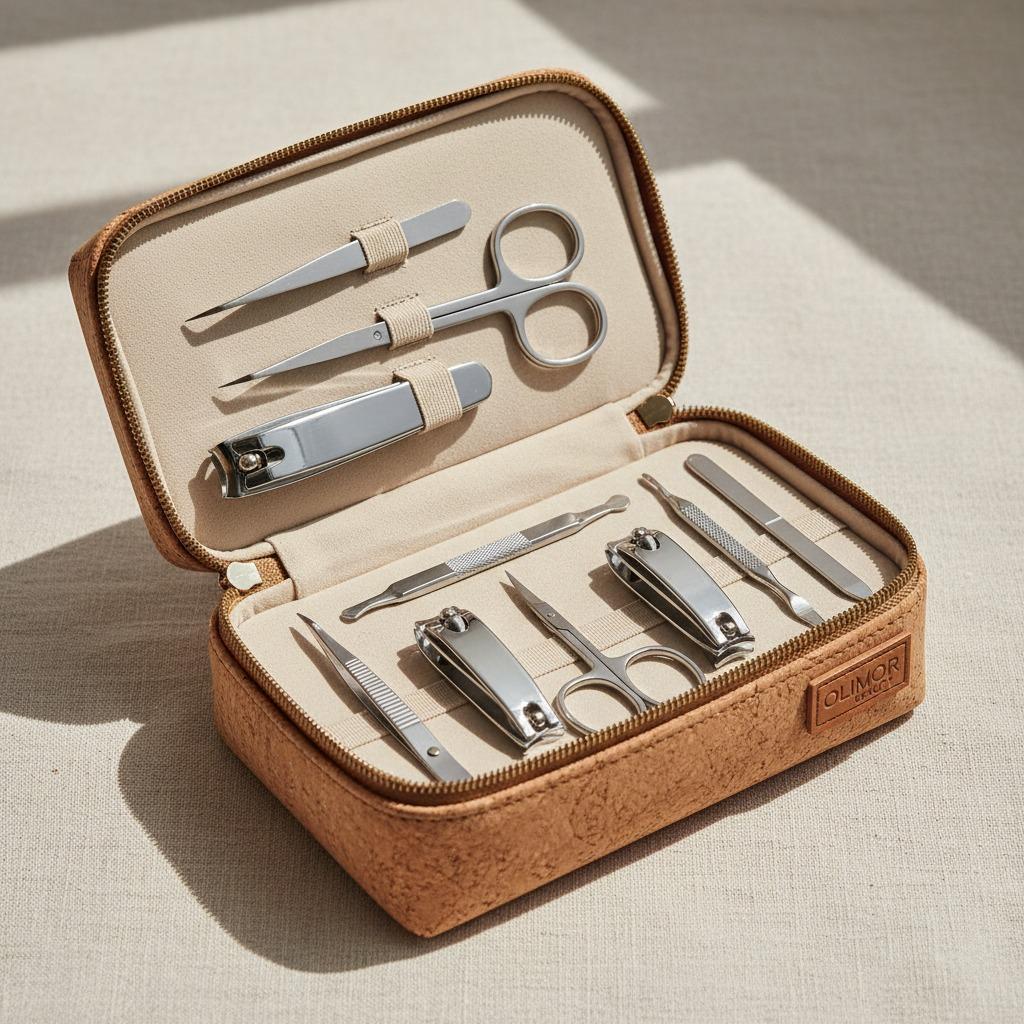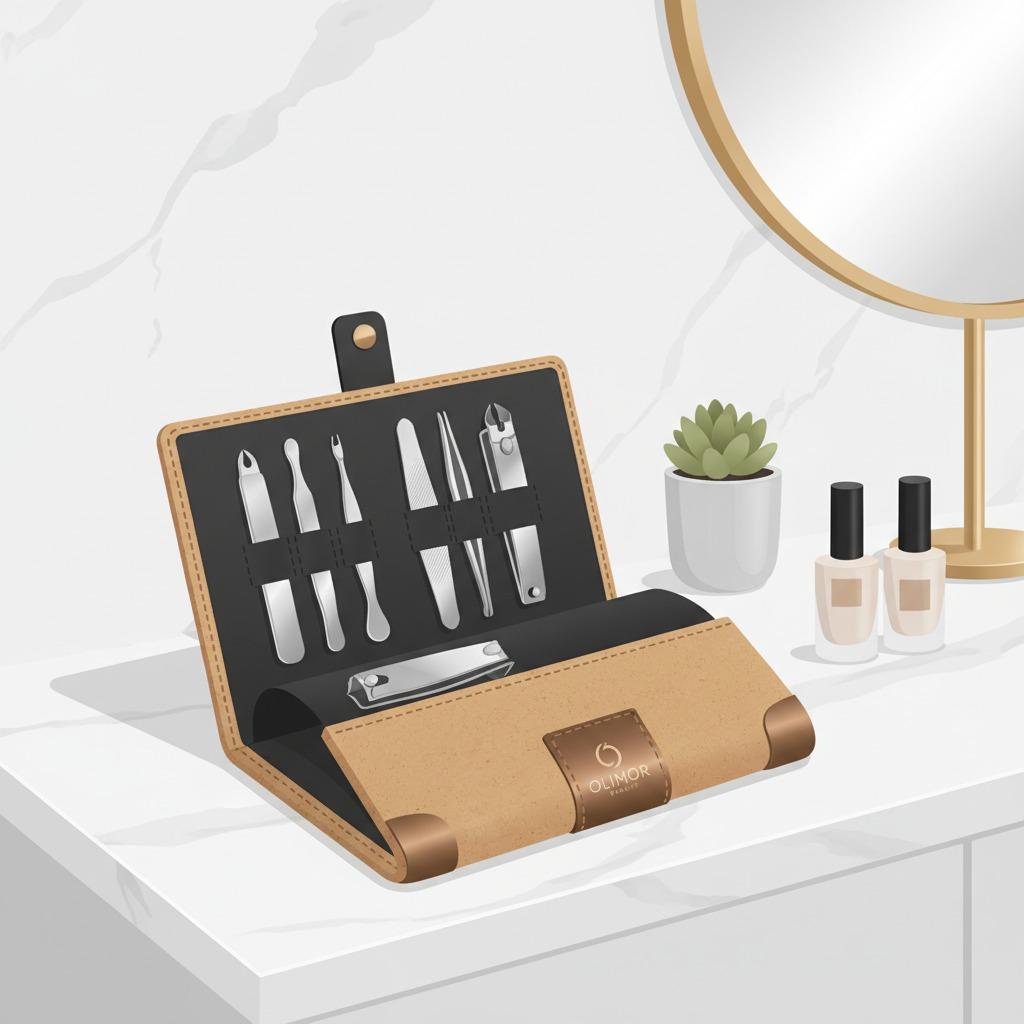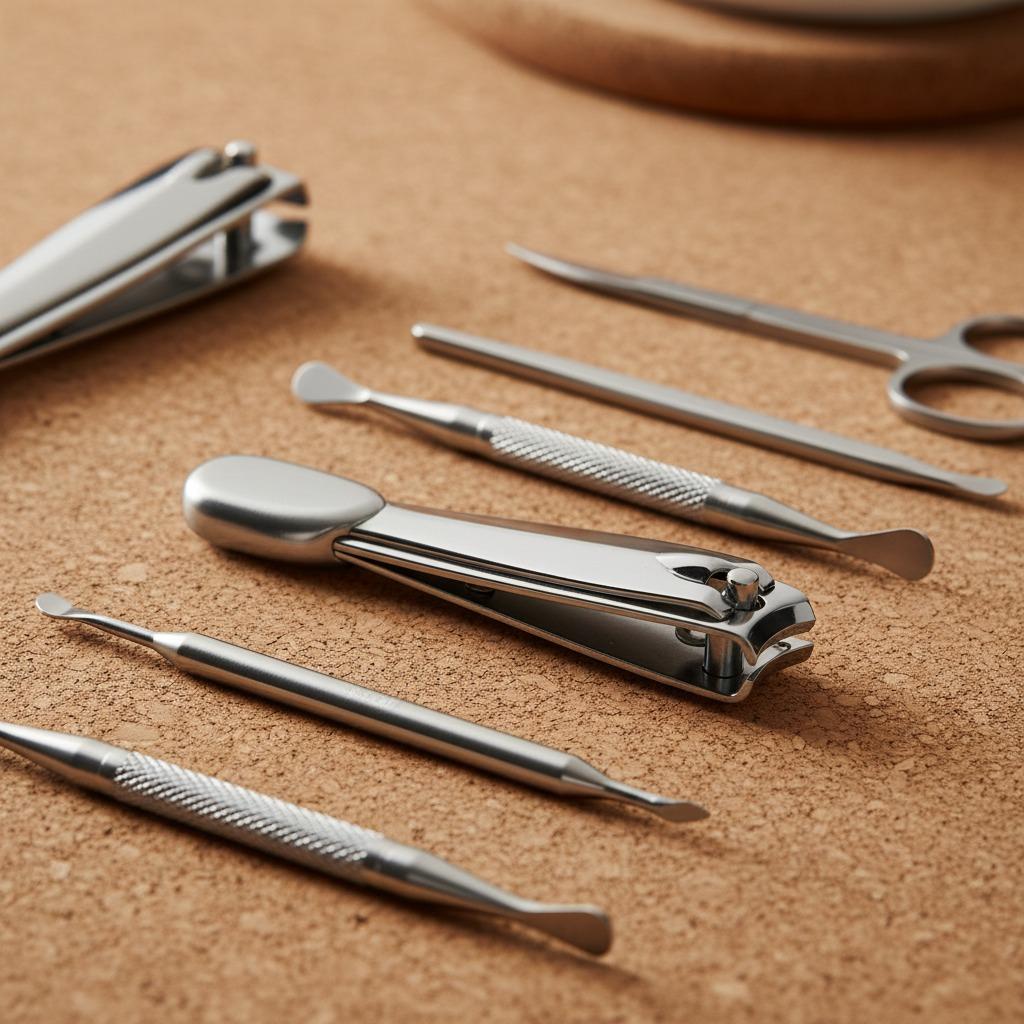












Stainless steel manicure tools are useful for maintaining the skin around nails when the task is small, visible, and controlled. They can help remove softened dead skin, trim lifted skin edges, tidy rough cuticle buildup, and keep hands or feet neat between fuller care sessions. They should not be used to cut living skin, treat painful skin problems, or force a salon-style result in one sitting.
Olimor Beauty focuses on practical stainless steel manicure tools with details such as ergonomic handles and sharp working edges for controlled trimming. For home users, retailers, salons, and sourcing teams, the buying decision should go beyond appearance. A reliable manicure tool should feel stable in the hand, be easy to clean, have a cleanly finished edge, and match the skill level of the intended user.
This guide explains how to choose, inspect, use, clean, and source stainless steel manicure tools without overworking the skin. It also covers common mistakes, cost factors, supplier questions, and when to stop tool use for safety.
What Stainless Steel Manicure Tools Are Best Used For
The best use for a stainless steel manicure tool is light maintenance on softened skin around the nails. After washing and soaking, dry buildup is easier to see and remove with shallow, patient movements. A tool can be helpful for trimming loose hangnail-like edges, refining rough cuticle buildup, and cleaning up small areas that would otherwise catch on fabric.
The tool is not a medical instrument and should not be used on infected, swollen, bleeding, numb, or painful skin. It should also not be used when the skin remains hard after soaking. If skin does not soften, the correct response is to moisturize and wait, not press harder. The cuticle and surrounding nail folds protect the nail area, so removing too much skin can create irritation and small openings.
For most at-home routines, the goal is comfort and tidiness rather than aggressive removal. A neat result should still look natural. Redness, stinging, and a raw finish are signs that too much skin has been removed.
How to Choose the Right Tool for Skin and Cuticle Care
A manicure tool used close to the skin should be selected more carefully than a general grooming accessory. Stainless steel is a practical material for this category because it supports repeated cleaning and gives the firm, precise feel needed for short controlled movements. The full user experience, however, also depends on the handle, edge alignment, balance, finish, and ease of inspection.
When comparing stainless steel beauty tool products, look for visible signs of controlled manufacturing and finishing. The edge should appear even, without obvious burrs or rough spots. The handle should be comfortable enough to hold steadily when hands are slightly damp after washing. Designs with deep gaps that trap residue may be harder to clean after use.
Home user selection checklist
- Material: Choose stainless steel construction suitable for routine washing, drying, and alcohol wiping.
- Grip: Look for an ergonomic handle that supports small movements rather than forceful cutting.
- Edge condition: Inspect for an even working edge with no visible bending, chips, burrs, or roughness.
- Control: The tool should feel stable at a careful working angle and should not twist in the fingers.
- Cleaning access: Avoid designs that make residue difficult to remove from the joint, tip, or cutting area.
- Task match: Use a trimming tool for loose skin edges and a suitable cuticle or dead-skin tool for surface buildup.
If you are buying for retail, salon use, or private label planning, review the wider Olimor product collection to compare handle styles, product types, and merchandising fit. A consistent product range can simplify training, packaging planning, and future replenishment.
Preparation: The Step That Prevents Most Problems
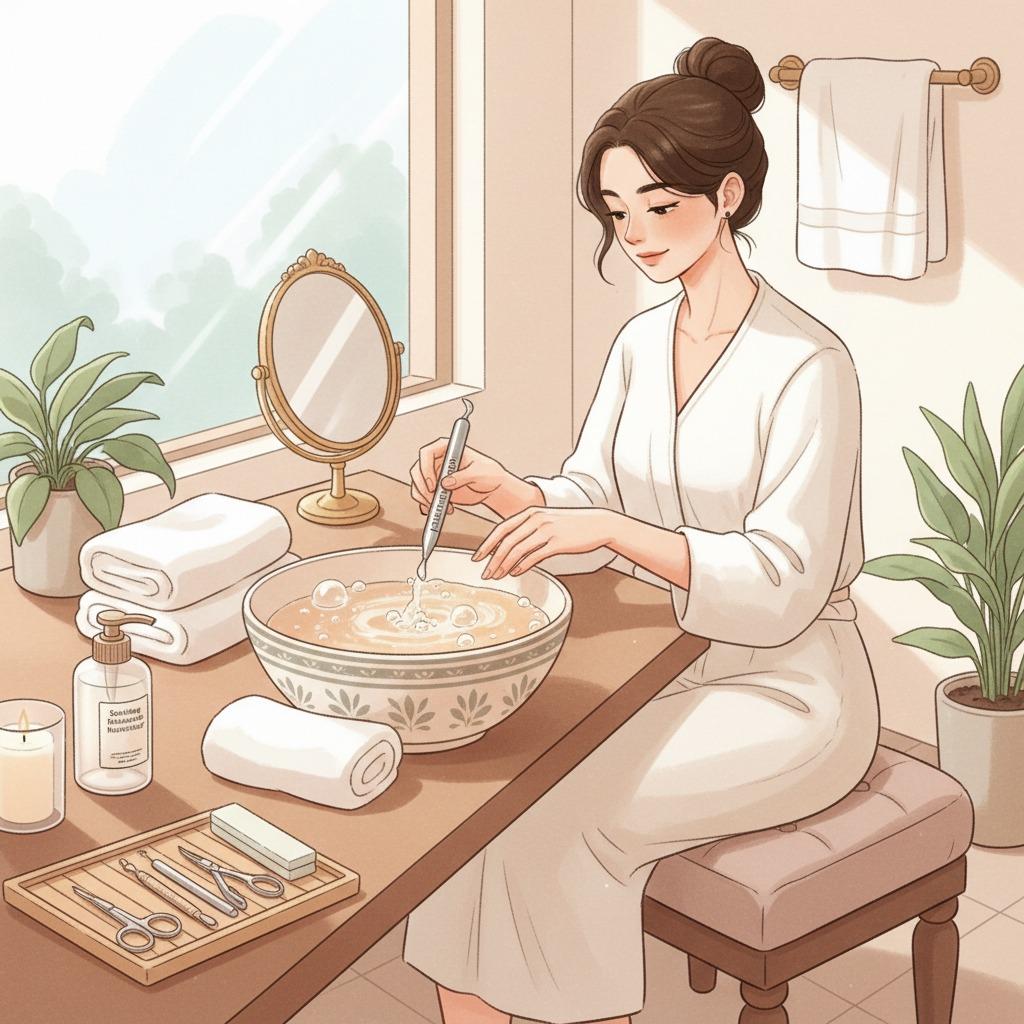
Good preparation is the difference between controlled care and accidental over-trimming. Start by washing the hands or feet with mild soap. Then soak the target area in comfortably warm, soapy water for about 10 minutes. The water should not be hot. The aim is to soften dry buildup so it separates more easily from skin that is still healthy and attached.
After soaking, pat the area dry with a clean towel. Do not rub aggressively, because rubbing can make the skin look irritated before you even start. Use good lighting and place the hand or foot on a stable surface. Working with the hand in midair makes it harder to control the tool and increases the chance of slips.
Only continue if you can clearly see the skin edge you plan to remove. If the area is awkward, especially around toenails, reposition rather than twisting the tool into a poor angle. If the skin dries during the session, re-soak briefly instead of increasing pressure.
Simple preparation sequence
- Wash the skin and the area around the nails with mild soap.
- Soak hands or feet in comfortably warm, soapy water for about 10 minutes.
- Pat dry with a clean towel.
- Inspect the skin under bright, steady light.
- Remove only softened buildup or clearly loose lifted skin.
- Rinse, dry, moisturize, and clean the tool after use.
Safe Technique for Removing Softened Dead Skin
Dead skin removal should be shallow and incremental. Use short strokes over softened buildup and let the tool skim the surface. The edge should not dig into the skin. If redness appears quickly, or if the area feels sharp, hot, or tender, stop and leave the skin to recover.
Many users try to solve roughness by removing more skin in one session. This often creates the opposite result. Over-scraping can weaken the skin barrier, cause irritation, and lead to more dryness. A better routine is light removal followed by consistent moisturizing. On non-tool days, apply moisturizer after washing and before sleep to reduce dryness around the nail folds.
Toe care requires extra patience. Toe skin may be thicker and the working angle may be harder to see. Use shallow passes and stable positioning. Never use strong pressure simply because the skin is thicker. If the tool seems to require force, the skin is either not ready or the tool edge should be inspected.
Trimming Loose Skin: What to Cut and What to Leave
Trimming is different from surface removal. It should be reserved for a loose lifted skin edge that catches on fabric or feels uncomfortable. Hold the tool at a controlled angle and trim only the portion that is already separated. Do not pull skin to create more area to cut. Pulling can tear attached skin and cause soreness.
Healthy skin that lies flat should be left alone, even if it looks slightly dry. Firm skin that does not move after soaking should also be left for another session. Moisturizer, time, and gentle care are safer than forcing a tool under a resistant edge.
| Skin condition | Recommended action | Avoid |
|---|---|---|
| Soft flaky buildup after soaking | Use short, gentle surface strokes | Scraping until the skin turns red |
| Loose lifted skin edge | Trim only the lifted portion | Pulling or tearing the skin |
| Firm skin that stays attached | Moisturize and leave it for later | Forcing the tool underneath |
| Dry cuticle buildup | Soften first, then tidy lightly | Cutting deep around the nail fold |
| Soreness, swelling, bleeding, or heat | Stop tool use and keep the area clean | Continuing for appearance |
Cleaning, Drying, and Storage After Every Use
Tool hygiene is part of the care routine, not an optional extra. Clean the tool before and after every use. Remove visible residue, wash the working area as appropriate, dry thoroughly, and wipe with alcohol before storage. Drying matters because moisture and residue can create hygiene problems and may affect how the tool feels during later use.
Store manicure tools in a clean, dry place where the edge is protected. Do not throw a sharp tool loosely into a makeup bag or drawer. Contact with other items can damage the working edge and contaminate the surface. A damaged or dirty edge often requires more pressure, which makes skin care less controlled.
Tools used on feet deserve the same cleaning discipline as tools used on hands. If a tool is shared in a household, separate storage and clear cleaning routines are important. In professional settings, hygiene expectations should be stricter and should follow current local requirements. Public bodies such as the CDC publish hygiene guidance, and professional environments may use EPA-registered disinfectants according to label directions. Always verify current versions, local rules, and supplier documents rather than relying on assumptions.
Inspection: How to Know When a Tool Should Not Be Used
Inspect the tool before each session. A tool may look fine at a glance but still have a rough edge, loose joint, bent tip, or residue near the working area. If the edge feels uneven or the tool is difficult to control, do not use it close to skin. A compromised edge can increase pressure and raise the chance of accidental cuts.
For retailers and salons, inspection should be treated as a quality habit before product display, demonstration, or professional use. Check that the finish is clean, the handle feels stable, and the product matches the description being presented to customers. If packaging or sales copy promises a use case, the tool should be appropriate for that function.
Pre-use inspection checklist
- The working edge looks even and free from visible burrs.
- The tool opens, closes, or contacts the skin smoothly depending on its design.
- The handle is not slippery, loose, or uncomfortable to control.
- No visible residue remains from previous use.
- The tool has been cleaned, dried, and stored properly.
- The skin is softened, visible, and suitable for light maintenance.
Cost Factors and Supplier Evaluation for B2B Buyers
For business buyers, the cost of a stainless steel manicure tool is shaped by more than the metal itself. Product structure, handle design, edge finishing, surface finish, packaging, labeling, inspection expectations, and order customization can all affect sourcing discussions. Instead of focusing only on unit price, evaluate whether the tool fits the target channel and user skill level.
A beginner-focused retail tool may need clear instructions, comfortable grip, and packaging that explains safe use. A tool intended for trained nail professionals may be evaluated more heavily on precision, repeatability, and cleaning convenience. In both cases, claims should match the product function and should not overpromise results.
When discussing a project with a supplier, prepare practical questions. Ask about material description, finishing process, edge inspection, packaging options, labeling support, cleaning guidance, and customization scope. If you have a reference style, target channel, or packaging concept, share those details early. This helps the supplier recommend realistic options rather than guessing.
For wholesale, private label, or assortment planning, you can send a sourcing inquiry with your target market, product type, quantity plan, and packaging needs. For product matching or development discussion, contact Olimor Beauty with photos, sketches, or examples of the intended tool function.
Common Problems and Practical Fixes
If the tool scratches rather than glides, stop and inspect both the edge and the skin. The skin may be too dry, or the edge may be rough. Re-soak and try a lighter angle only if the tool passes inspection. If the tool still feels harsh, do not continue.
If trimmed skin becomes sore, the cut was probably too deep or too close to attached skin. Keep the area clean, avoid additional tool use, and let the skin settle. If there are signs of infection or worsening pain, seek appropriate medical advice.
If roughness returns quickly, the issue may be dryness rather than insufficient cutting. Reduce tool frequency and increase moisturizing. A weekly maintenance routine is often enough for hands and feet when paired with daily moisturizer.
If a retail customer complains that a tool feels difficult to control, review whether the tool type matches the user. Some tools require more skill than others. Clear instructions, appropriate product selection, and realistic use guidance reduce dissatisfaction.
FAQ
Can I request samples before placing a larger order?
Sample availability depends on the product type, customization request, and current stock or production status. Share the item style, intended market, and packaging needs when you contact Olimor so the team can respond with practical options.
Is there a minimum order quantity for manicure tools?
MOQ can vary by product, packaging, customization, and production arrangement. It is best to submit your target quantity and requirements through an inquiry so the discussion is based on the actual tool and project scope.
Can stainless steel manicure tools be customized?
Customization may involve product selection, finish, packaging, labeling, or other project details depending on feasibility. Provide artwork, reference images, and market requirements early so the supplier can assess what is realistic.
How should quality be evaluated before bulk purchasing?
Check material description, handle comfort, edge finish, cleaning access, packaging accuracy, and consistency across samples. For professional or regulated sales channels, verify current local requirements and supplier documents before confirming claims.
How long does production or delivery take?
Timing depends on product availability, order quantity, customization, packaging, and shipping arrangement. Ask for a project-specific estimate after confirming the product details and approval process.
A Practical Routine That Protects the Skin
The best at-home routine is simple: soften, inspect, remove only what is loose or softened, trim only lifted edges, moisturize, and clean the tool. Stainless steel manicure tools can support neat hands and feet when used with restraint. The safest result comes from preparation, visibility, controlled pressure, and regular hygiene rather than aggressive cutting.
For buyers, the same principle applies at the sourcing level. Choose tools that are cleanly finished, comfortable to control, easy to explain, and appropriate for the intended customer. A well-matched manicure tool is easier to use, easier to maintain, and easier to present honestly in a retail or professional setting.